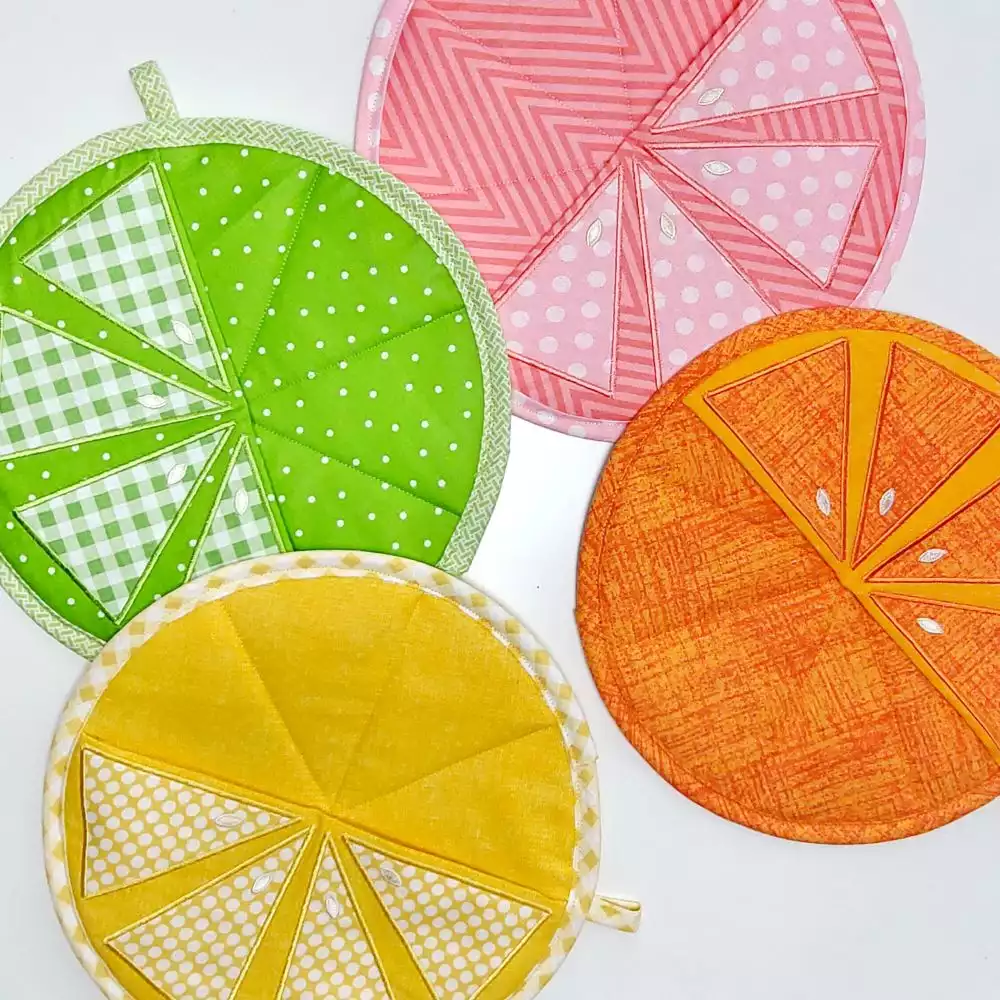
Zesty Citrus Potholder
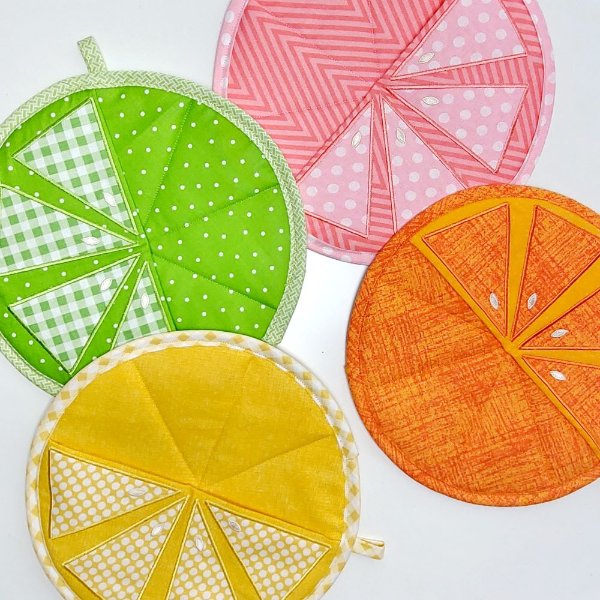
Shopping List:
- Sewing & Embroidery Machine
- ¾ yd Main Fabric
- x1 Fat Quarter Coordinating Fabric
- ½ yd Warm and Natural
- ½ yd Insul-Bright
- Coordinating sewing & embroidery thread
- Sewing & Embroidery Needles
- 240mm x 150mm Embroidery Hoop or Larger
- No-Show-Mesh Stabilizer
- Embroidery Foot
- Quilt Binder Attachment (Single Fold)
- Walking Foot
- Applique Scissors
- Rotary Cutter and/or Fabric Scissors
- Cutting Mat
- Straight Edge Ruler
- Pins and/or Clips
- Zesty Citrus Potholder Template.pdf
- Embroidery Design
Fabric Preparation:
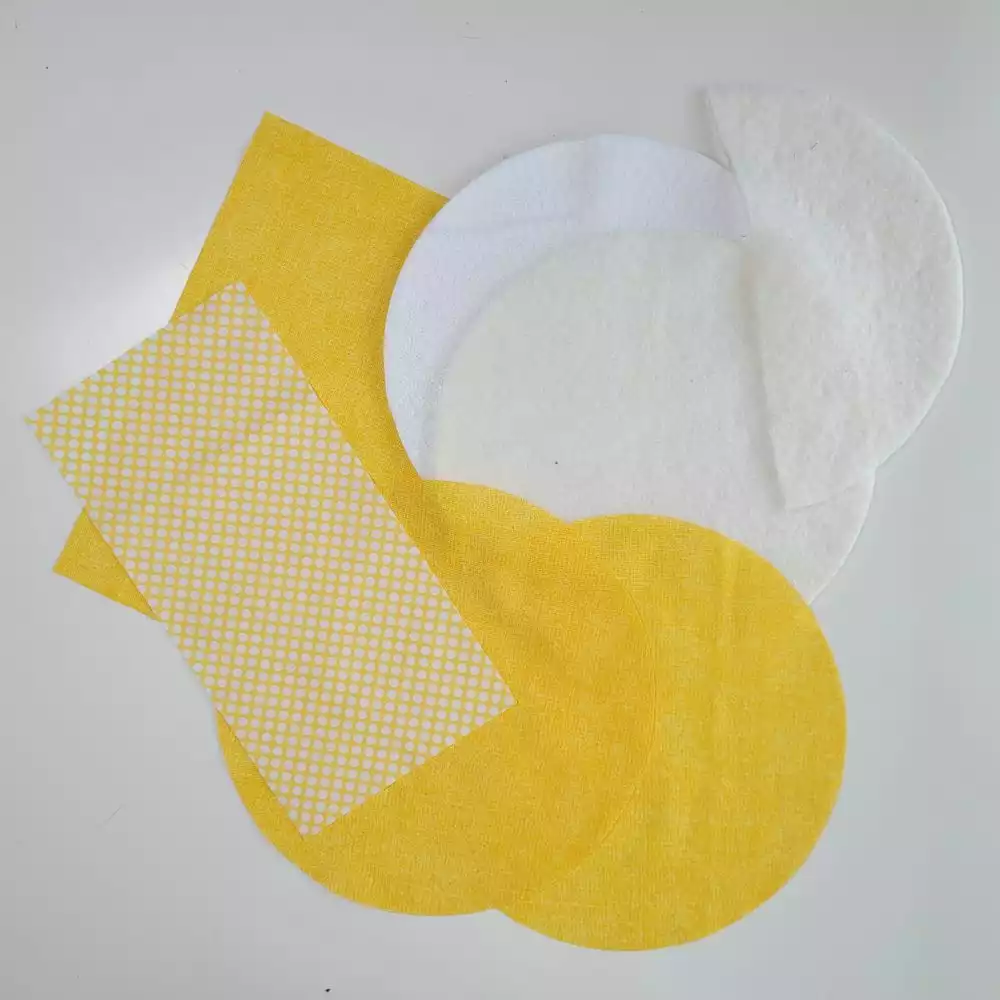
Main Fabric:
- x1 - 12” x 12” Square
- x2 - Circles from provided template
- 1 ¾” strips cut on the bias - at least 36” long or enough pieces to make that length
Coordinating Fabric:
- x1 - 6” x 12” Rectangle
- x1 - 2” x 5” - folded & pressed into a 5” hanging loop piece
Warm and Natural:
- x1 - Circle from provided template
- x1 - ½ Circle from provided template
Insul-Bright:
- x1 - Circle from provided template
Instructions:
1. Load provided embroidery design.
2. Thread machine with embroidery thread and matching bobbin.
3. Hoop stabilizer into the embroidery hoop.
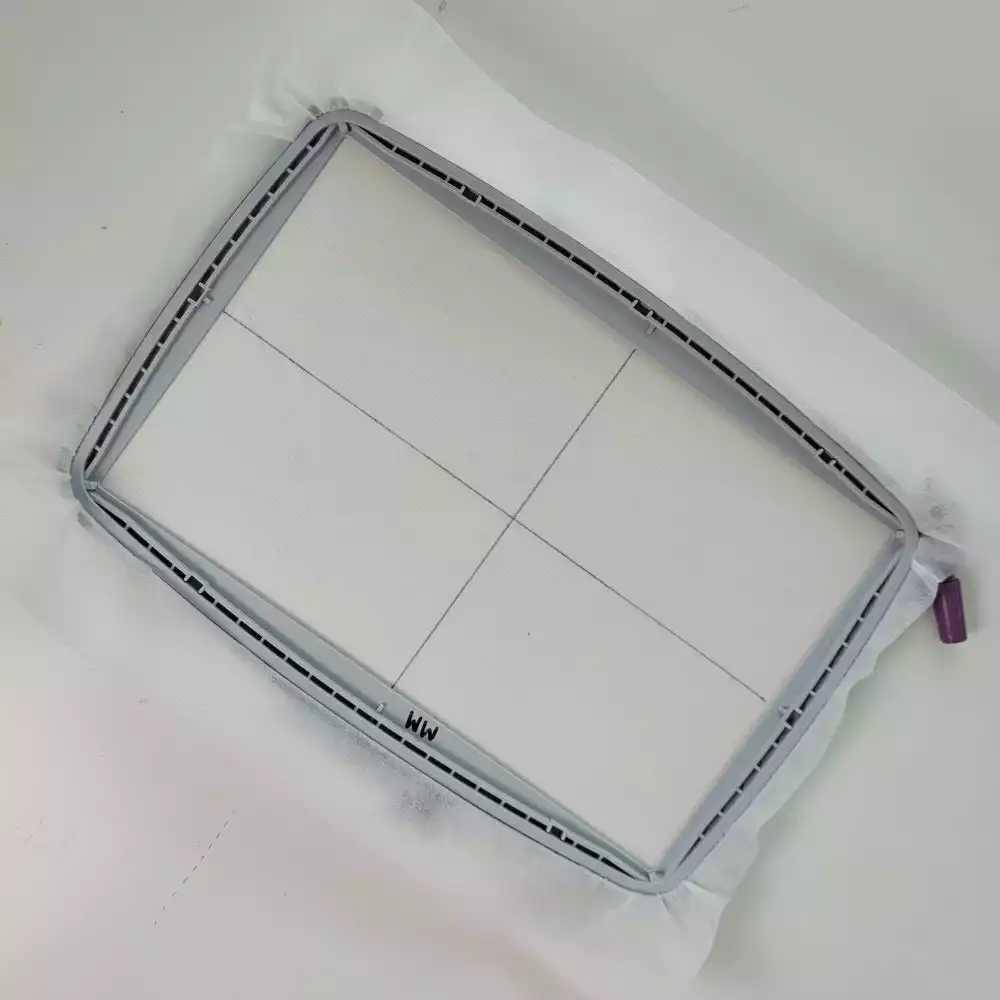
4. Place the hoop onto the embroidery arm.
5. Stitch out ‘fix’ stitch directly onto the stabilizer.
6. Fold the 12” x 12” main fabric in half both length & width wise and press to find the center.
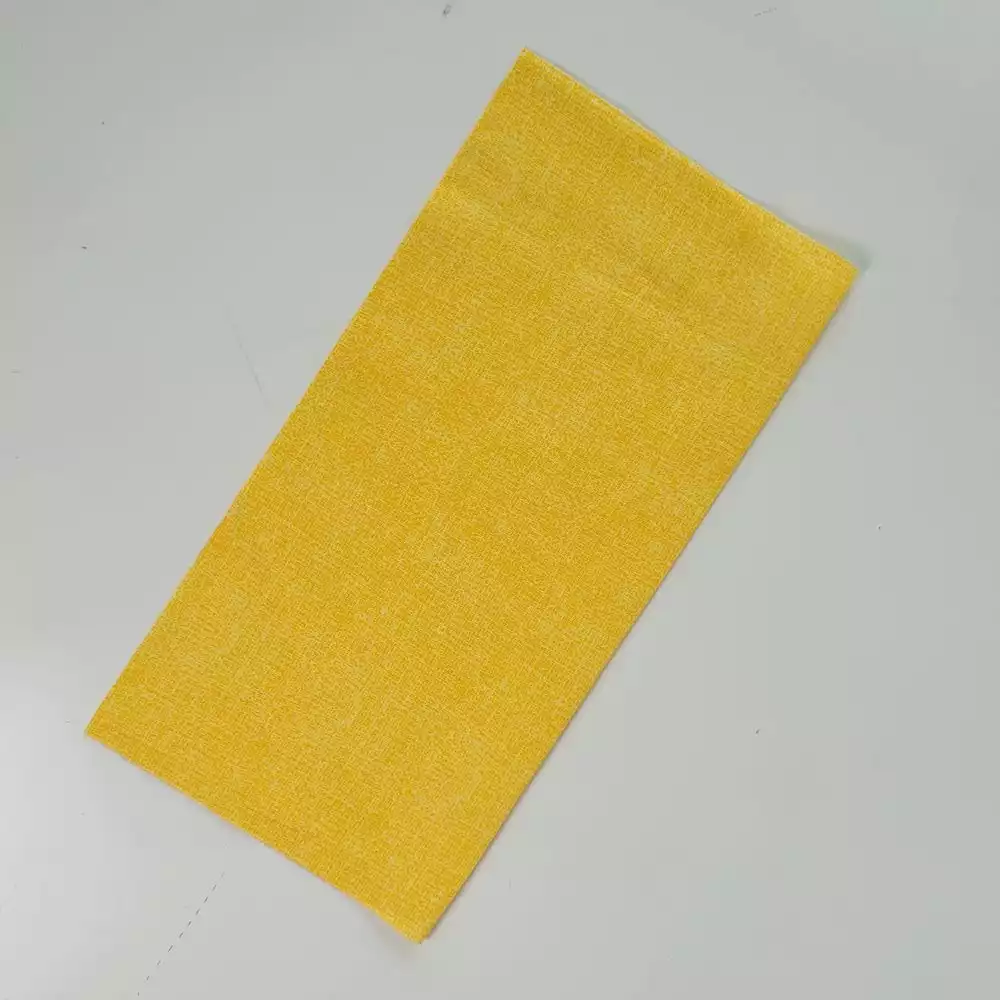
7. Open the fabric square back up and center the folded seam on the far right ‘fix’ stitch. Pin in place.
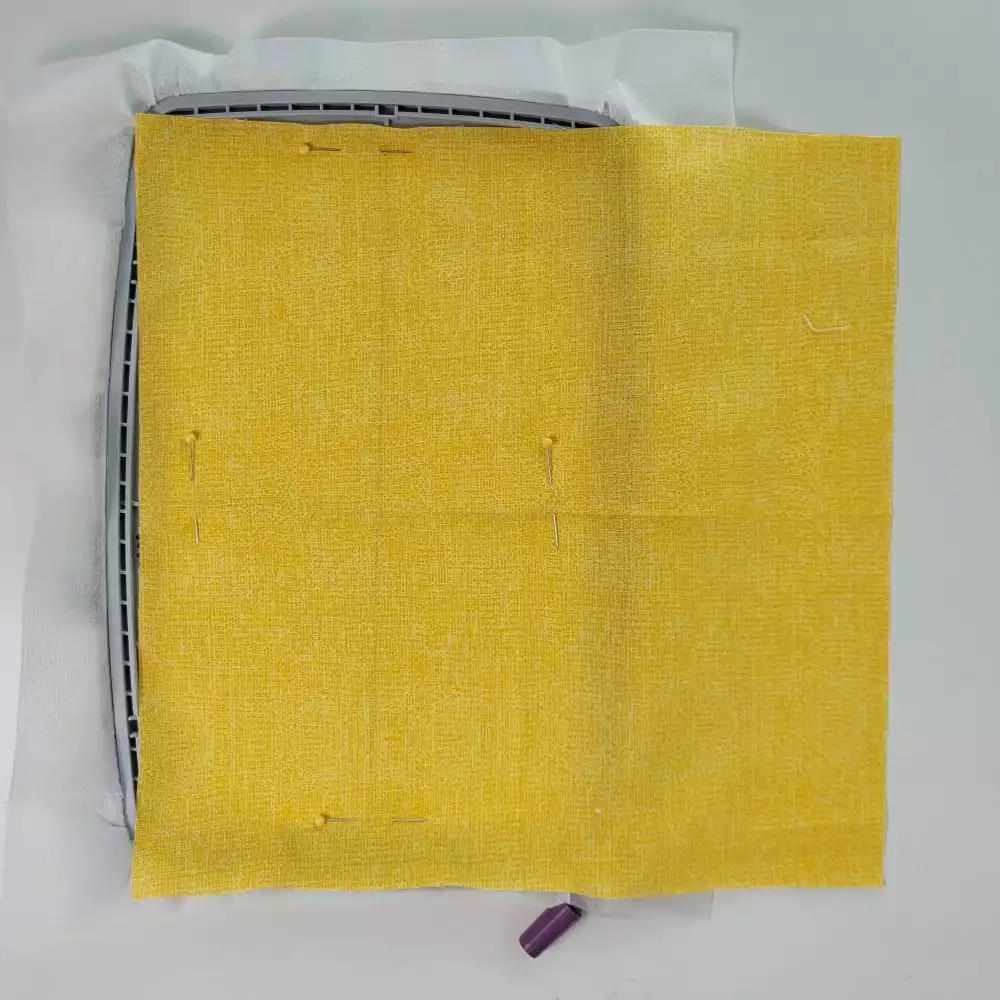
8. Stitch out the ‘fix’ stitch directly on the fabric to hold into place.
9. Press ‘start’ to stitch out step 1, the placement stitches.
10. Lay coordinating 6” x 12” fabric overtop of the placement stitches.
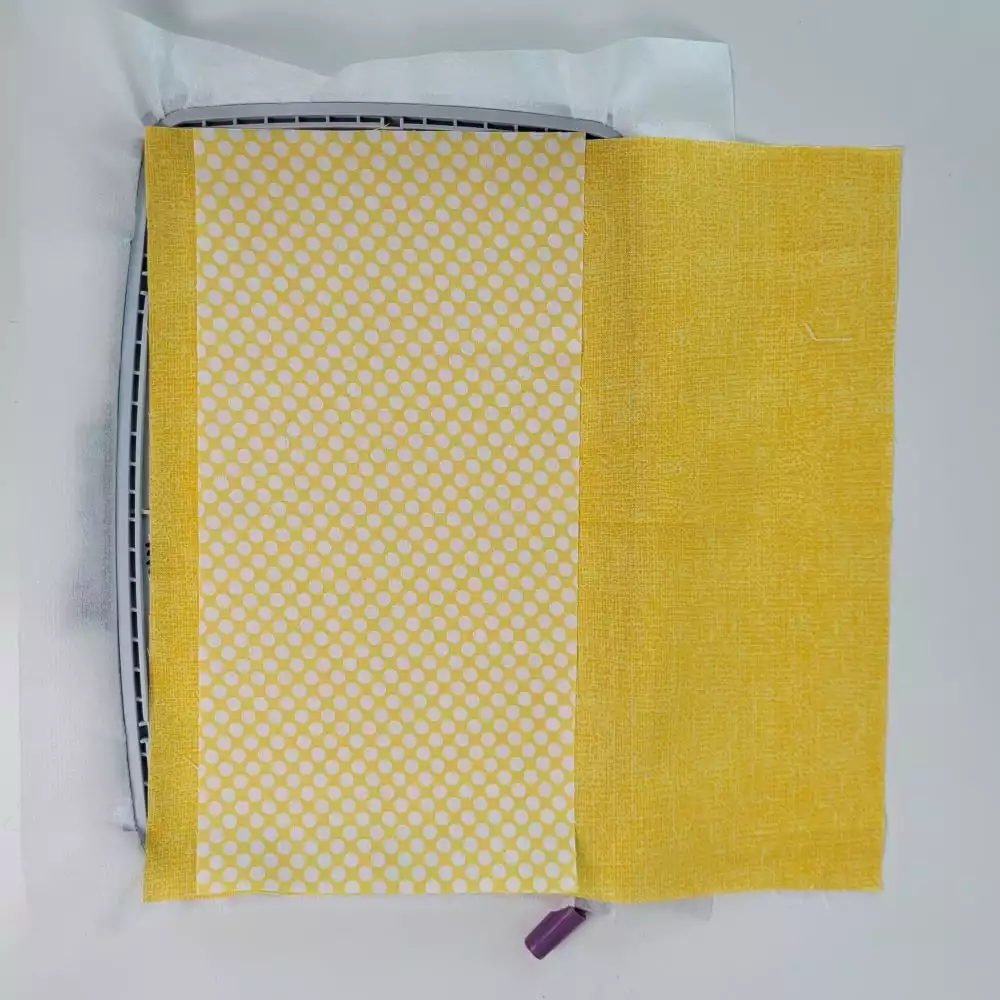
11. Press ‘start’ to stitch out step 2, the tack down stitches.
12. Use your applique scissors to cut closely around the tack down stitches.
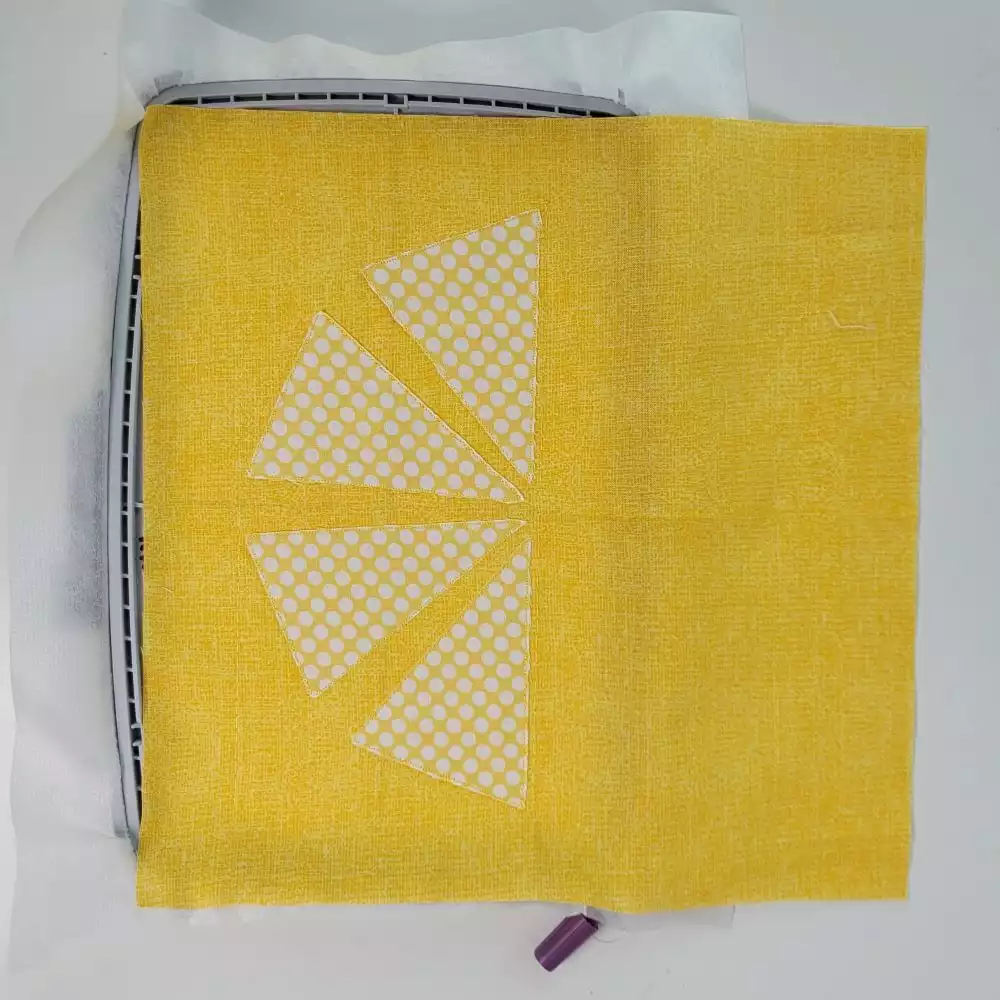
13. Place the embroidery hoop back on the embroidery arm.
14. Press ‘start’ to stitch out step 3, the satin stitches.
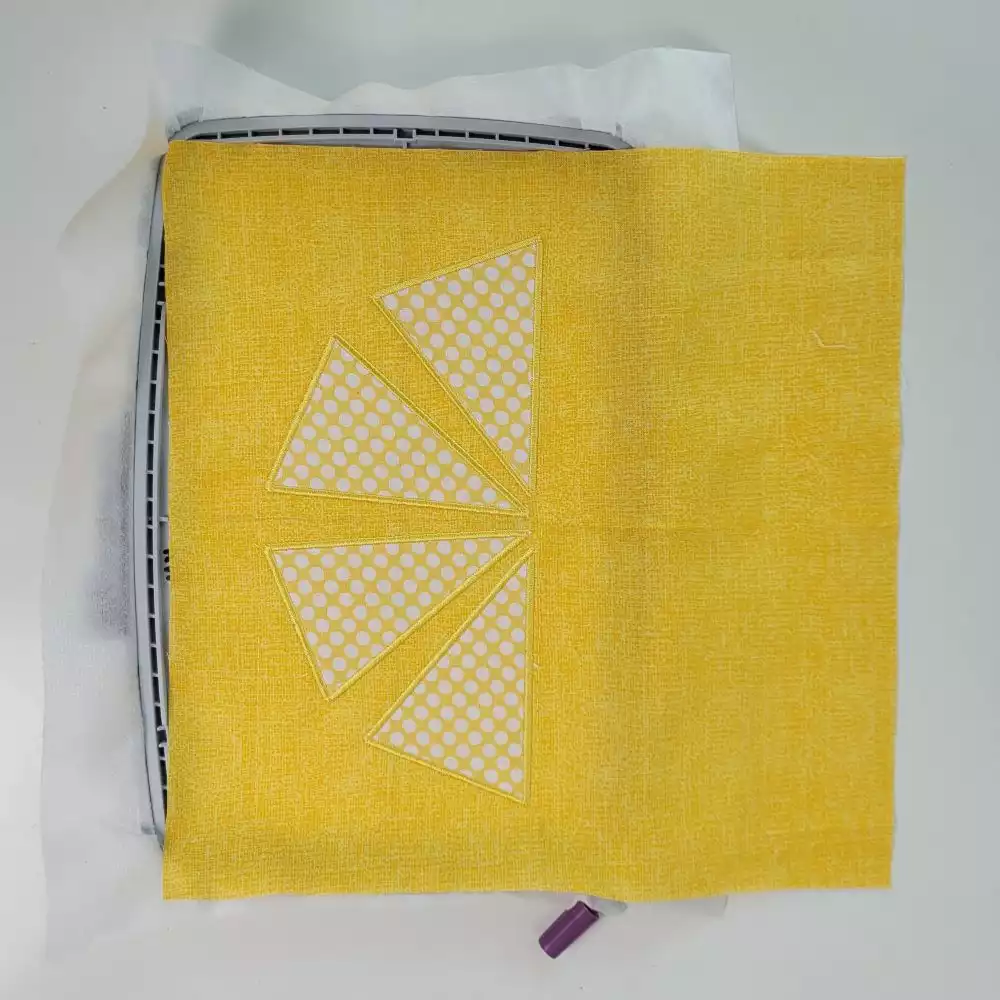
15. Change the thread, if you desire, for the seed embroidery design.
16. Press ‘start’ to stitch out step 4, the seed embroidery design.
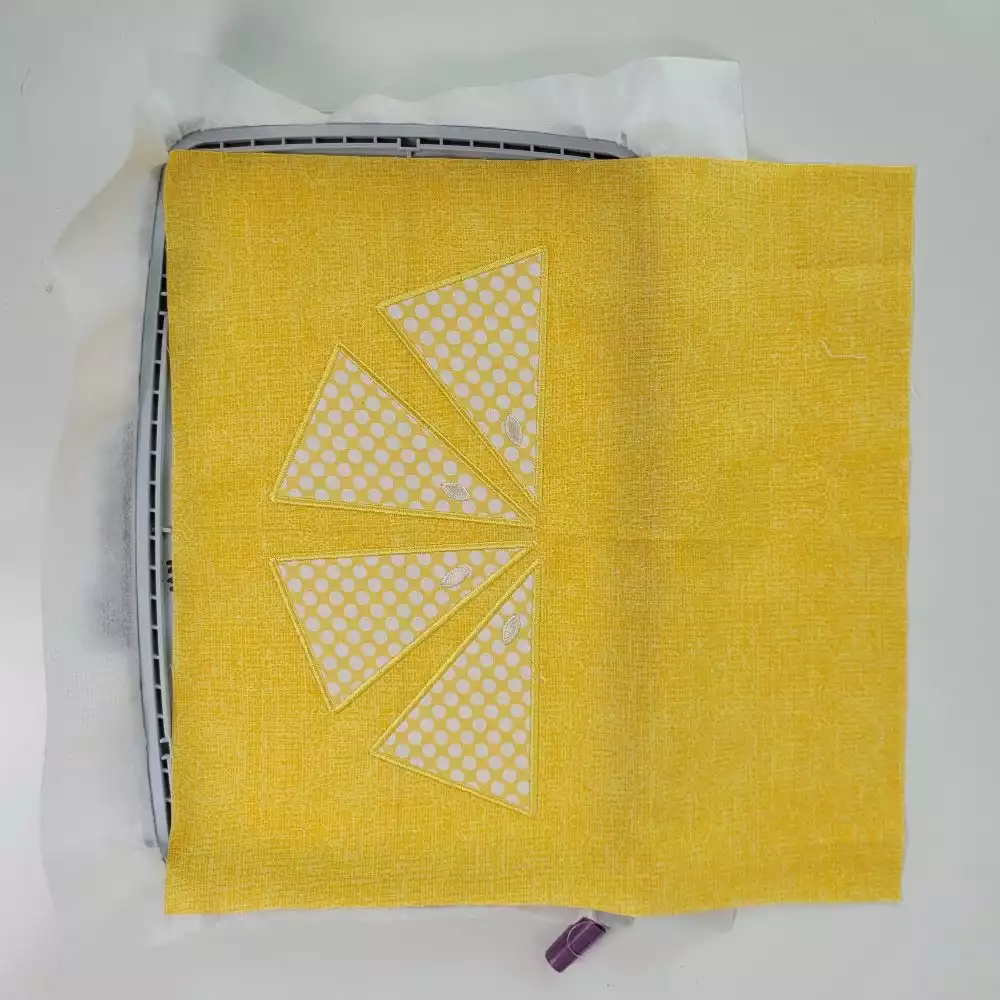
17. Remove the stabilizer from the hoop and remove the ‘fix’ stitch.
18. Center the provided template overtop of the final stitch out.
19. Cut around to create a full circle.
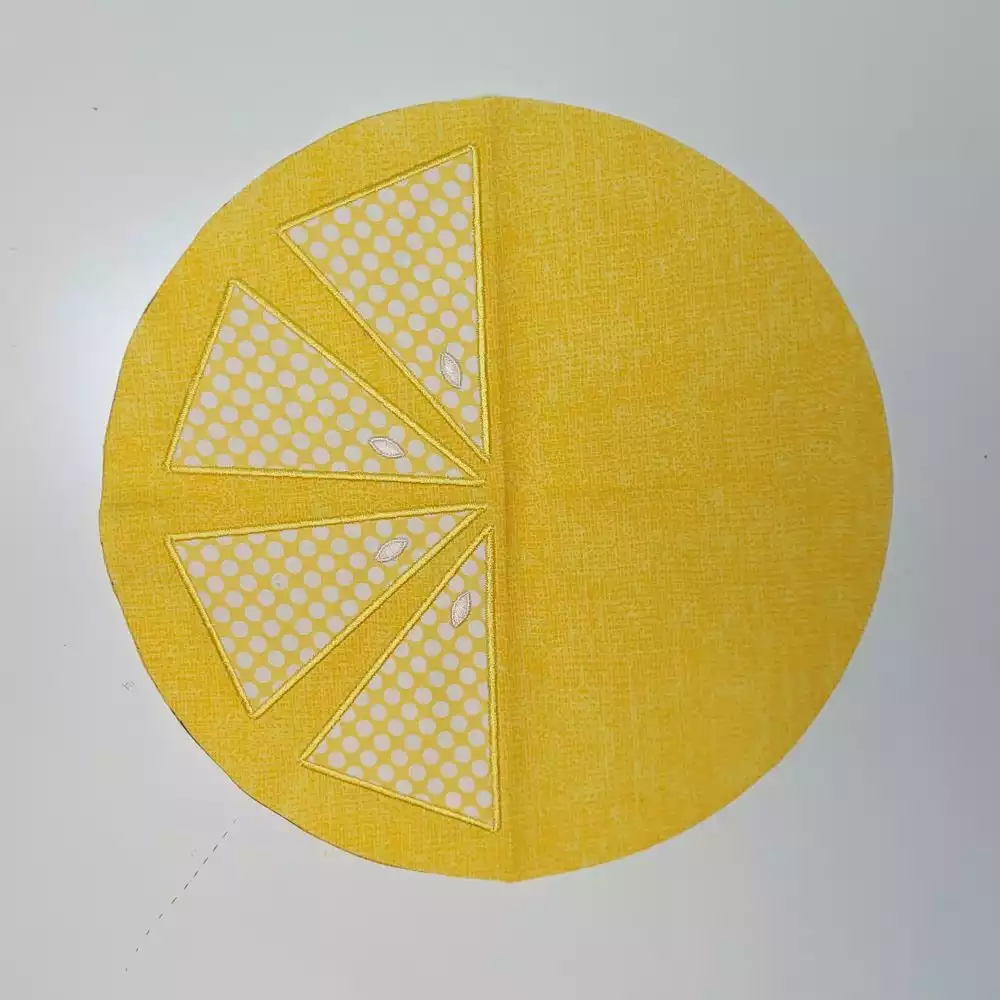
20. Fold the citrus slice in half and place warm and natural half circle piece in the center.
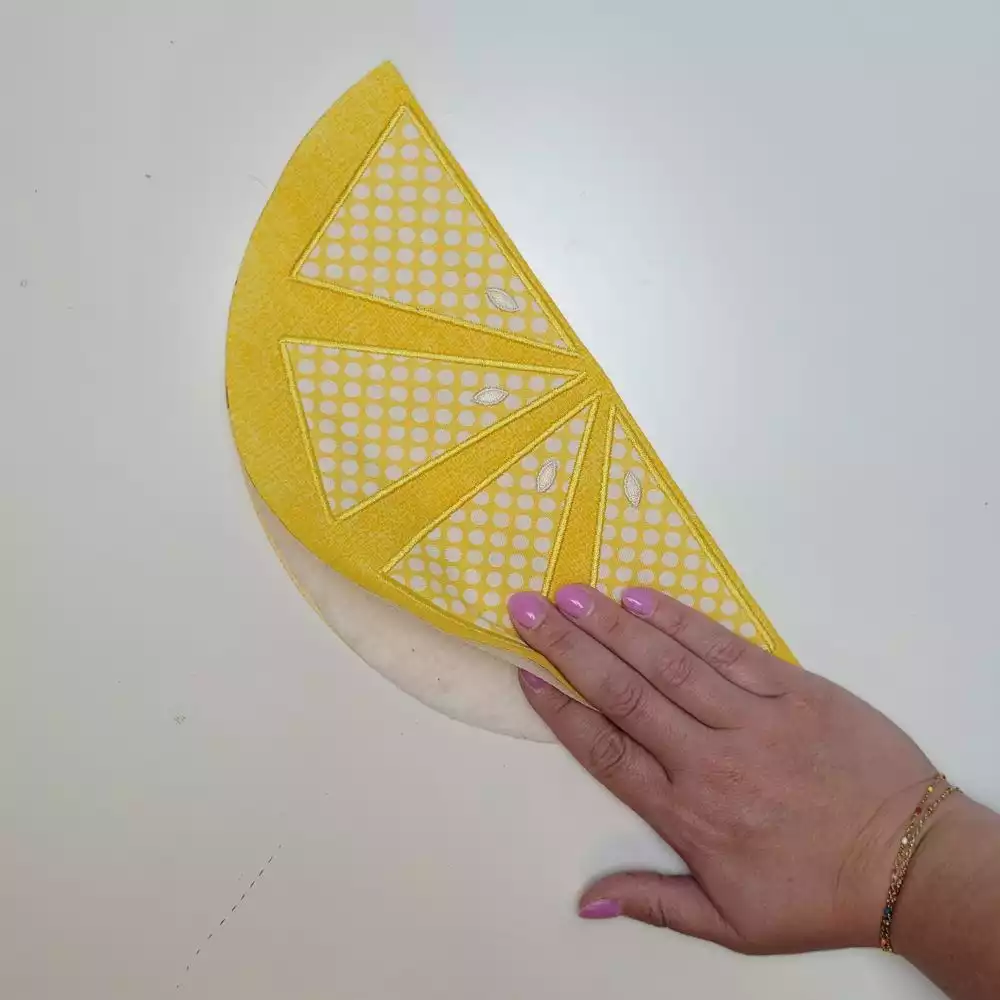
21. Sew a basting stitch around the curve to hold the slice sandwich in place.
22. Layer the full circle pieces as follows-
a. Main fabric right side down
b. Warm & Natural
c. Insul-Bright
d. Main fabric circle right side up.
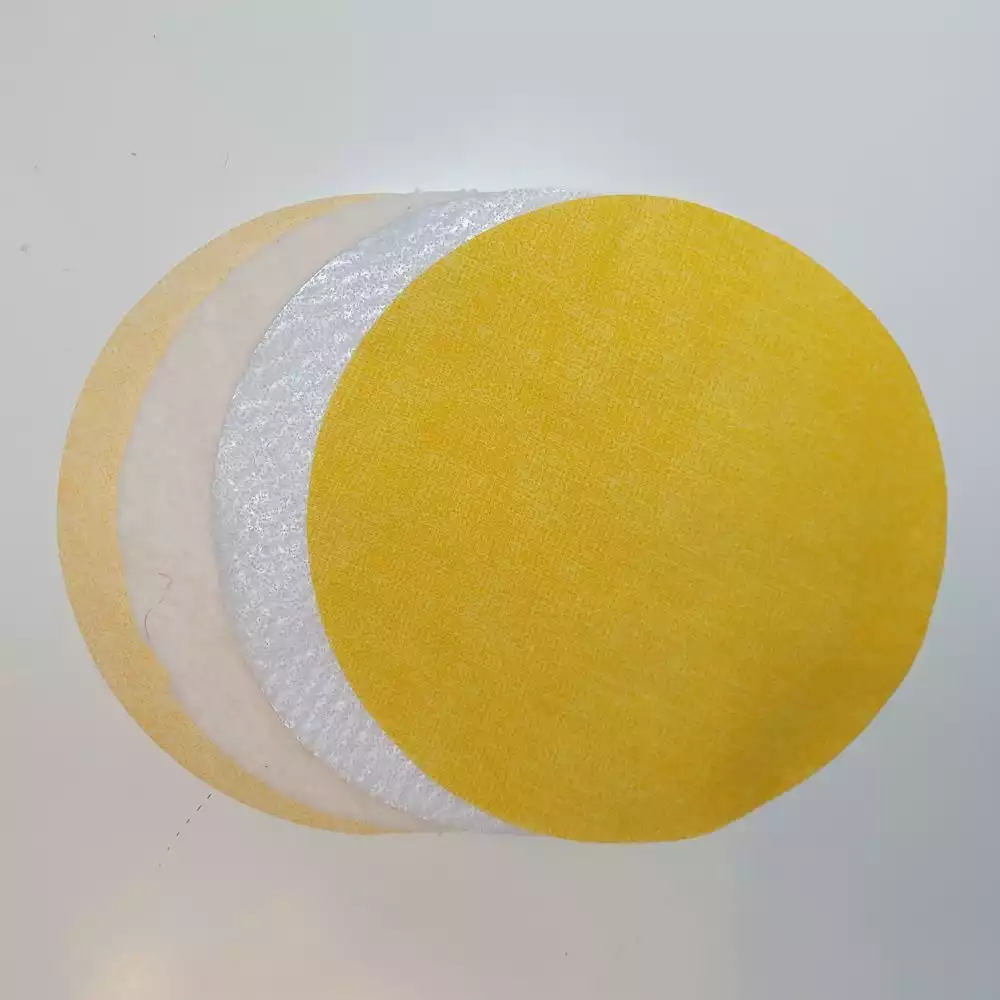
23. Sew a basting stitch around the full circle to hold the sandwiched pieces in place.
24. Quilt the full sandwiched circle in your desired way. We choose to quilt lines like slices.
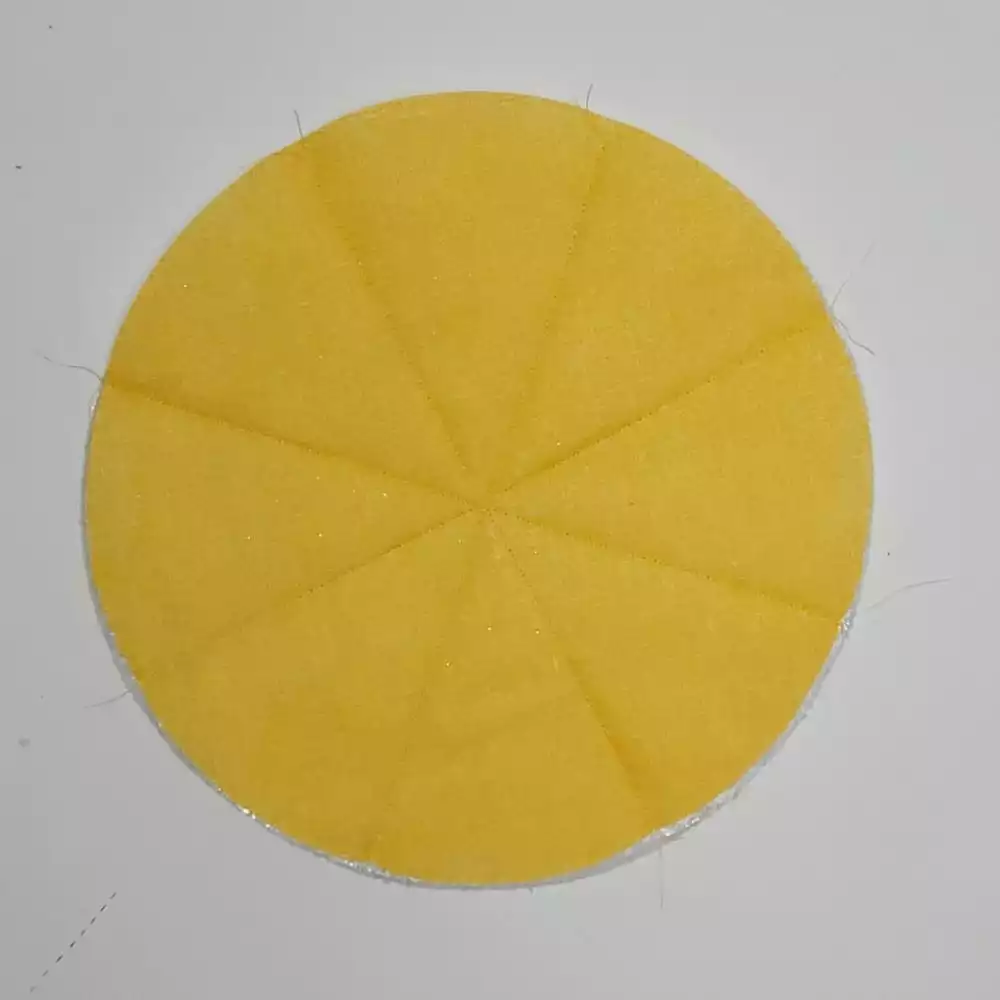
25. Place the half slice right side up on top of the quilted full circle.
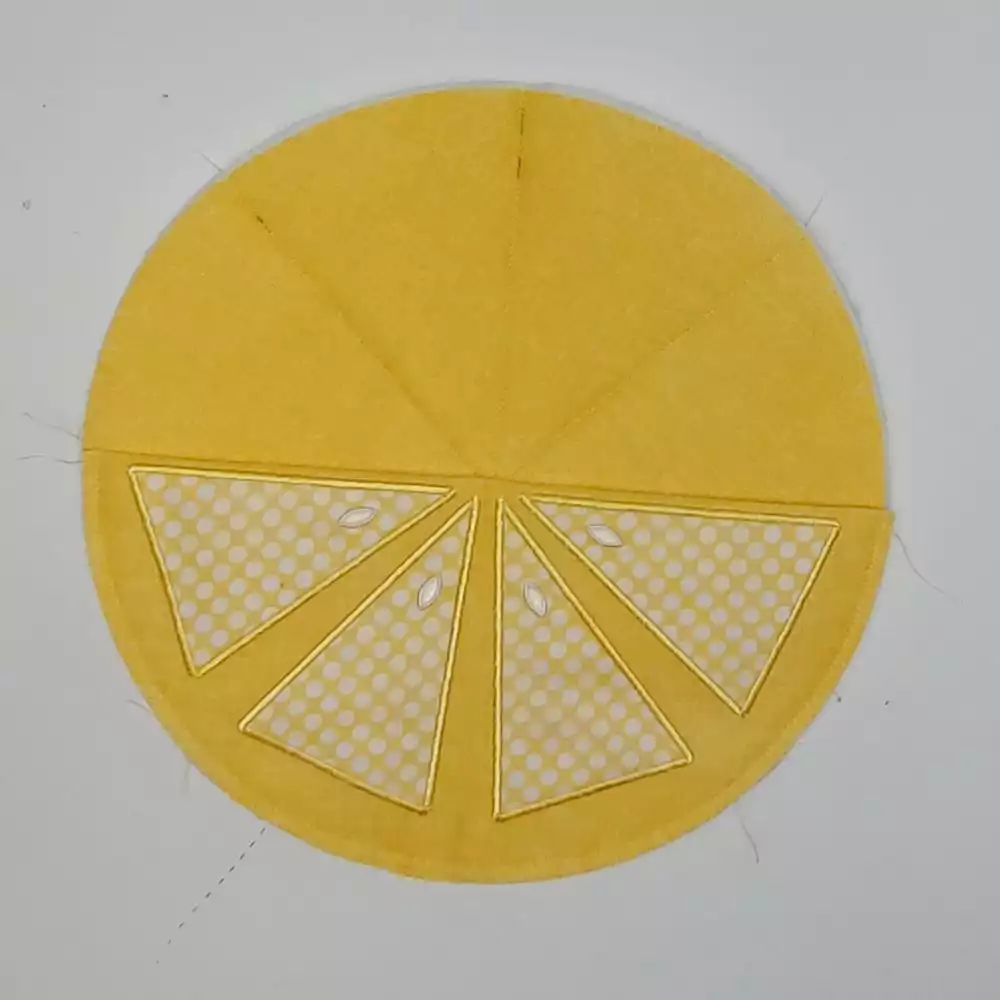
26. Place the coordinating hanging loop piece where you’d like it around the full circle. Pin in place on the backside of the full circle piece with the raw edges touching.
27. Bast together along the edge to hold the slice piece and binding hook in place.
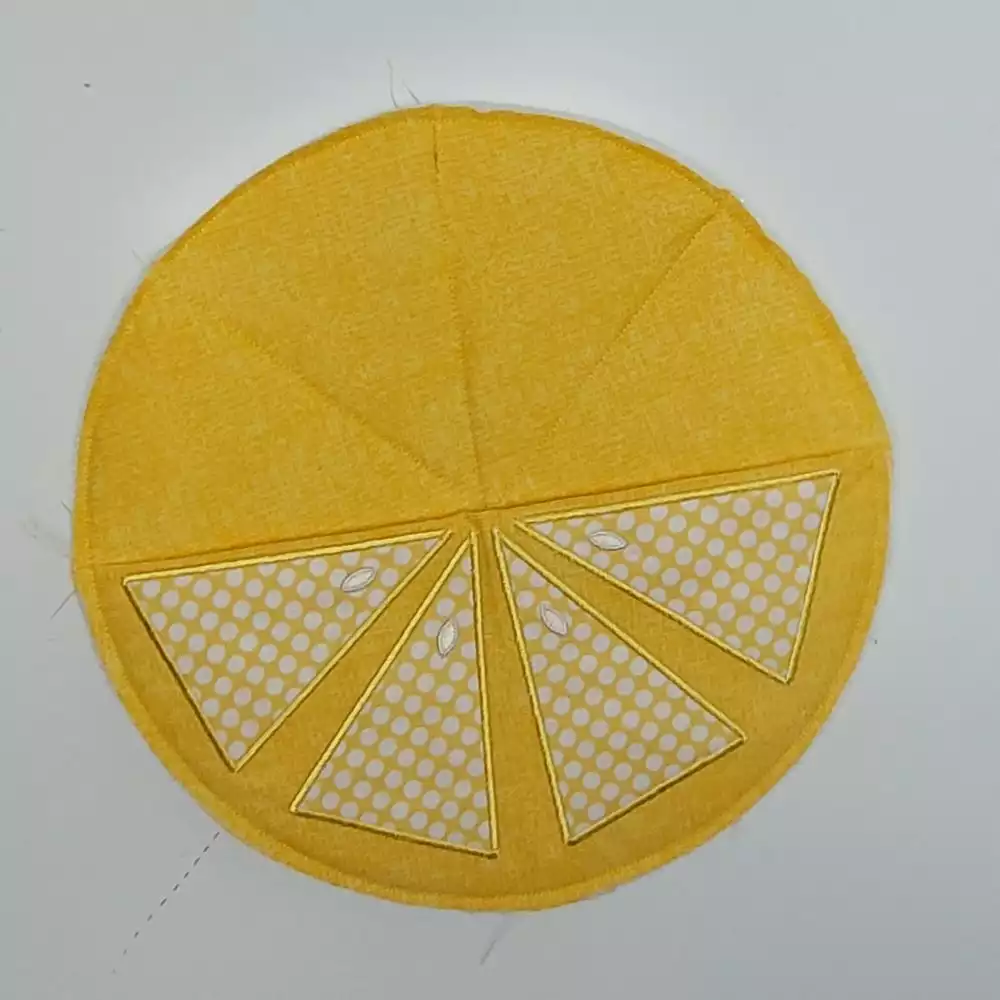
28. Using the quilt binder, attach the bias strips around the full circle. Finish in your desired way.
29. Cook up some summer treats in style using your new citrus potholder!
Header Photo.jpg
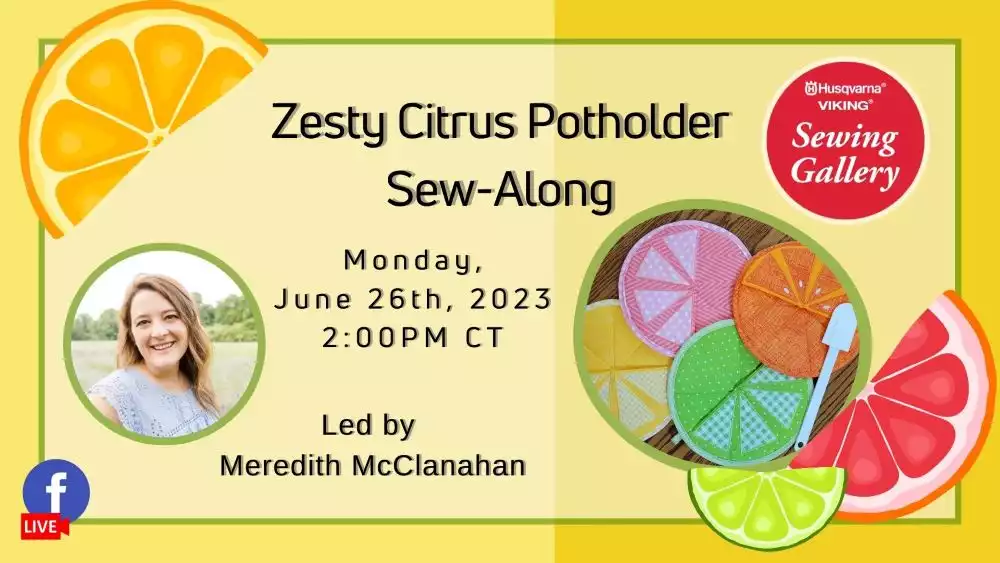
Join HUSQVARNA® VIKING® Educator Meredith McClanahan for a zesty Sew-Along!
Watch the Facebook LIVE done on May 26th.


 Denmark