Beginner's Guide: How to Create Perfect Hanging Sleeve Corners
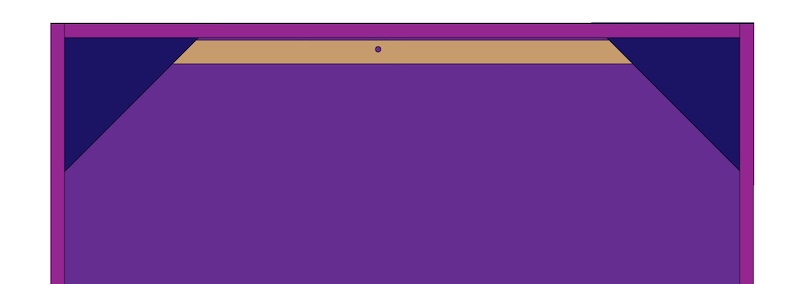
Hanging sleeve corners is an easy solution to be able to hang your quilt on the wall. When the binding is added, just measure the distance between the edges of the corners, cut a rod with that length and put it under the corner triangles. Make one more to put at the bottom of your quilt to add weight and making the quilt hanging straight.
What you need:
- Four fabric squares 6x6” (15x15cm) (the size of the squares cold be smaller or larger depending on the size of the quilt)
How to make the Hanging Sleeve Corners
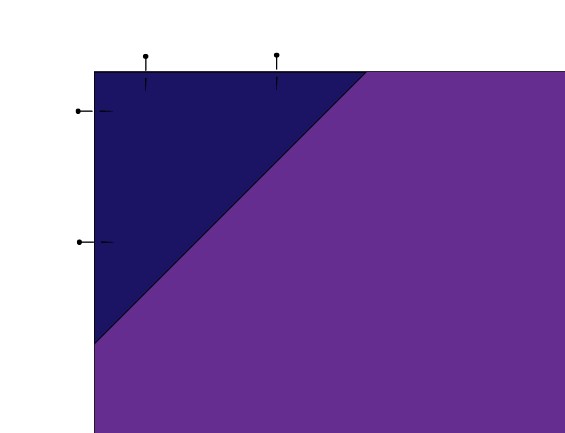
- Fold all four 6”x6” (15x15cm) squares diagonally.

- Pin one in each corner on the back of the quilt, raw edges even at the outside.

Add the binding to the quilt edges and sew the folded squares in place at the same time.
- Find instructions on how to make the binding Here

Tip: If you have an embroidery sewing machine you can use one or more of the corners to stitch out the quilt labels on. See separate instruction on this Here:


 Denmark