 Finland
Personalized Monogrammed Zipper Wristlet
.jpg?language_id=1)
Enjoy a night out on the town without the hassle of bringing a big purse along. This wristlet has two zipper pockets that can hold everything from your ID & cash to your cell phone & lipstick!
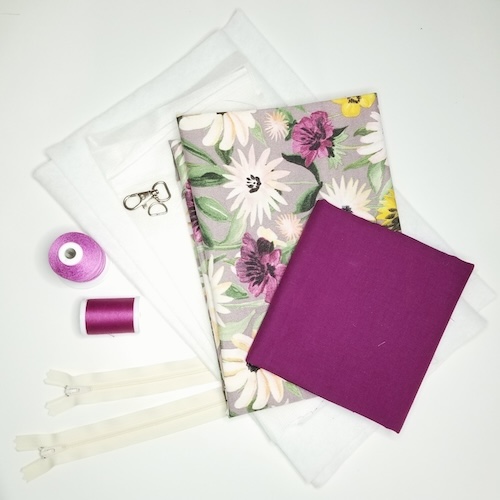
What you need:
- SINGER® Legacy™ SE300 Sewing and Embroidery Machine
- 2 - 3 colorful cotton fat quarters
- Single Sided Fusible Stabilizer
- Singer Sided Fusible Batting
- x2 Coordinating 9” or longer Zipper
- Matching Sewing Thread
- Swivel Hook and D-Ring ½”
- SINGER® Regular Point Machine Needles, Size 80/11
- SINGER® Embroidery Needles, Size 80/11
- Scissors or Rotary Cutter
- SINGER® SteamCraft Steam Iron
- Ironing Board
- Marking Pen or Chalk
- Straight Pins or Clips
Supplies for Embroidery:
- Small Embroidery Hoop - (4” x 4”)
- INSPIRA® Aqua Magic™ Stabilizer
- Coordinating Embroidery Thread
- Straight Edge Ruler
Cutting Instructions:
- Outer Body x2 - 8½” x 5”
- Body Lining x2 - 8½” x 5”
- Single Sided Fusible Batting x2 - 8½” x 5”
- Zipper Pocket - 8½” x 4” (Cut to size following embroidered personalization.)
- Zipper Pocket Lining - 8½” x 4”
- Single Sided Fusible Interfacing - 8½” x 4”
- Strap - 18” x 1¾” (Bias tape could also be used in place of creating your own strap.)
Optional Embroidery Instructions:
- Hoop Stabilizer.
- Cut Zipper Pocket Fabric to roughly 9½” x 5”.
- Center Zipper Pocket Fabric in hoop & pin or hoop in place.
- Load embroidery monogram/design created in mySewnet™ Software on your SINGER® Legacy™ SE300 Sewing & Embroidery Machine.
- Attach hoop to the embroidery arm.
- Stitch “basting stitch” to tack Zipper Pocket Fabric in place to stabilizer.
Pro-Tip: This is where you’ll double check that the basting square is centered on the Zipper Pocket Fabric. If not, it is easily removable to readjust the Zipper Pocket Fabric & stitch out the basting stitch again prior to embroidering.
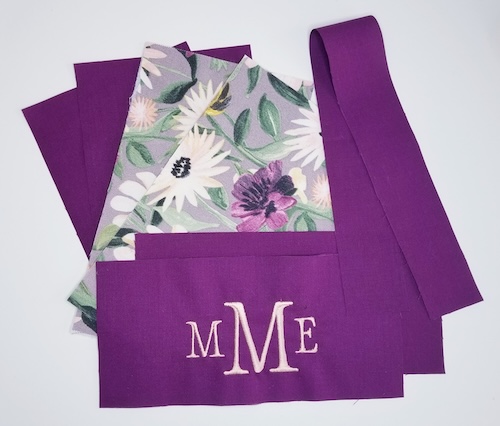
- Once the basting stitch is centered, stitch out your monogram/design.
- Once the embroidery design is complete remove hoop & carefully remove the basting stitches.
Pro-Tip: It can be easier to remove the basting stitchs from stabilizer size (the back).
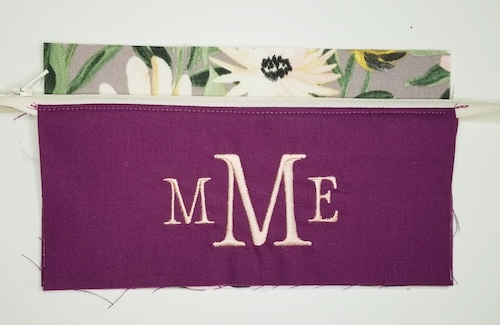
- Square up the Zipper Pocket Fabric to a size of 8½” x 4”.
Project Steps:
- Gather materials.
- Using the SINGER® SteamCraft Steam Iron fuse one of the Outer Body pieces to one of the Single Sided Fusible Batting pieces. Do this for both Outer Body pieces.
- Using the SINGER® SteamCraft Steam Iron fuse the outer Zipper Pocket Piece to the one Single Sided Fusible Interfacing piece.
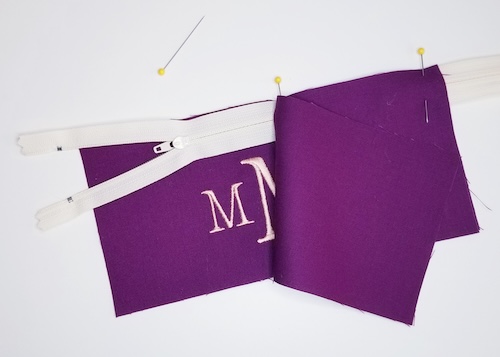
- Take the Zipper Pocket Piece, Zipper Pocket Lining & one of the 9” or longer zippers.
- Lay the Zipper Pocket Piece down right side up.
- Place the zipper right side down along the long raw edge.
- Place the Zipper Pocket Lining right side down along the long raw edge. Pin or clip in place & unzip the zipper about half way.
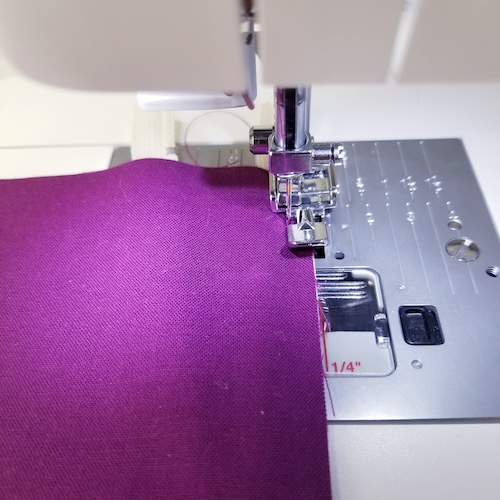
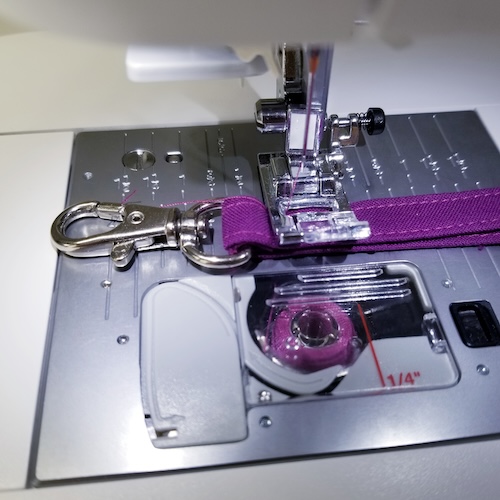
- Using the zipper foot sew along the zipper at ¼” seam allowance.
- Pro-Tip: It can be helpful to sew the sandwiched piece together with the Zipper Pocket Lining piece down on the feed dogs vs the Zipper Pocket Piece with the interfacing fused on.
- Pro-Tip: When sewing a zipper & you get to the zipper pull it can be helpful to put the needle in the down position, raise the presser foot up, pull the zipper pull closed to get it out of the way & continue sewing the zipper in place.
- Pro-Tip: Remove pins & clips as you go to not break a needle.
- Once the zipper is sewn in place, open up the zipper pocket section so that the front piece & lining are touching with the wrong sides together.
- Using the SINGER® SteamCraft Steam Iron press the seam open.
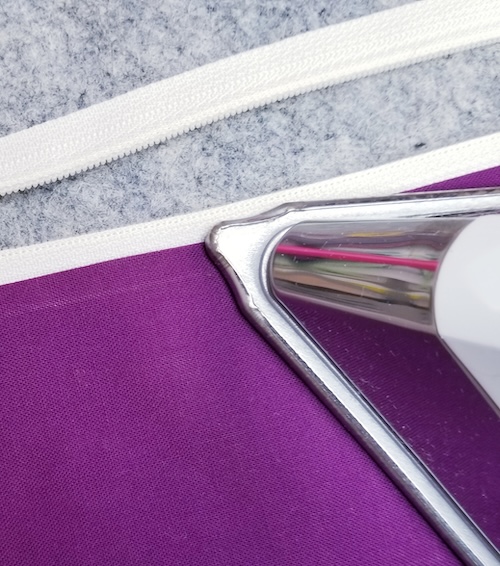
- *The Singer SteamCraft Steam Iron has a great OnPoint Tip for getting close to the fabric fold without hitting the zipper teeth.


- Top stitch the two pieces together along the folded seam.
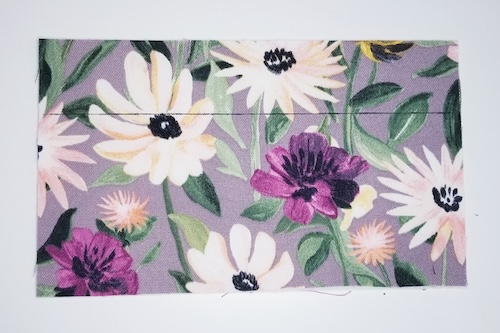
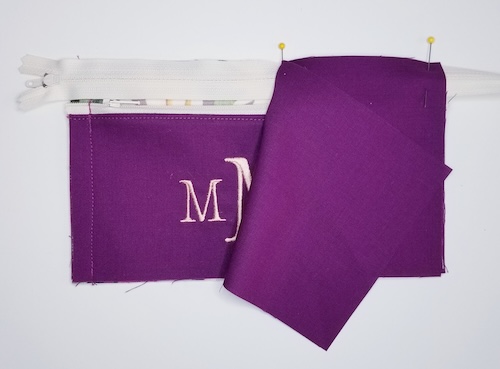
- Take one of the Outer Body pieces & with the marking pen draw a line 1½” from the top of the long side.
- Lay the Zipper Pocket section right side down so that the lining side is up with the unsewn zipper side lining up with the line drawn in the previous step & pin in place.
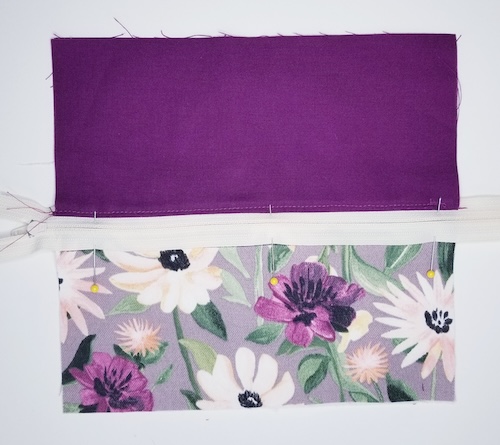
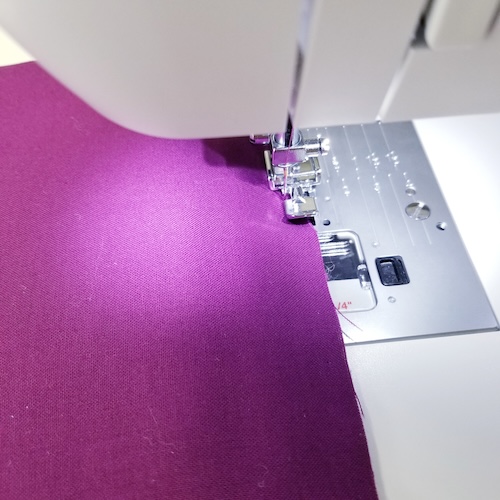
- Sew the un-sewn side of the zipper in place with a ¼” seam. Don’t forget to move the zipper pull if needed when sewing the zipper in place.
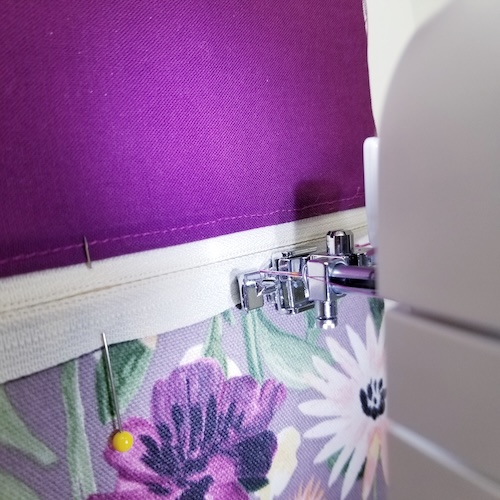
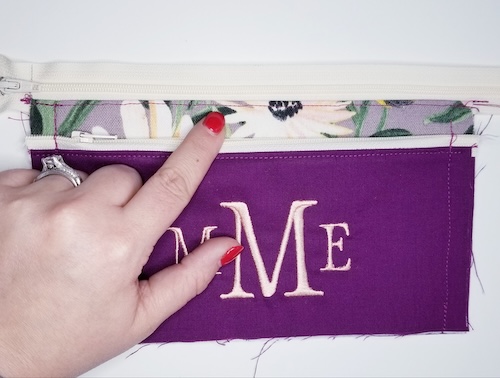
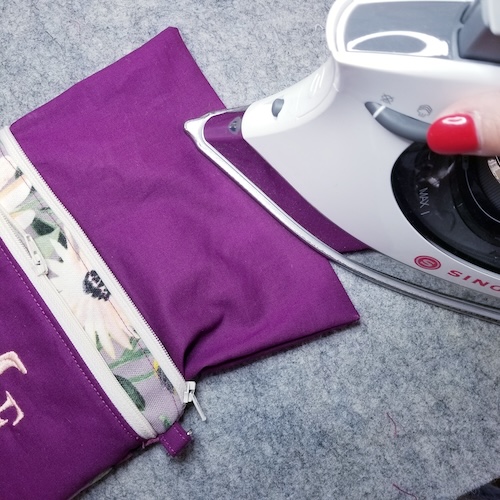
- Fold the pocket section back over & press using the SINGER® SteamCraft Steam Iron.
- Sew down the two short sides of the Zipper Pocket section to the Outer Body section with a ½” seam from the zipper to the bottom edge.

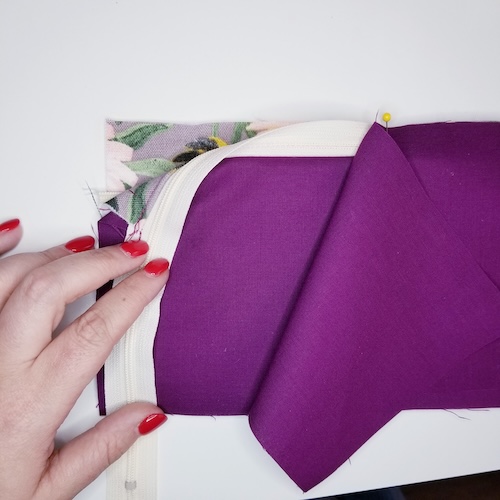
- Lay the Zipper Pocket & Outer Body section right side up on the table.
- Place the second 9” or longer zipper right side down along the top edge.
- Take one of the Body Lining sections & lay it right side down on top. Pin or clip in place & unzip the zipper about half way.
- Repeat step #8 to sew the zipper in place.
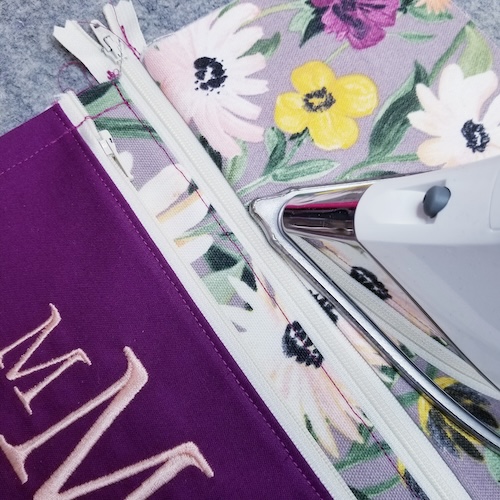
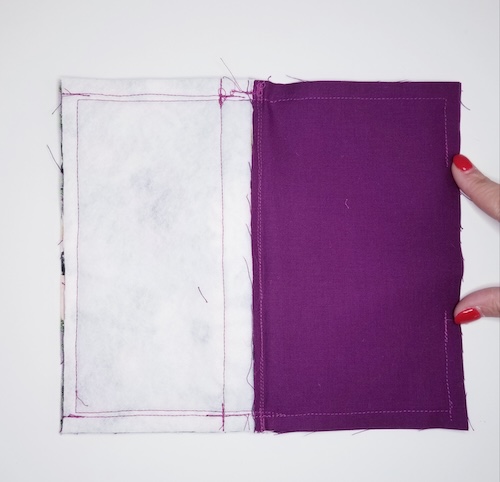
- Fold open the Outer Body section & the Body Lining piece BUT don’t fold the Body Lining section under just yet. Press using the SINGER® SteamCraft Steam Iron.
- Top stitch the Outer Body section to the zipper along the folded seam. Do not sew the lining piece with your top stitch seam.
- Fold back the Body Lining Piece so that the wrong side is touching the wrong side of the Outer Body section. Press using the SINGER® SteamCraft Steam Iron.
- Repeat steps #17 thru #22 with the second Outer Body section & the second Body Lining Piece.
- Square up the raw edges if you need to at this point to have a clean straight edge on all 4 sides & set aside.
- If you are creating your own strap continue here if not skip to step #37.
- Take the strap fabric & press in half longways.
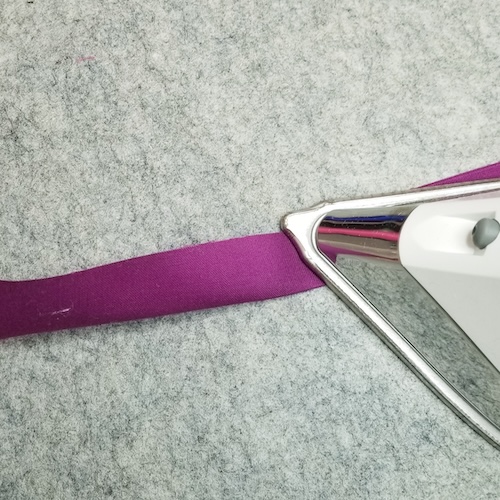
- Open the strap piece up & press each long raw edge into the center of the strap fabric where the pressing line was made in step in #25.
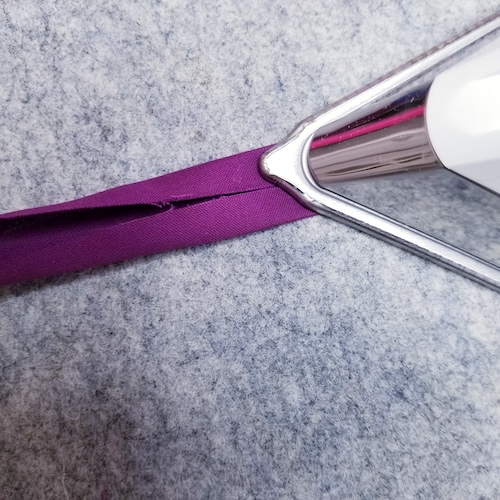
- Fold the strap piece in half & press in place. The finished size should be roughly ½” wide.
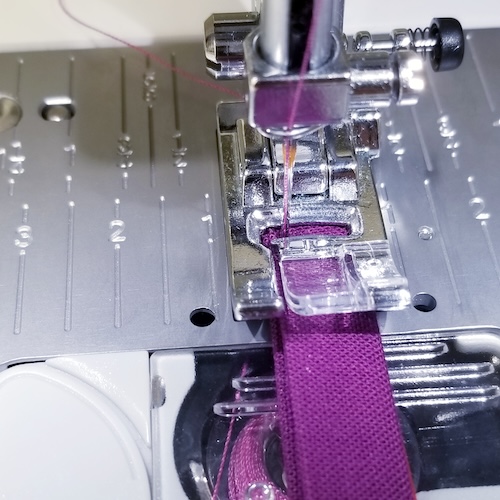
- Sew along both long edges of the strap to hold in place.

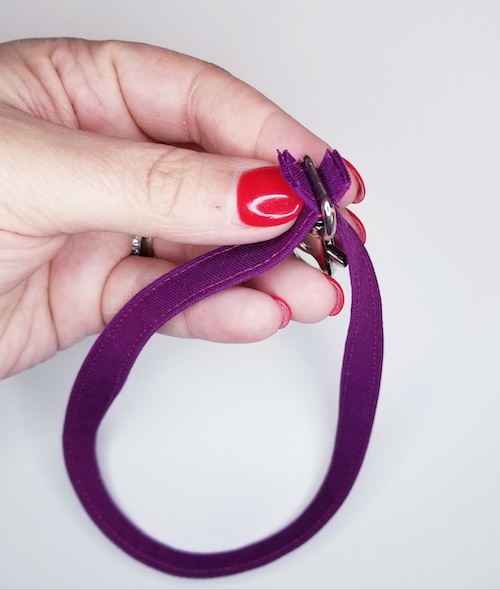
- Cup a 2½” piece off the strap.
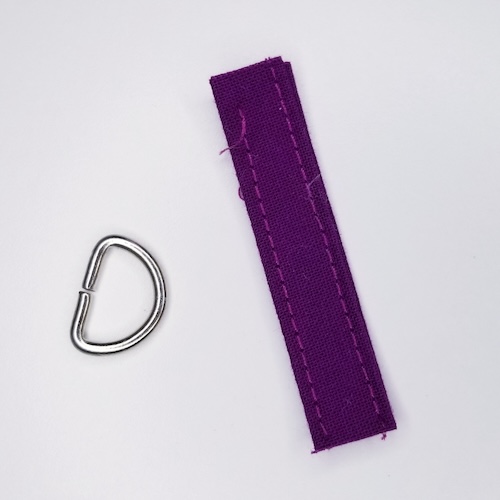
- Place the D-Ring on & fold in half.
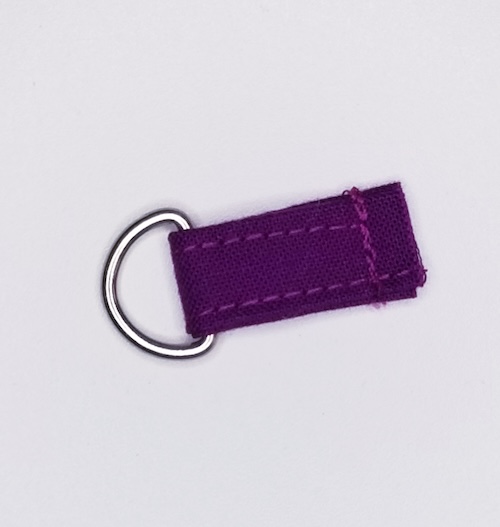
- Sew the raw edges together to hold in place.
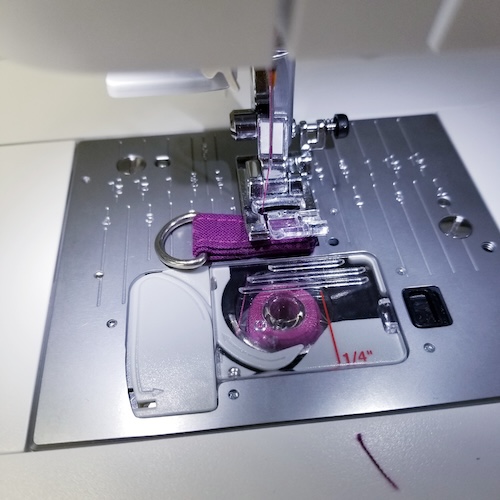
- Place the D-Ring strip piece between the Zipper Pocket zipper & the Outer Section zipper. Sew in place.
- Pro-Tip: Be sure to move the Lining of the front Outer Section out of the way prior to sewing the D-Rind strip piece in place.
- Take the long strap & place the swivel hook on it.
- Fold them inward to the center of the strap loop, lining up the short end raw edges.
- Sew the raw edges together to hold in place.
- Using the SINGER® SteamCraft Steam Iron press the raw edges of the lining opening inward.
- Move the swivel hook so that the short raw ends are on either side of it.
- Place the strap loop together & sew in place about ½” from the swivel hook.
- Open the sections up so that the Lining pieces as well as the Outer pieces are right sides together. Pin or clip all the way around.
- Pro-Tip: It can be helpful to line up the zipper teeth on either side so that they match when sewing together.
- Pro-Tip: Make sure the zipper is open at least ½ way for turning after sewing together.
- Sew a ½” seam allowance all the way around. Leaving a 4” to 5” opening at the bottom of the lining piece for turning.
- Pro-Tip: Remember to back stitch at the beginning & end to keep the stitches from coming out when turning right side out.
- Pro-Tip: It's helpful to back stitch over the zipper section once or twice since that will be the area tol get a lot of wear with the zipper opening & closing.
- Turn the bag right side out through the opening of the lining pieces.
- Using a chopstick or stiletto push the corners out to have nice points on the wristlet.
- Using the SINGER® SteamCraft Steam Iron press the raw edges of the lining opening inward.
- Sew a ¼” sew to close the opening.
- Push the lining back into the wristlet.
- Clip the wrist strap to the D-Hook.
- Make this customizable, one of a kind, double zipper wristlet to add that extra touch to your existing wardrobe.