 Finland
Digitizing a Ribbon Heart: Create a Stunning Embroidered Design
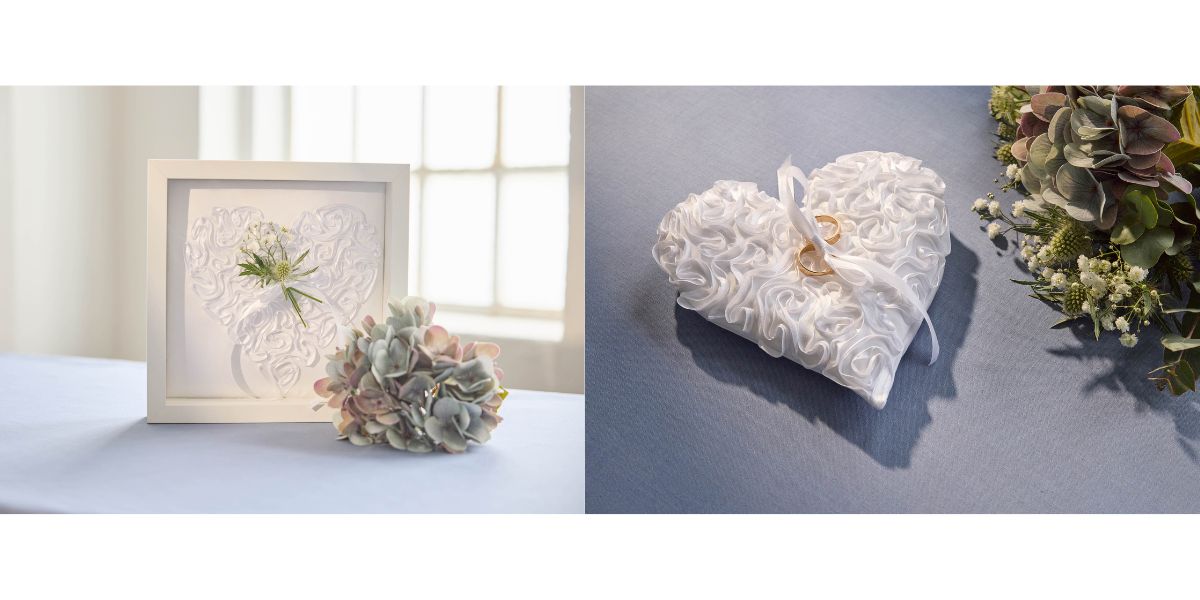
Bring the beauty of ribbon embroidery to life with this digitized Ribbon Heart design using mySewnet embroidery software at the Platinum Level. This project guides you through creating an intricate ribbon heart that can be stitched out using the Ribbon Embellishment attachment, Creative Embellishment attachment (CEA), or Designer Embellishment attachment. Elevate your embroidery with elegant textures and dimensional details for a truly special keepsake! 💖✨
What you need:
- MySewnet embroidery software, Platinum Level
- Note: To be able to stitch out the file you will need the Ribbon Embellishment attachment:
Making the heart Stitch line:
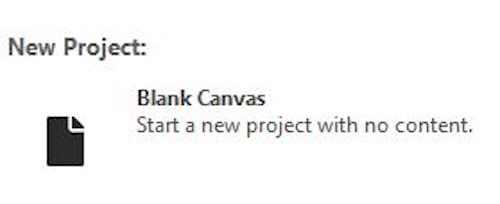
- Open mySewnet embroidery software, select Blank Canvas.
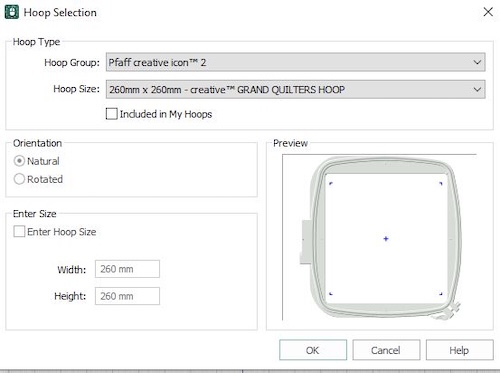
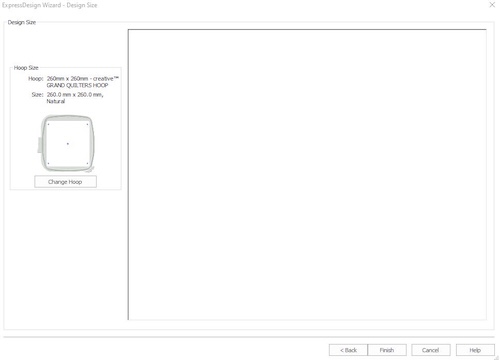
- Change the hoop to 260x260 mm hoop (GRAND QUILTERS HOOP (Pfaff)or MEGA QUILTERS HOOP (Husqvarna Viking)
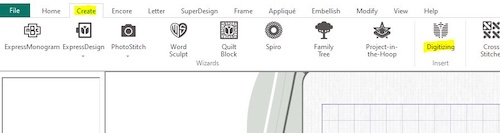
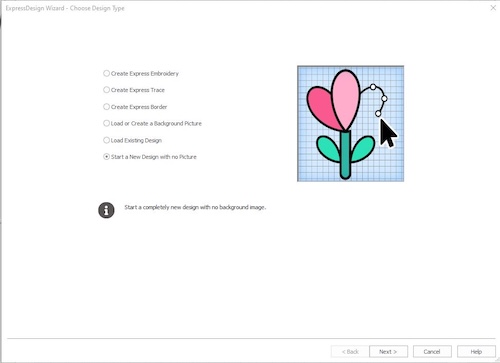
- Click on Create and select Digitizing.
- The digitizing window will open with a new dialog box, select Start a New Design with no Picture, Click Next.
- Set the hoop to 260x260mm hoop if not already done.
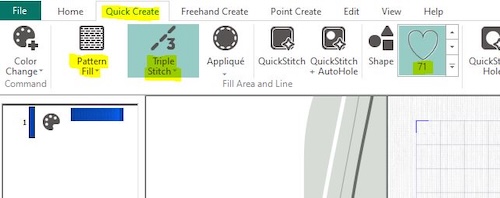
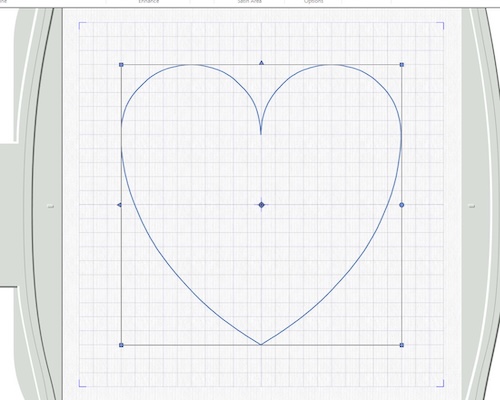
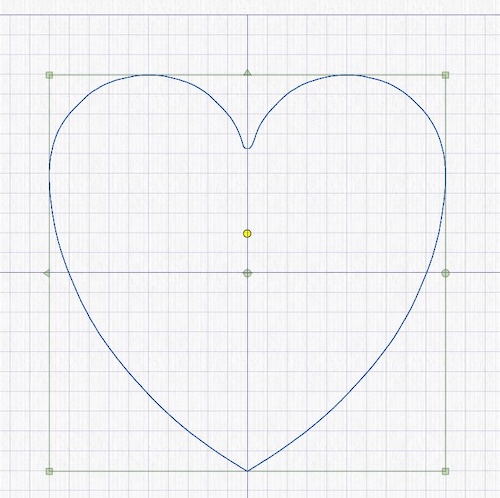
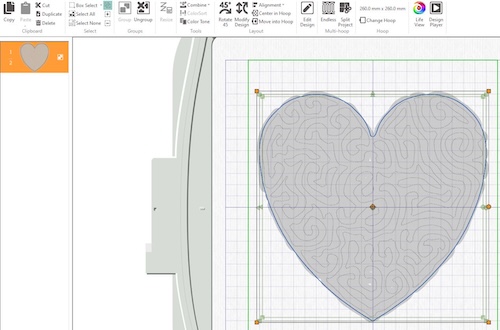
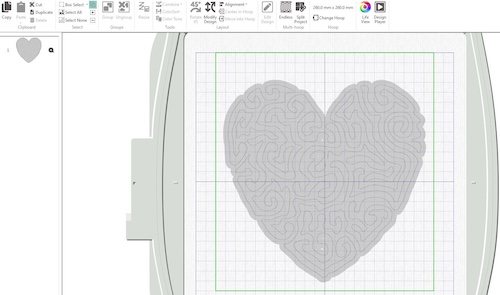
- Click on Quick Create, select No fill, and set the stitch to Triple stitch, click on Shapes, and select no 71, Heart.
- Click again on Shape symbol. The heart will now show up on the canvas.
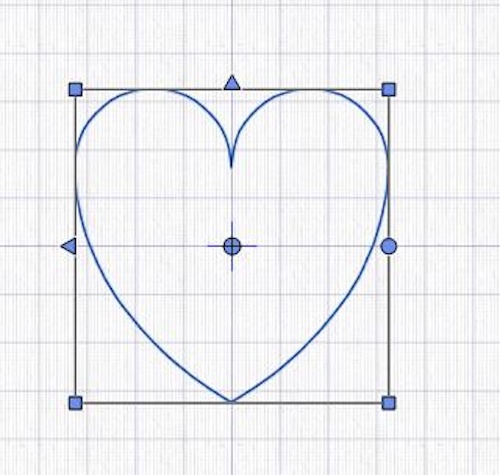
- Hold down the SHIFT key and drag the blue corners of the heart to resize it. Make it approx. 200x200mm.

- Move the design to the center of the hoop.
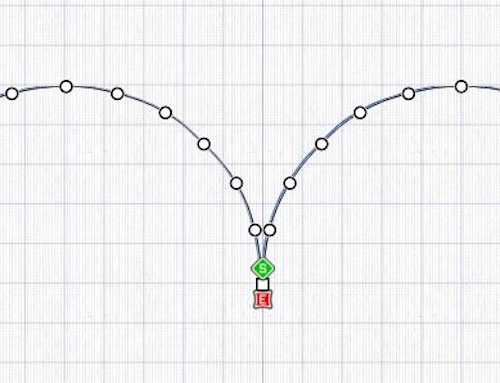
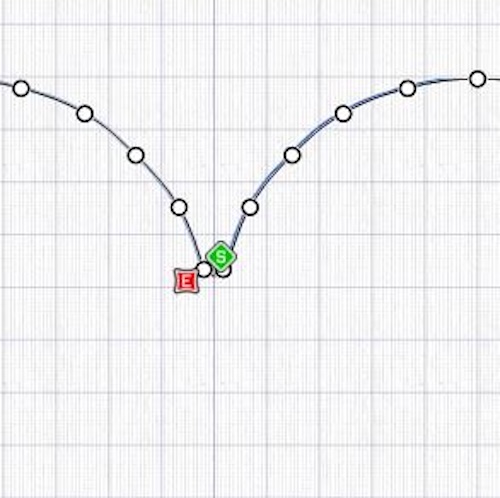
- Click on the Home tab and then on Delete Points.

- Click on the Square point where the two curves from the top of the heart meet. This will make the curve smoother and easier to cut into when the pillow is finished.
- Close the Digitize window. You will now return to the embroidery window.
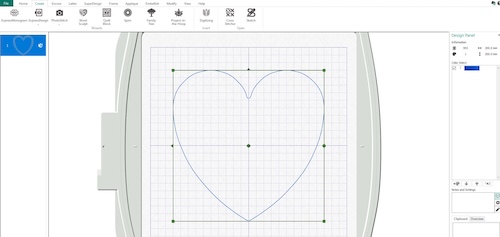
- Click on File, Save As and name your file Outline heart triple stitch.

Making the ribbon embroidery
- Click on the Embellish tab. On the left side, in the Category window, select the ribbon icon. In the popup window select the color and width of your ribbon. In this case I selected 10mm wide ribbon in grey, click OK.
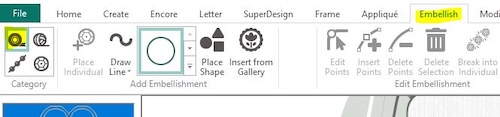
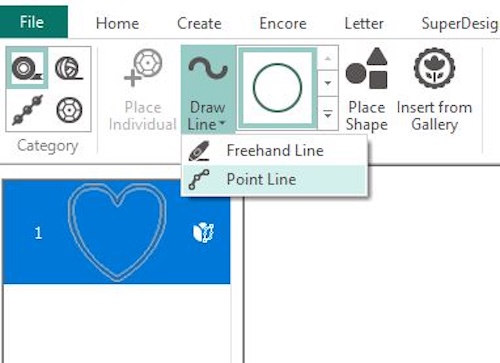
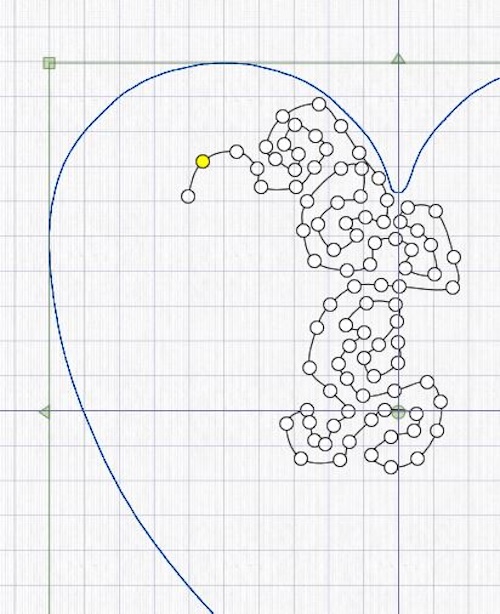
- Click on Draw Line and select Point Line. Now we are ready to start making the ribbon embroidery design!
- Make the first point on the center line about 4 squares(4cm) from the base of the heart top.
- Continue to add points in a meandering style, or whatever style you want. Place the lines about 5mm apart, to get a fuller look of the ribbon embroidery.
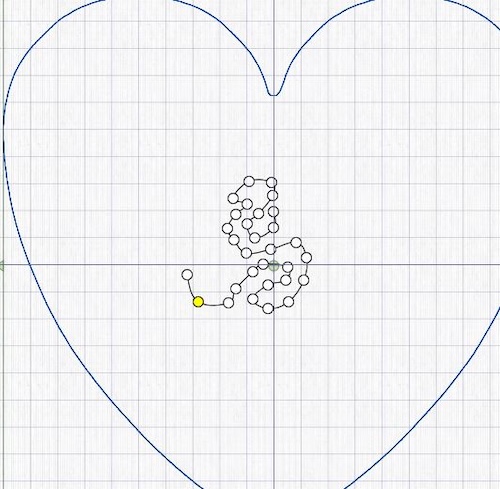
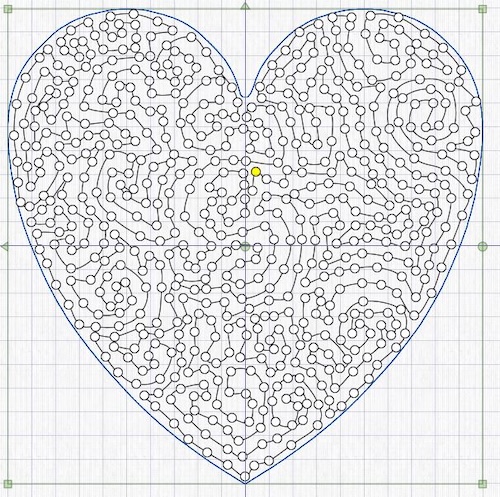
- Fill the heart shape with stitches, leave a margin to the outline, .1cm. This makes it easier to sew it together later. If a point gets misplaced, just go back and hoover over it. The icon will change to four arrows. Hold down left on the mouse and move to the correct position. Try to end the stitch line close to where it started, since we will use the ribbon eds to tie the rings together.


- When finished, right click to finalize the embroidery. It will now show up on the Canvas.

Final preparations:
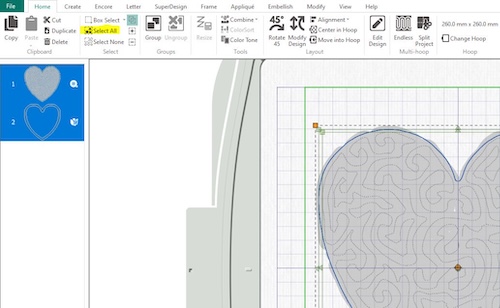
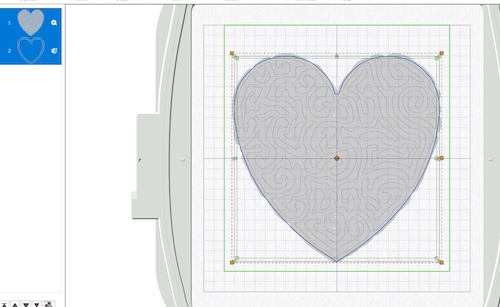
- Go to Home tab. There are now two hearts in the Filmstrip on the left side of the screen. We want the outline to be stitched out after the ribbon heart. Use the arrow up key to move the ribbon heart to the top.
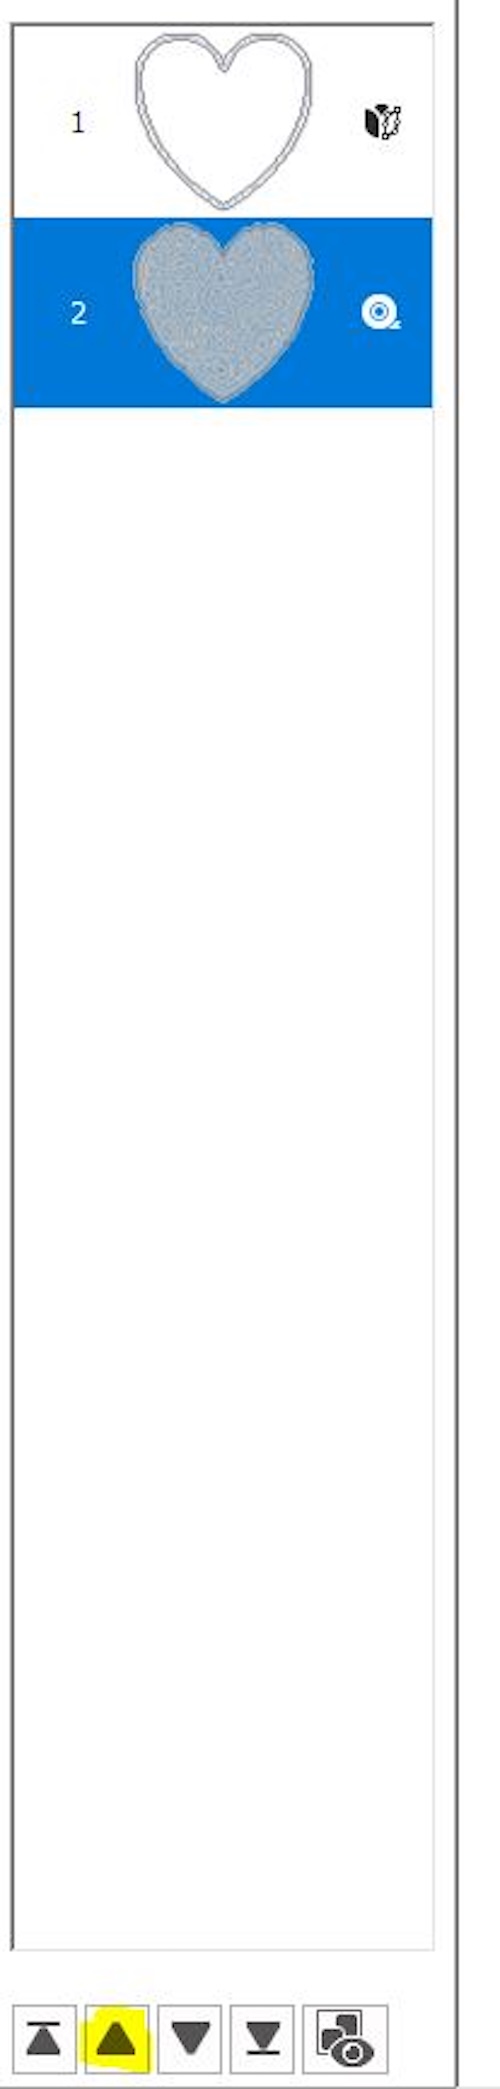
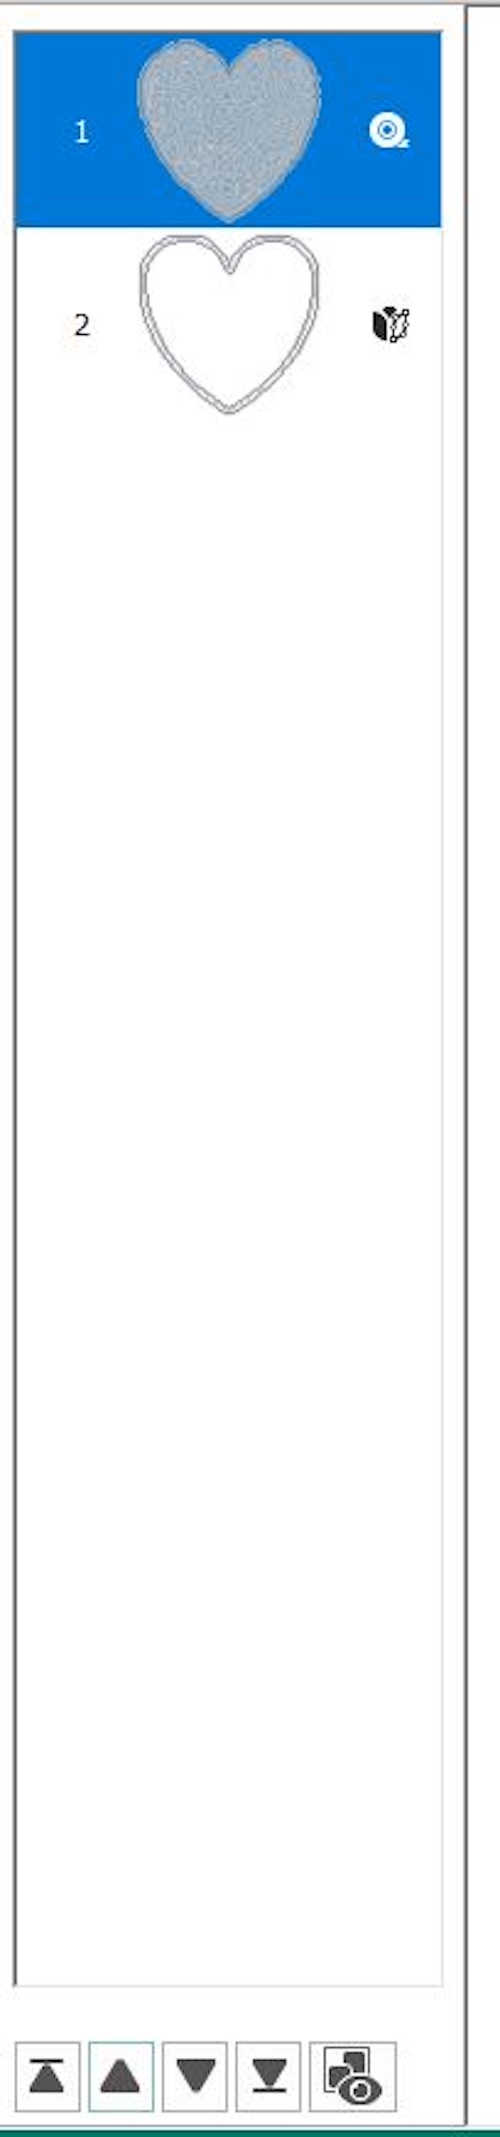
- To complete the file, click on Select All and then Group. The files will now be grouped together. The advantage of this compared to Combining the files is that they can easily be changed, just click ungroup, make any changes and group again as needed.

- Save the file as Ribbon heart Pillow.

- Export the embroidery file:
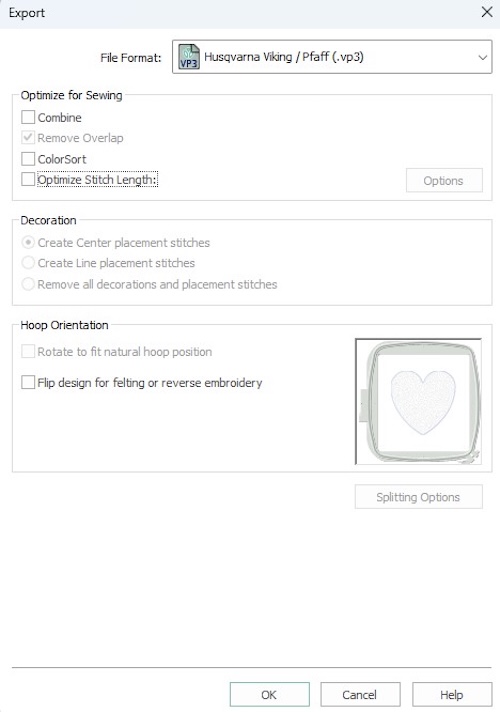
- When editing and exporting Ribbon embroidery files, care is needed. Any editing in the ribbon embroidery part of the file could remove the ribbon Stitchout information, making it a plain straight stitch, it could also possibly damage your ribbon embroidery unit.
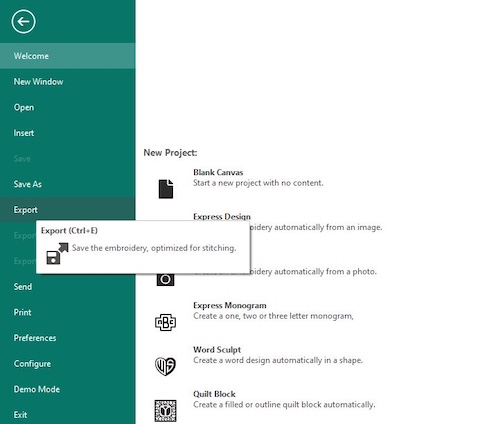
- Go to File Export.
- In the popup window, select your preferred file format. Uncheck all the boxes in the Optimize window. Click Ok to export the file.
- Close the embroidery program.
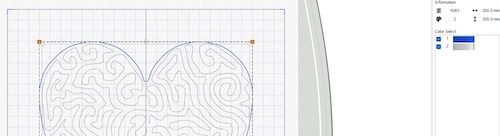
- Open the file you just exported. As you can see the blue color will be stitched out. This is an automated function in the export feature. In this case we need to change that.

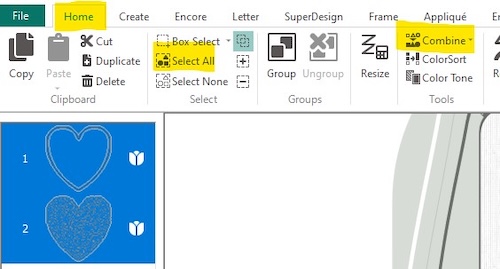
- In the Home tab, go to Select all, then Combine, Combine all.
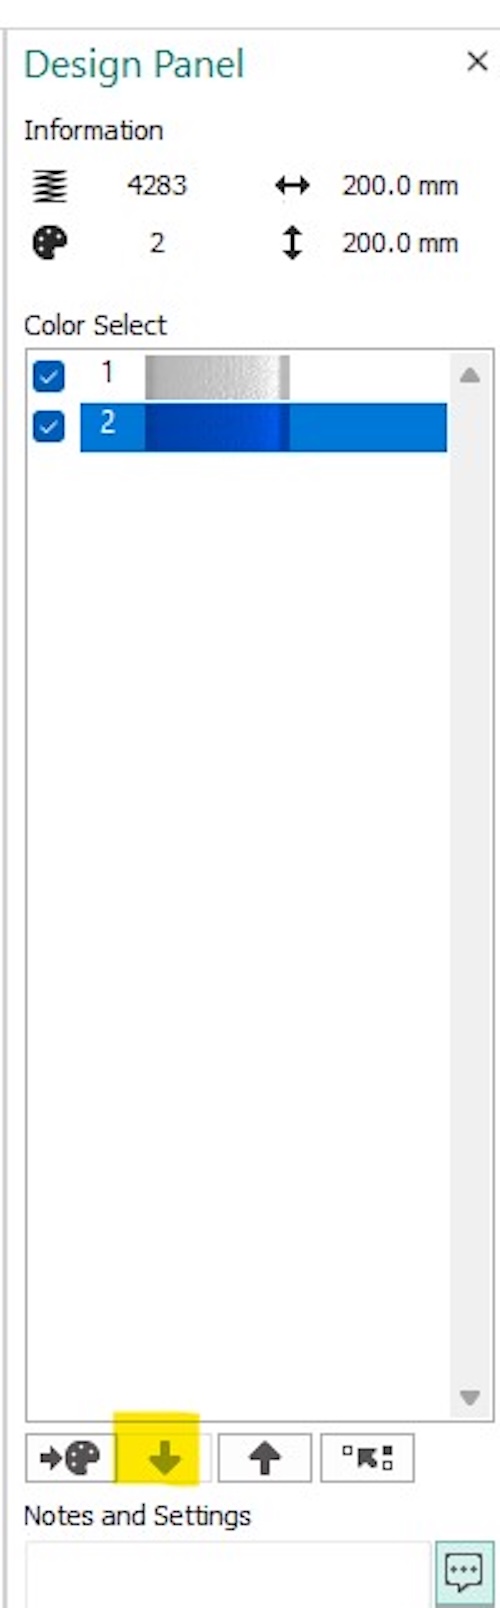
- Now go to Modify. Click on the blue color in the Design Panel on the right side of the screen.
- Use the Down arrow at the bottom of the design panel to move the blue color to be stitched out last.
- Go to Home tab and export the file again. Uncheck all boxes in the optimize window. Verify that the color blocks are in the right order after export.
- Making the memory display embroidery file:
- Open the Ribbon Heart pillow vp4 file you have made.
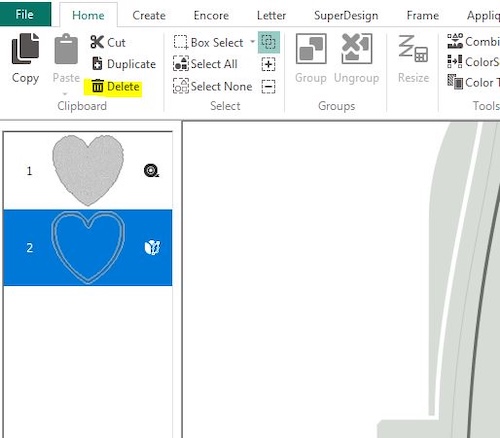
- To make the memory display we need to remove the heart outline.to do this, click on Ungroup. The two embroideries will be separated.

- Select the outline in the filmstrip and click on Delete.
- Now the outline is deleted and only the ribbon embroidery is left.
- Save the file as Memory display ribbon Heart.
Instructions on how to stitch out the files go to the Ribbon Heart Pillow or Memory Display projects on mySewnet Studio.