Sewing the Quilt
Sewing the Blocks and Borders for the Quilt Top.
Making the blocks:
Instructions on how to make each block are included in the Quilt program, just follow the instructions below to see how to use it.
- Click on the Output Panel button.

- Click on Quilt Overview.

- In the Quilt Overview window, you will see the different blocks and how many you need to make of each. You can also get instructions about how to assemble the quilt top, but more of that later.
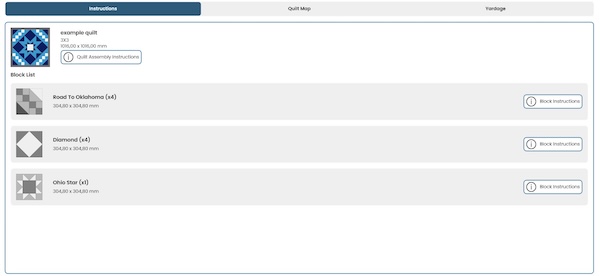
Road to Oklahoma Blocks
- Let's start with the Road to Oklahoma block. Here you can see how many you need to make (4) and the size of the finished block.
(without seam allowances)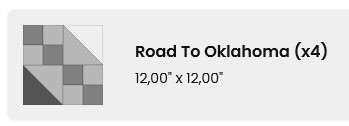
- Click on Block Instructions.

- A new window will open with instructions on how to sew the patches together to make the block.
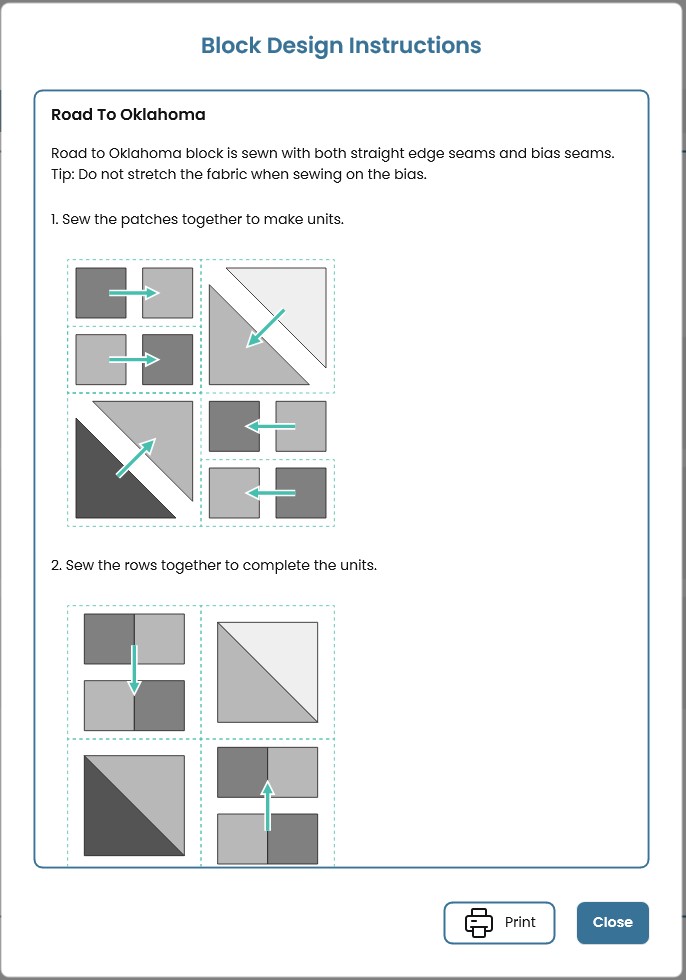
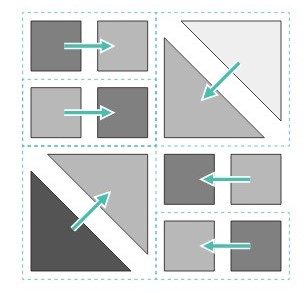
- Let us go through this step by step. The first step is to sew the subunits together, the squares and the half square Triangles (HST). Use the seam allowance you have selected for this. Be careful not to stretch the fabric when sewing the bias seam. (the seams on the diagonal)
- Second step is to sew the rows of squares together to make a four patch.
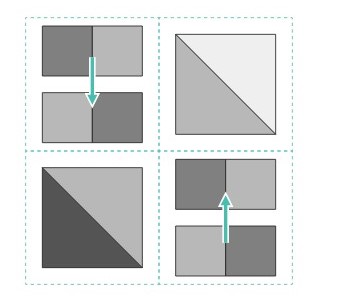
- In the Third step we will sew the units together to make rows.
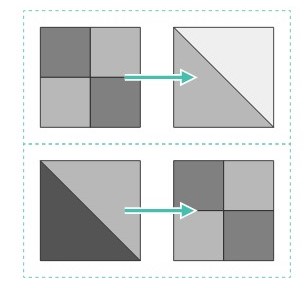
- In the fourth and last step we will sew the rows together to make the block complete.
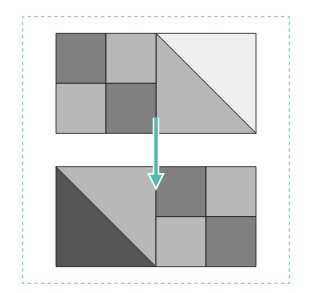
- Your block is now finished and will look like this: Make three more
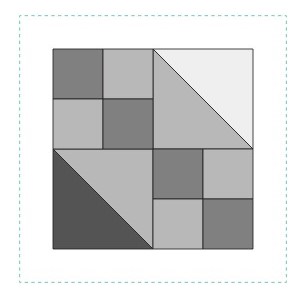
Diamond Blocks
- Click on Block Instructions.

- The first step is to add two half square triangles to the diamond shape. Make sure not to stretch the bias seams.
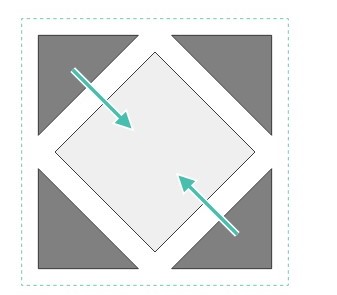
- Next step is to sew the next two half square triangles on the remaining two sides of the diamond shape.
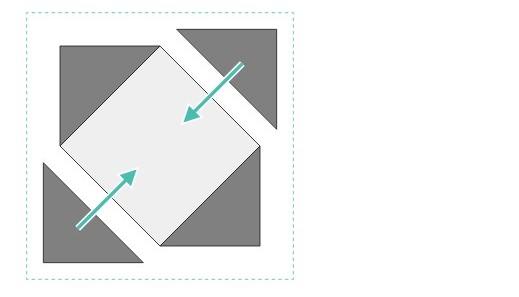
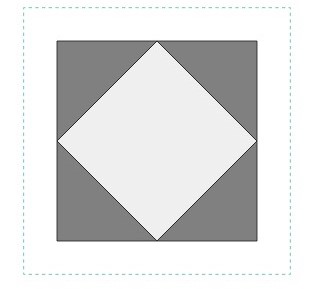
- Your block is now finished, make three more.
Ohio Star Block - Click on Block Instructions.

- The first step is to sew the subunits with half square triangles together.
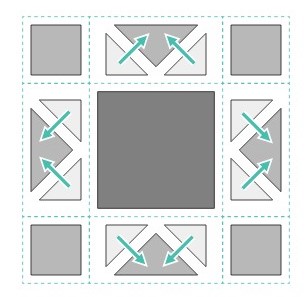
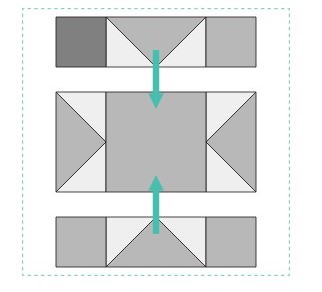
- The second step is to sew the subunits together to make rows.
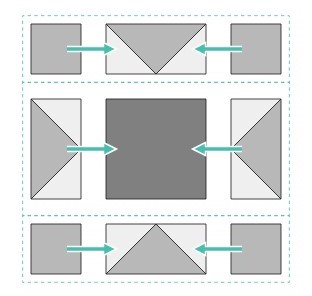
- The last step is to sew the rows together to complete the block.
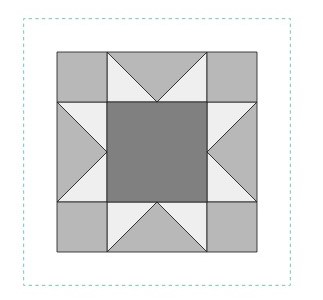
- Finished block.
Putting the Quilt Top Together
Now you have all the blocks you need to make the quilt. Lay them out in the correct order, three rows with three blocks in each. - Click on Quilt Assembly Instructions.
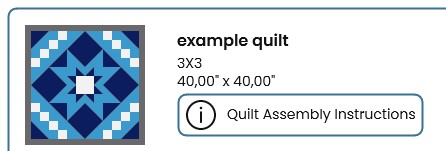
- A new window will open showing you how to make the quilt top by step.
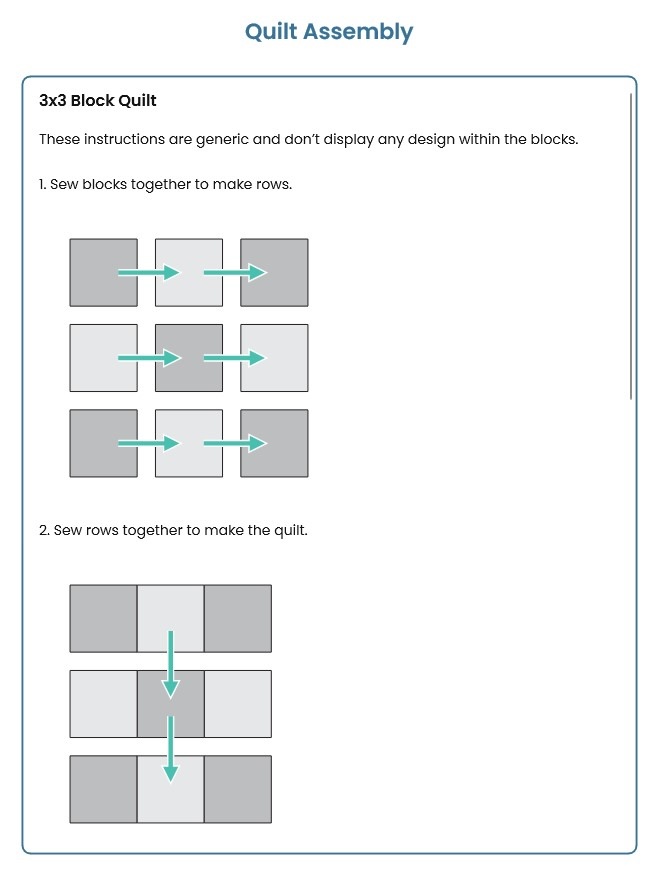
- The first step is to sew the blocks together into rows.
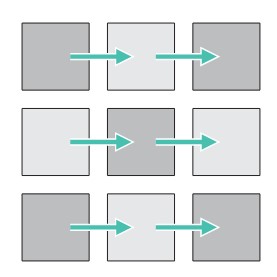
- Sew rows together to make the quilt.
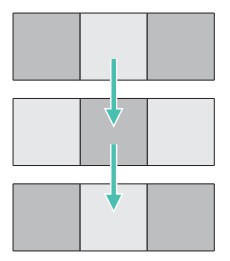
Adding borders
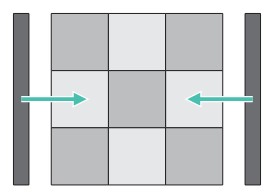
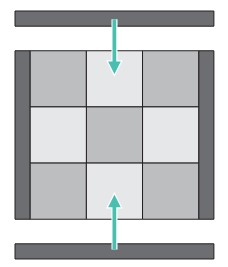
- Pin the vertical borders in place following the instructions. Sew in place
- Pin the horizontal borders in place following the instructions sew in place.
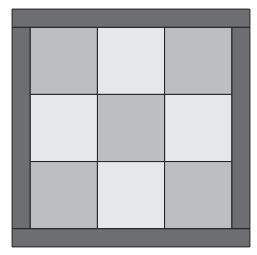
- Your quilt top is now finished.
To complete the quilt, you need to add backing, batting and bind the edges. In mySewnet studio you can find further instructions and lots of more inspirational content. Find the instructions for this quilt here


 Netherlands