Scrap-Busting Roll-Up Grocery Tote
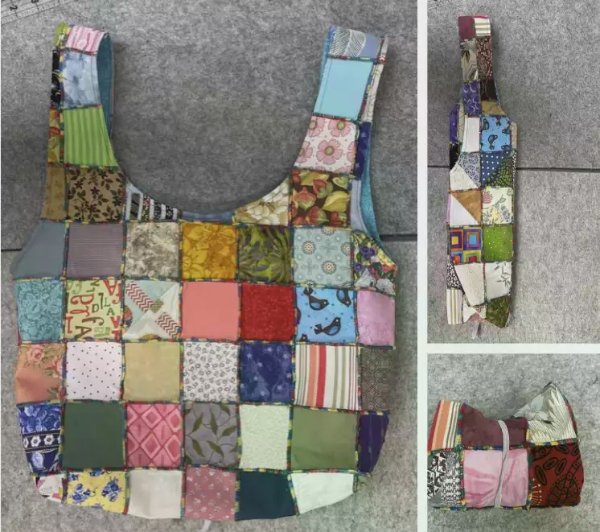
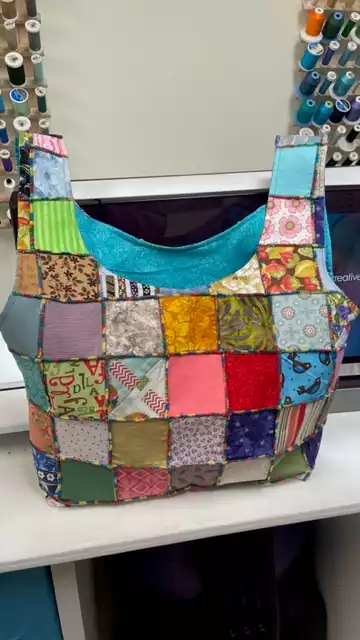
Use your scrap fabrics and your serger to create a useful, and decorative, roll-up grocery tote bag.
What you’ll need:
- Serger/overlocker
- Sewing machine
- Edge Stitching foot
- All of your scrap fabrics cut into like-sized squares (size doesn’t matter as long as they are all the same)
- Two larger scraps of fabric for facing pieces (each approximately 18” X 14”)
- Two yards of Pellon SF101 (Shape Flex) fusible interfacing (or other woven interfacing)
- 8” piece of ¼” elastic
- Scissors or rotary cutter and mat
- Coordinating thread and bobbin for sewing machine and 4 spools of thread for serger (we used variegated)
- Ruler and fabric marking pen, chalk, or pencil
- Pins or clips
- Iron and ironing surface
- Roll Up Tote Bag Pattern.pdf
Directions for Scrap-busting Roll-Up Grocery Tote
1. Cut your full pattern piece from the Shape Flex (or other woven fusible interfacing) twice.
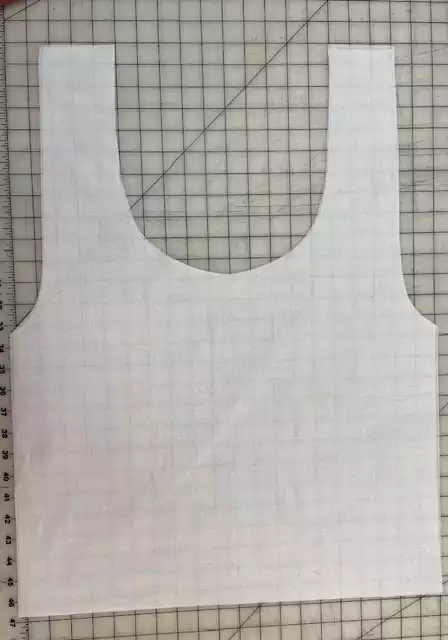
2. Cut your facing pieces out of fabric twice. You can patchwork your scraps for the facing but the seams will get very thick so we don’t recommend.
3. Assemble your scrap fabrics. I have found it easiest to cut the pieces to squares that are all the same size for this technique.
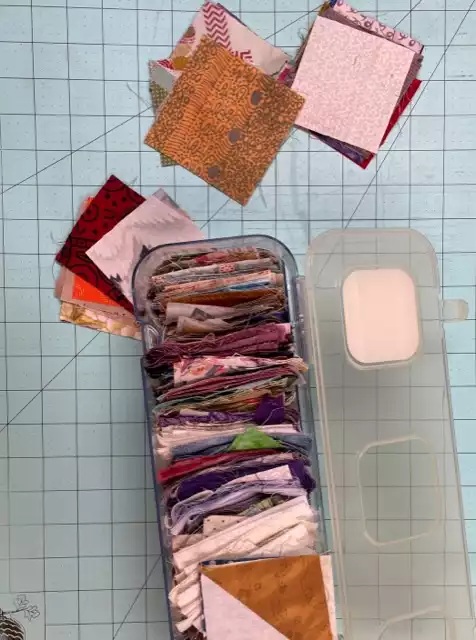
4. Cut an 8” piece of ¼” elastic.
5. Lay out the interfacing with the fusible side up and place your square scrap pieces in rows to fill up the space (as pictured).
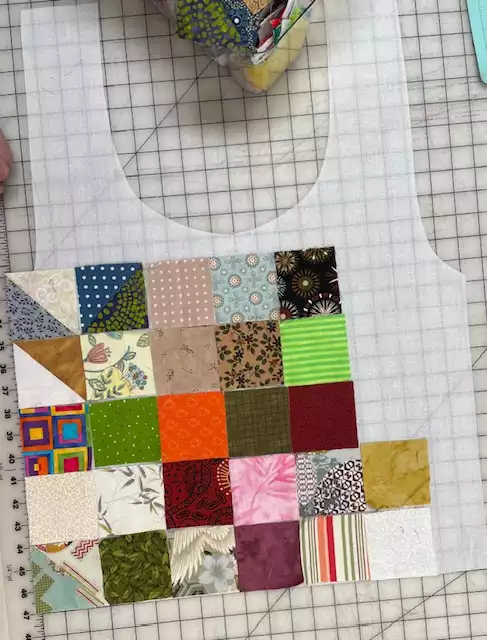
6. Carefully press the scraps to the interfacing and trim away any excess.
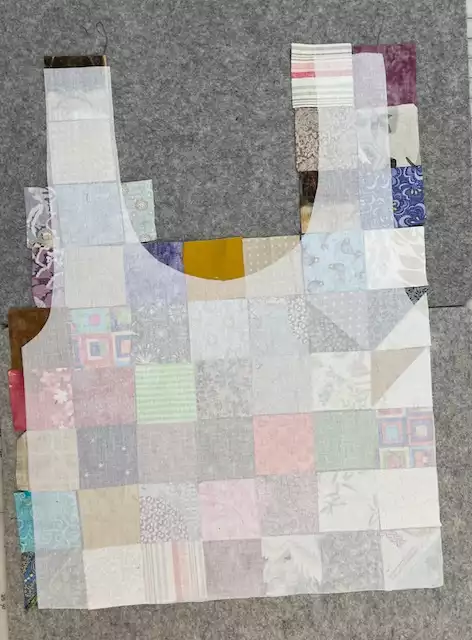
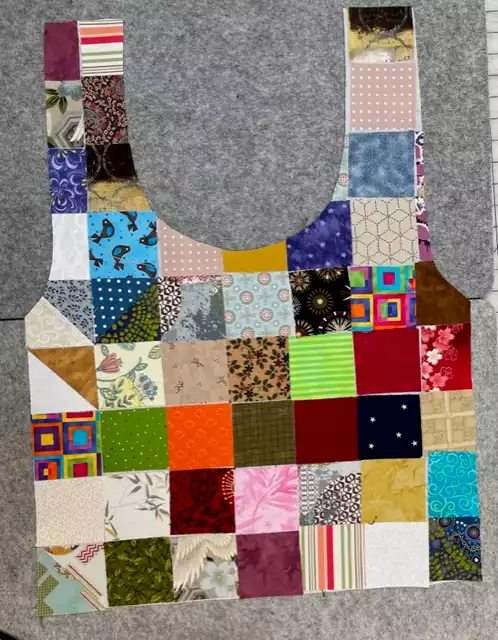
7. Set up your serger for a three-thread rolled edge following the instructions on screen or in your user’s guide..
8. Having wrong sides together, fold back along one long seam (between the vertical columns of scrap pieces) and serge a rolled edge on the right side of the fabric. You can trim a little fabric as you go, if needed.
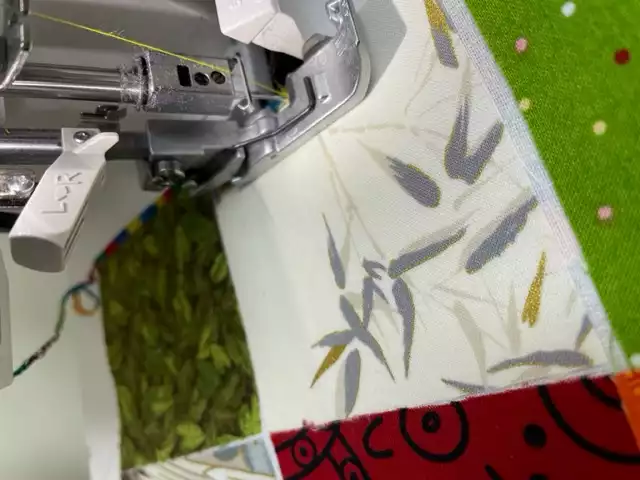
9. Once you have sergered all of the columns, carefully press the bag pieces. It may be easier to press on the wrong side to make sure it is as flat as possible.
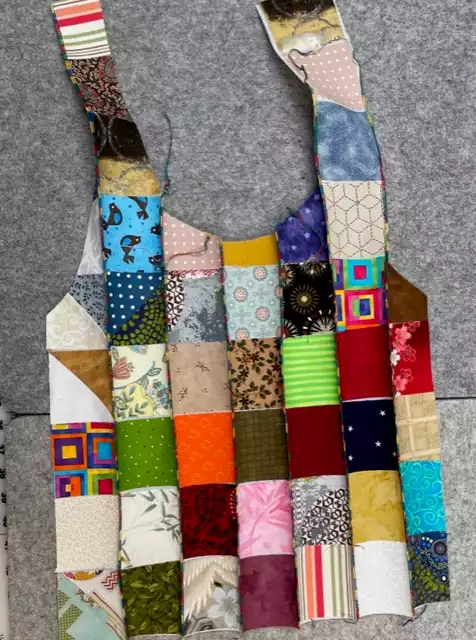
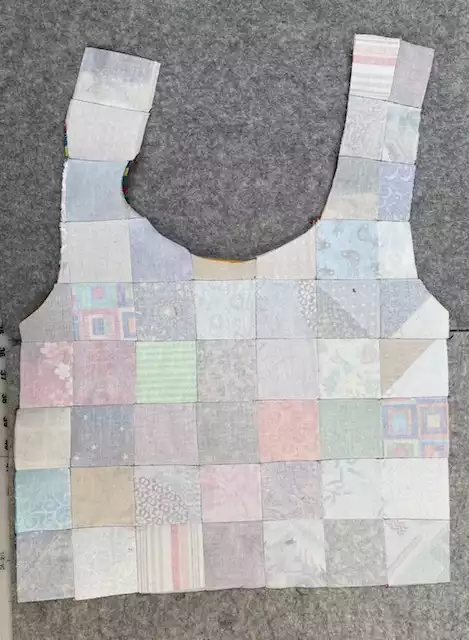
10. Now, serge a rolled edge along the horizontal rows of scraps to create a grid pattern while also eliminating all raw edges of the scraps.
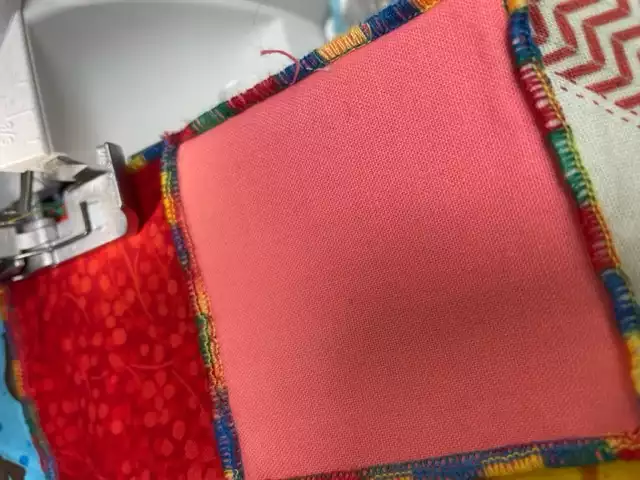
11. Serge a three-thread rolled edge to hem the facing pieces.
12. On your sewing machine, use a 1/4” SA to stitch one facing piece to one main piece RST only at the curves. Repeat on the other facing/main pair. Clip all of the curves.Turn the facing to the inside of the bag(through the tops of the strap sections) and press.
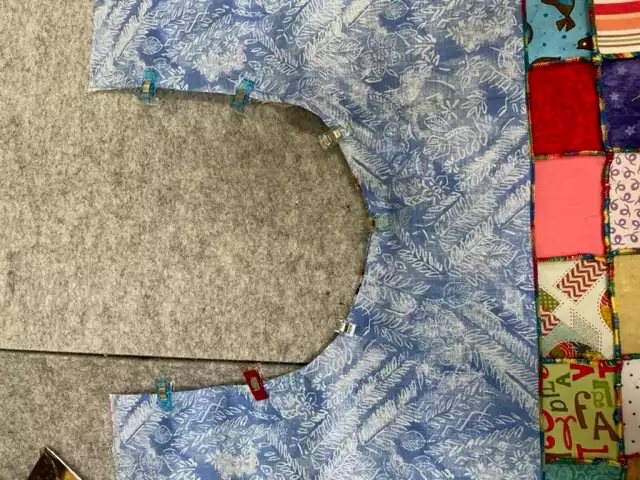
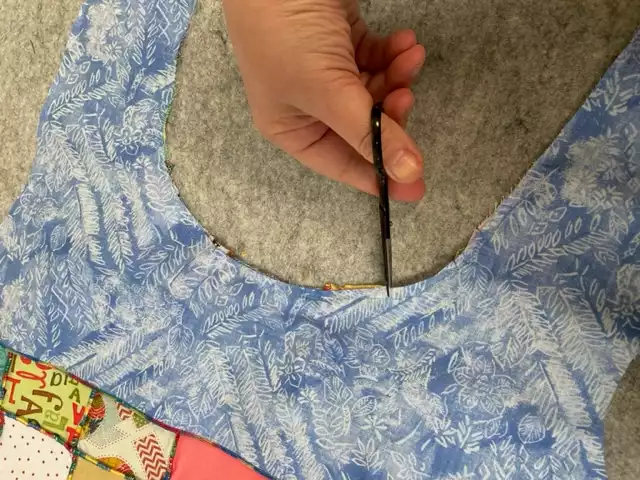
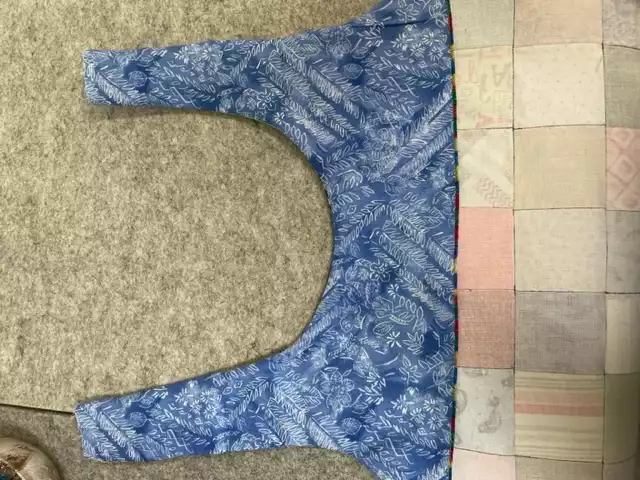
13. Change your serger to a Four-thread overlock stitch.
14. Having right sides together,serge one main/facing pair side seam to the other from the bottom main all the way over the top seam and through the facing. You should only ever be serging through a double layer (except seam allowances), nothing should be folded.
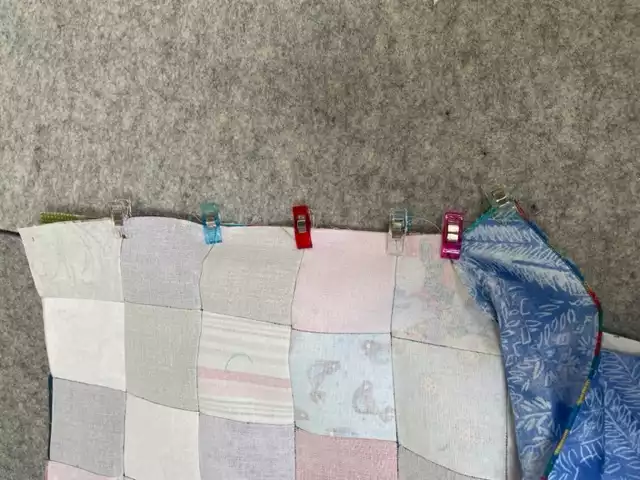
15. Repeat on both side seams.
16. Fold the elastic in half and pin or clip to the center of the bottom edge with raw edges matching.
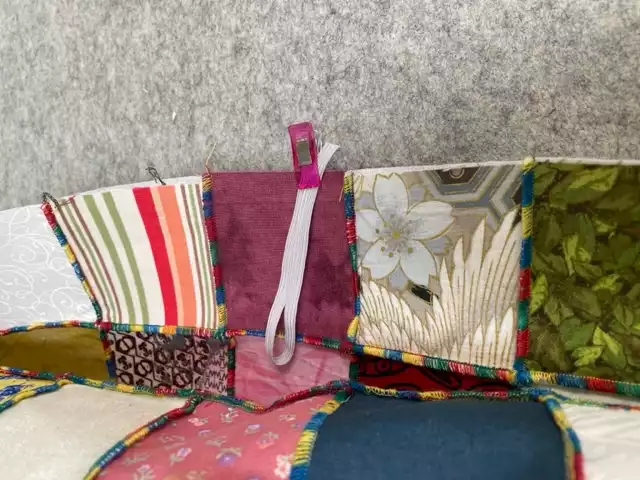
17. Serge the bottom seam together, enclosing the elastic in the seam.
18. To flatten the bottom of the bag, decide how deep you want it (we marked a line 1 ½” from the corner) and squash fold the corners. Stitch a straight line from fold to fold. You can do this on a sewing machine or you can use the 4-thread overlock to trim and serge the bottom corners together.
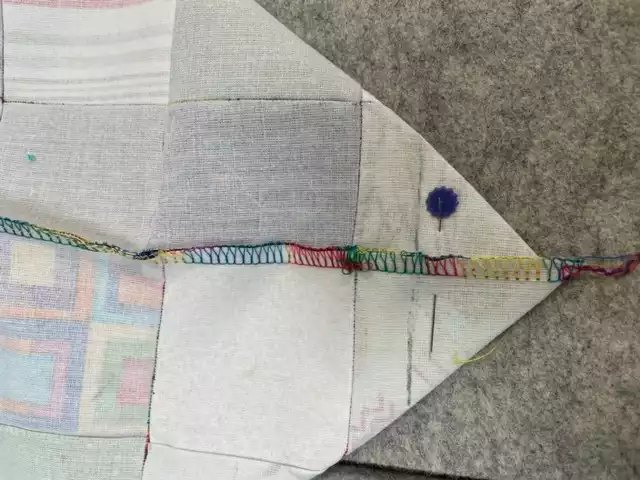
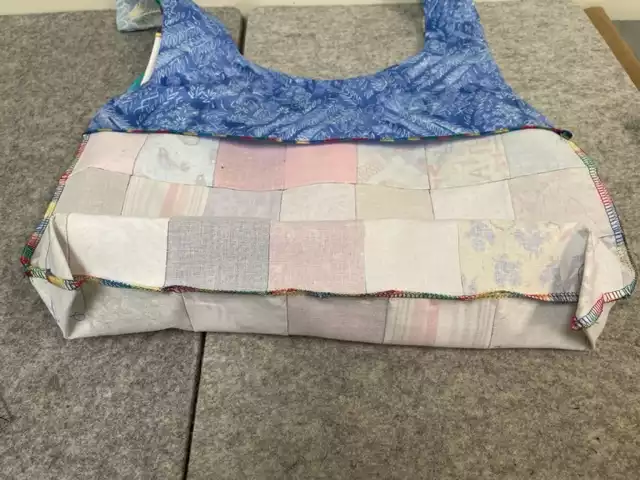
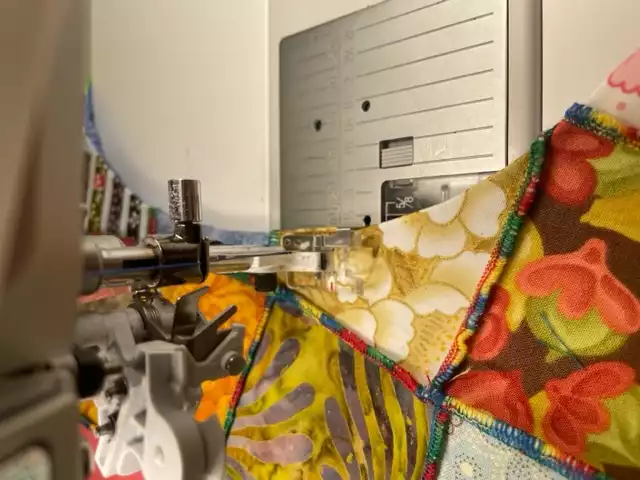
19.Topstitch around the curves at the top of the bag using the edgestitching foot for your machine.
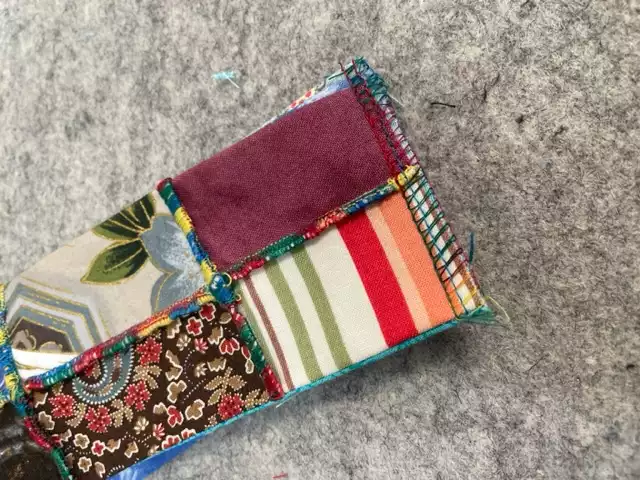
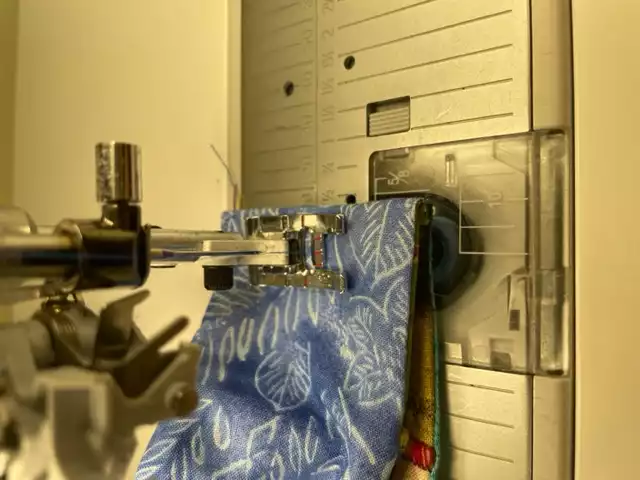
20. To create the handles, match opposite sides wrong sides together and serge a four-thread overlock seam for each handle then flip the straps RST and enclose the serged seam. You could also use a sewing machine for this step (you are creating a French seam).
21. Roll up your tote and secure with the elastic!

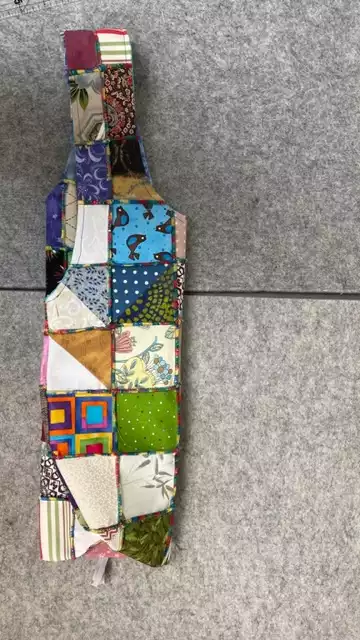
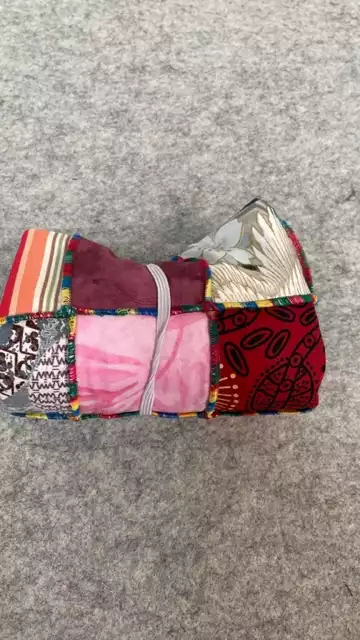
Now, remember to take it with you!


 Belgium