 Belgium
Quilted Stadium Seat & Blanket
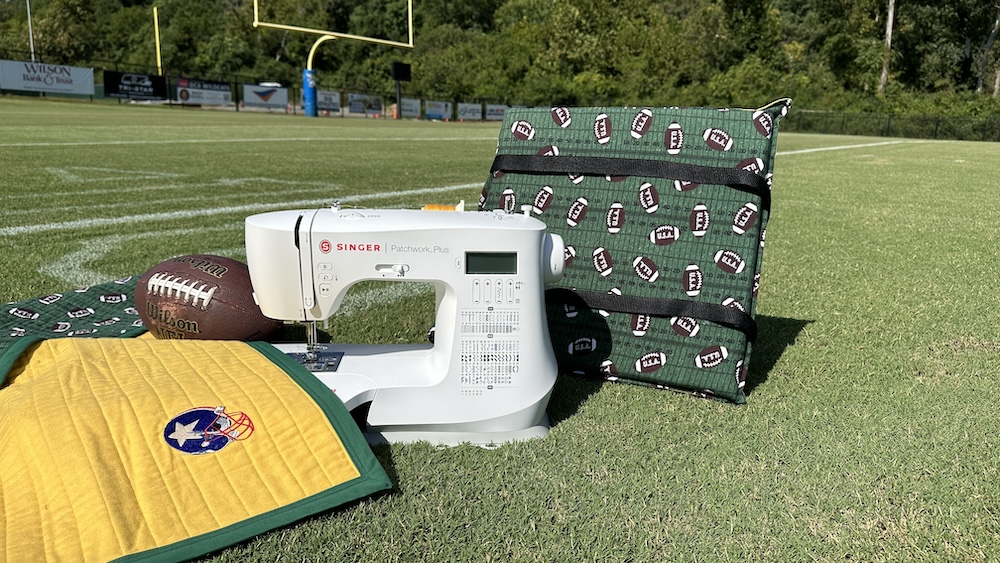
As fall approaches, bringing cooler weather and exciting sporting events, it's the perfect time to gear up with something both stylish and practical. This month, we’re excited to share a 2-in-1 project: an easy-to-carry tote for your stadium blanket, complete with an attached stadium seat cushion.
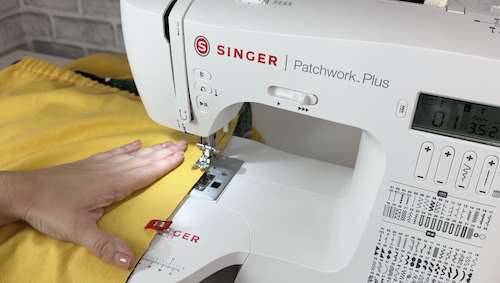
This tutorial will guide you through the steps to create a project that's perfect for personalizing with fabrics that feature your team’s colors or mascot. Plus, we'll be showcasing the SINGER® Patchwork Plus Sewing Machine, available at Singer.com, to bring this project to life.
What you need:
BLANKET PROJECT SUPPLIES:
- 3 yards flannel fabric for blanket (1.5 yards for each side of the blanket)
- 4 yards cotton batting
- Double folded bias tape
- All-Purpose sewing thread
- Rotary cutter and mat
- Fabric marking pen
- Clear ruler at least 18” long
- Basting spray and/or quilting safety pins
STADIUM SEAT PROJECT SUPPLIES:
- 1 ½ yards flannel fabric for seat cushion & tote
- All-purpose sewing thread
- 1” wide webbing
- ⅜” wide elastic
- ⅝” wide hook-and-loop tape
- 2” thick foam cushion
- Universal Needle 90/12
- Straight pins and clips
- Clear ruler at least 18” long
- Rotary cutter and mat
- Fabric marking pen
- Singer SteamCraft Plus Steam Iron
DIRECTIONS FOR STADIUM SEAT:
- Cut from Flannel:
- One 20”x40” outside piece
- One 20”x21” cushion pocket piece
- One 20”x19” blanket pocket piece
- Cut from Elastic:
- One 18” piece
- One 8” piece
- Cut from Hook-and-Loop Tape:
- Two 4” pieces from hook side
- Two 5” pieces from loop side
- Cut from Webbing:
- Seam short ends together to form one long piece that measures 132” in length
- Cut from Foam Cushion:
- Trim cushion to measure 16” square. TIP: To cut foam cushion, first mark cutting lines on the cushion with a felt tip marker and ruler. Carefully use a serrated or electric knife to easily cut the foam on the marked lines.
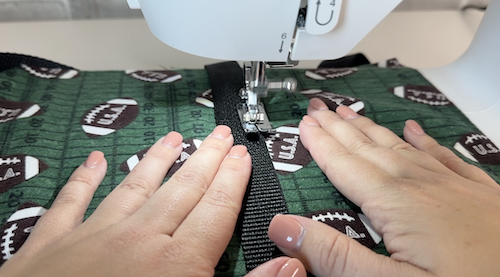
- Sew the short ends of your 132” long piece of webbing together to make it one continuous loop. Make sure the webbing is not twisted before sewing.
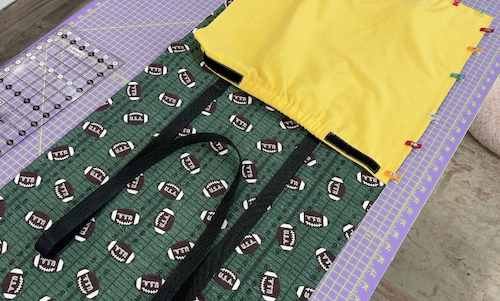
- Place the wrong side of the webbing onto the right side of the outside fleece as shown in the illustration below. Pin the webbing in place.
.jpg?language_id=1)
- Stitch the webbing handles in place along both edges and across the webbing stopping 3 ½” from the edge of the fabric as shown by the x’s in the illustration being sure the handles are free.
- To reinforce the handles, stitch an “X” at the top edge of the stitching as shown in the diagram above.
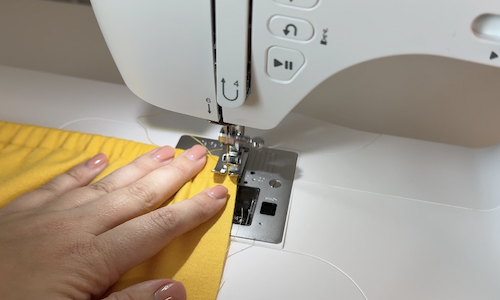
- Fold down 1” along one 20” edge of the cushion pocket piece and pin or clip. Stitch ¼” from the cut edge to form a casing. Backstitch at the beginning and end of the stitching.
- Mark lines on the folded casing you just made 5” in from both edges as shown in the illustration below. Attach a large safety pin to one end of the 8” elastic piece and insert it into the casing. Use a pin to secure the ends of the elastic close to the markings you made on the casing. Remove the safety pin before stitching.
- Secure the ends of the elastic in the casing by stitching on the marked lines.
- Place a 4” piece of hook-and-loop tape (hook side) on each side of the elastic casing. Stitch securely in place.
- Fold down 1” along one 20” edge of the remaining fleece piece. Stitch ¼” from the cut edge to form a casing.
- Attach a safety pin to one end of the 18” piece of elastic and insert it into the casing. Secure both ends of the elastic in the casing with some zigzag stitches at either open end of the casing.
- Place two 5” pieces of hook-and-loop tape (loop side) onto the WRONG side of the flannel piece with handles as shown below. Stitch securely in place.
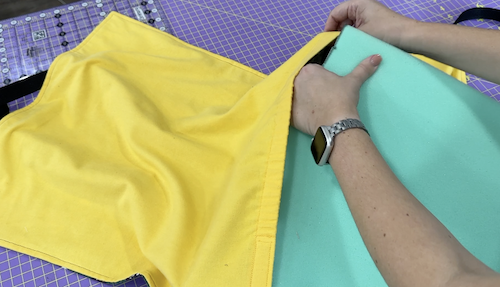
- With right sides together and matching raw edges, place the pockets onto the outside piece with the handles making sure the pocket with the hook-and-loop tape and elastic is positioned on the same side of the outside piece that has the loop side of the hook-and-loop pieces attached. Pin or clip around the three raw edges of each pocket making sure to fold the webbing handles in towards the center so they are not sewn into the seams. Stitch each pocket in place along the three raw edges.
- Turn the pockets right side out. Use a corner tool to turn out the square corners sharply. Topstitch ¼” from the seamed edges to give the pockets a nice finish. Be sure the handles remain free from topstitching.
- Insert the foam into the pocket with the elastic and hook-and-loop tape at the top edge. Fasten the hook-and-loop tape sections together to hold the foam cushion securely in place.
- The stadium blanket can be folded up and placed in the remaining pocket when not in use.
Directions for Blanket:
- Cut 2 pieces of flannel fabric, each measuring 36” wide x 48” long. These will be the front and back of the quilted blanket and they don’t have to be the same print on both sides. Mix it up and have some fun.
- Cut 1 piece of cotton batting measuring 40” wide x 52” longLay your back fabric wrong side up on a table or on the floor if your table isn’t big enough.
- Place your batting fabric on top of your back fabric. It will be a few inches bigger all the way around than your front and back layers.
- Place your front fabric right side up on top of the batting fabric. This is building the quilt sandwich.
- Use either safety pins or a basting adhesive spray to secure the front and back fabrics to the batting fabric.
- When using a spray adhesive, be sure you are in a well ventilated area.
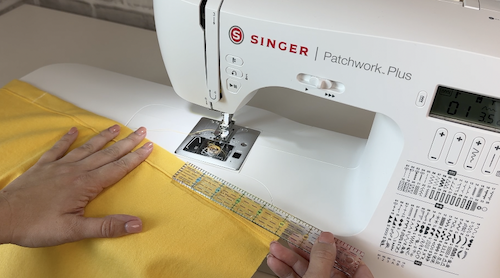
- Use your sewing machine to quilt your quilt sandwich. I chose to straight line quilt my blanket using my sewing machine and a walking foot. You can also choose to do free-motion quilting or other designs as well.
- After quilting your blanket, use a straight ruler, rotary cutter and mat to trim the edges of your blanket so they are even and there is no batting overhang.
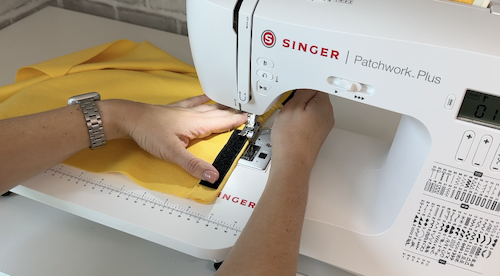
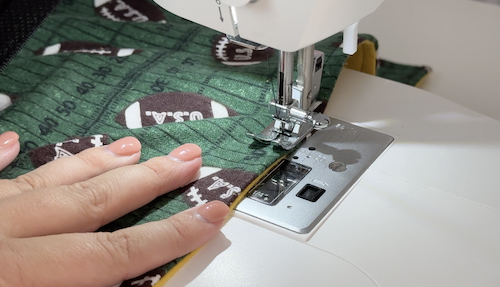
- Start your bias tape on the back of your quilt on one side. Stitch in place along the edge of the quilt following the crease in the bias tape.
- When you get to corners, stop sewing ⅜” from the end and pivot your fabric and stitch from that point to the corner of the quilt.
- Fold the binding back at that diagonal stitch you sewed to the corner, then fold the binding strip back over, lining up the fold with the edge of the quilt. Clip the fold of the binding to the quilt to hold in place.
- Place your quilt back on your machine lined up with a ⅜” seam allowance and begin sewing down the next side of your quilt. Be sure to always keep the raw edges of the binding strip in line with the raw edge of the quilt.
- Line up the two binding ends right sides together making sure your creased lines match up. This will cause your quilt to fold in while you do this and that’s ok. Use a quilting clip to help hold the two ends together.
- Sew a straight stitch across your lines being sure to backstitch at both ends.
- Back at your iron, press open that seam and then fold the binding strip in half again and press. Your binding strip should lay completely flat across the edge of your quilt without any curling or excess binding.
- Finish sewing on the rest of the binding across the bottom using the same ⅜” seam allowance as before. Be sure to backstitch at both ends to secure your stitches.
- Flip your quilt over and begin pressing your binding up and over the quilt top edge. This should be a firm press really using the iron to control the binding placement. Your corners should be perfectly mitered and fold right over onto the quilt top.
- Use quilting clips to secure the binding in place as you iron it. Clip the binding and corners down all the way around the quilt before sewing it down.
- Make sure your sewing machine is set to a 3mm stitch length.
- You can begin sewing down your binding at any point. I prefer to start at the bottom edge and not at a corner.
- When sewing down the binding you want to get as close to the inside edge as possible.
- Once you get all the way back around to where you started, do a few back stitches, remove from the sewing machine, trim any threads and you are done!