 Belgium
Day 9 of Monsters: Wobbleton Blob - The Lovable, Squishy Monster!
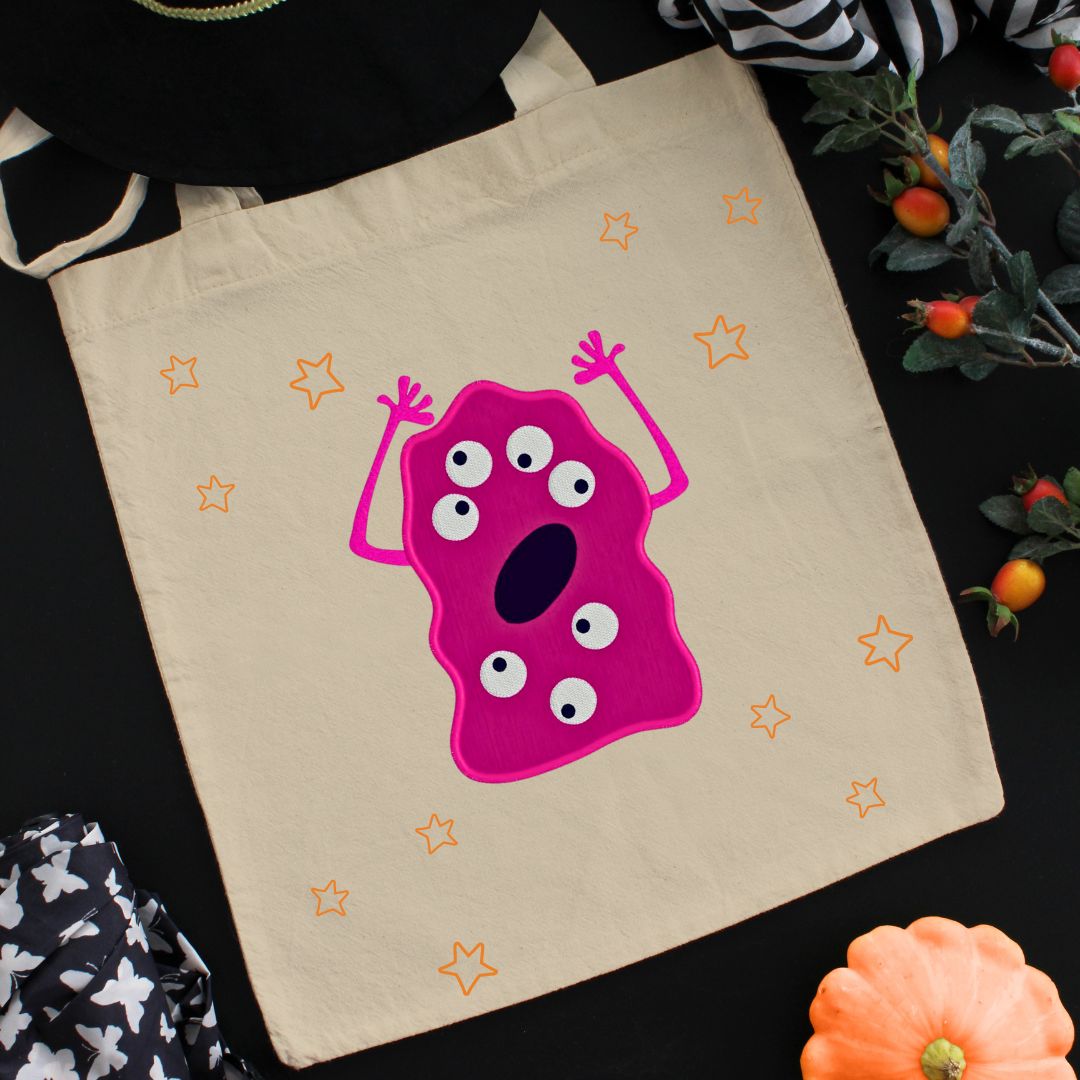
Day 9: Wobbleton Blob – The Lovable, Squishy Monster!
We’re wrapping up our "9 Days of Monsters" with the lovable Wobbleton Blob! This squishy, cheerful monster is the perfect finale to your Monster Quilt journey, bringing a playful and quirky vibe to your Halloween creations. With Wobbleton’s fun-loving personality, your non-spooky quilt or treat bags will burst with joy, making your sewing adventure as delightful as ever!
Anleitung auf Deutsch hier herunterladen
Materials needed
- Embroidery file, find it here
- Cut out file for Momento Cutting machine, find it here:
- PDF pattern for the body (if not using a Momento Cutting machine) find the file
- Embroidery hoop 260x200mm
- Cut away soft stabilizer or old sheet
- Fabric for the background
- Fabric for the body
- Fusible web
- Embroidery thread.
How to do:
- Fuse the fusible web to the back of the body fabric piece. (If you use the PDF pattern, Trace the lines on the fusible web first, and cut out the body piece on the traced line)
If using Momento to cut the body shape: Open the design in Canvas. Place the fabric onto the Fabric Grip Mat. Use a Brayer to help adhere the fabric to the cutting mat, eliminating wrinkles or bubbles. Go to the Output Menu and press Send to Machine. Follow the steps to cut the fabric for the monster. - Hoop stabilizer (or fabric like old sheet, it will not be visible on the finished quilt) in the 260x200mm hoop.
- Stitch out color 1, this is the placement stitch.
- Put the batting and background fabric piece in the hoop. Make sure it extends on all sides of the stitch line, at least 1 ¼” (3cm)
- Stitch out the next color, it will secure the batting and fabric in the hoop.
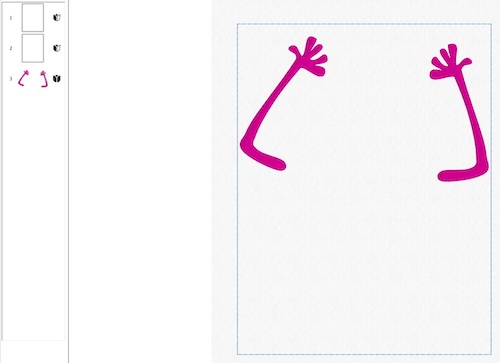
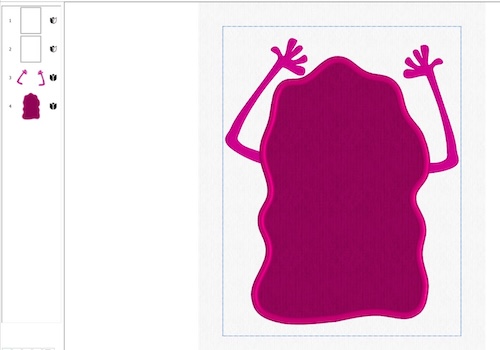
- Stitch out next color, the arms.
- Now it is time to add the applique piece: Stitch out the next color. First it will make an outline and then stop. Remove the hoop from the machine, Do NOT unhoop the fabric. Place the applique piece in the hoop matching the outlines carefully. Use a Singer Mini press or iron to glue the fabric piece in place. Continue stitching. The machine will make an outline on both sides of the placement line and then a satin stitch edge.
- Continue wit the remaining two colors, mouth and eyes.
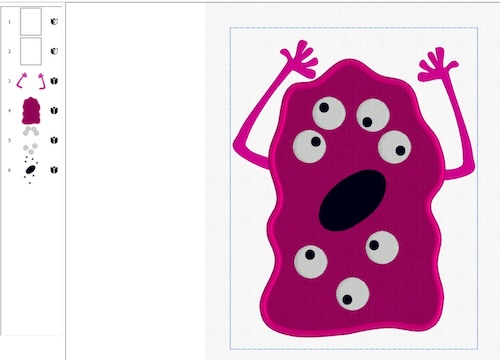
- Yor embroidery is now finished.
- Unhoop the embroidery. Do not cut away excess fabric yet, the seam allowances will be different depending on where you place the monster in the final quilt.
