 Italy
Italy
Shirt School - Lesson 7: Final steps!
Welcome to Shirt School - Lesson 7: Final steps!
Welcome to Lesson 7 in this final step-by-step guide, we'll master the essential techniques for creating buttonholes in the collar stand and cuffs, and perfect the hem to give your shirt a professional finish. This lesson marks the culmination of your shirt-making journey, with many more tips and tricks on alterations and inspiring ideas for your future projects, coming soon!
Here you can access instructions for the previous lessons:
- Shirt School - Lesson 1: Creating the Pattern
- Shirt School - Lesson 2: Cutting out the fabric piece
- Shirt School: Lesson 3: Making the shirt front and pockets
- Shirt School: Lesson 4: Sleeve plackets and inserting the sleeve.
- Shirt School: Lesson 5: Sleeve and side seams, making and adding the cuffs.
- Shirt School: Lesson 6: Adding Classic Collar.
Finishing steps
Add buttonholes and buttons on the cuffs and on the collar stand.
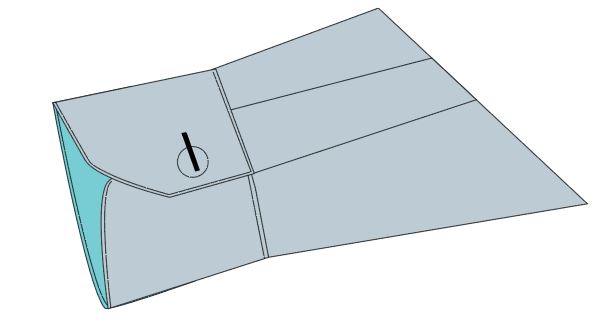
- The buttonhole on the collar stand should be starting in line with the front placket buttonholes, see image below.
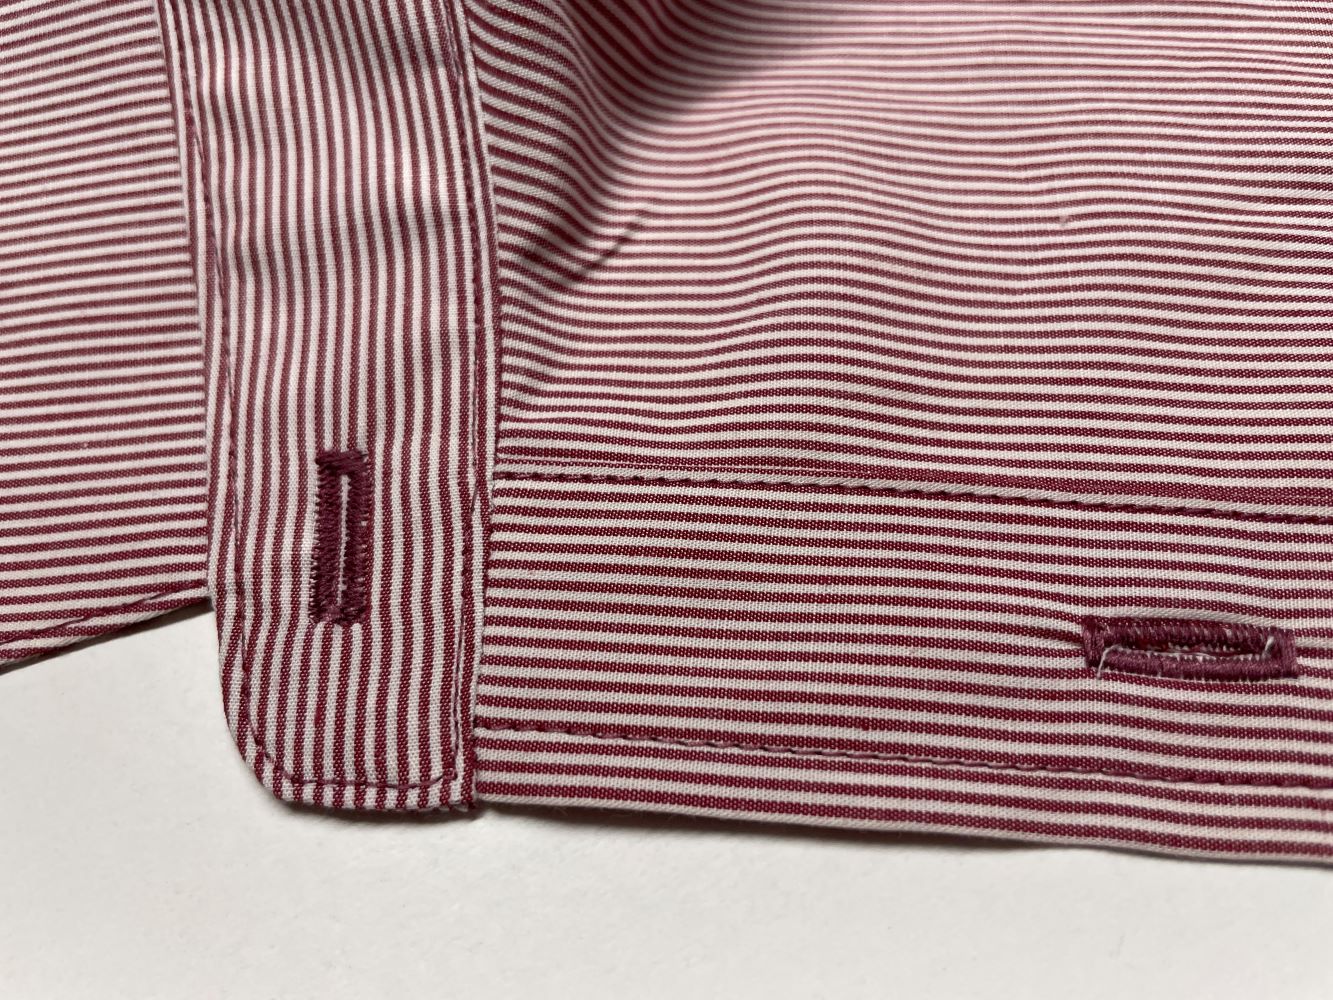
- On the cuff, the buttonhole should be placed on the overlapping part. It could be placed in the centers, but other alternatives are possible depending on style or if the edges are rounded. The placement of the buttonhole depends on the button, but usually about ½” (1,5cm) from the edge is best. See image below:
Making the Hem
3. Fold the hem ½” (1,5cm) twice and stitch close to the fold. 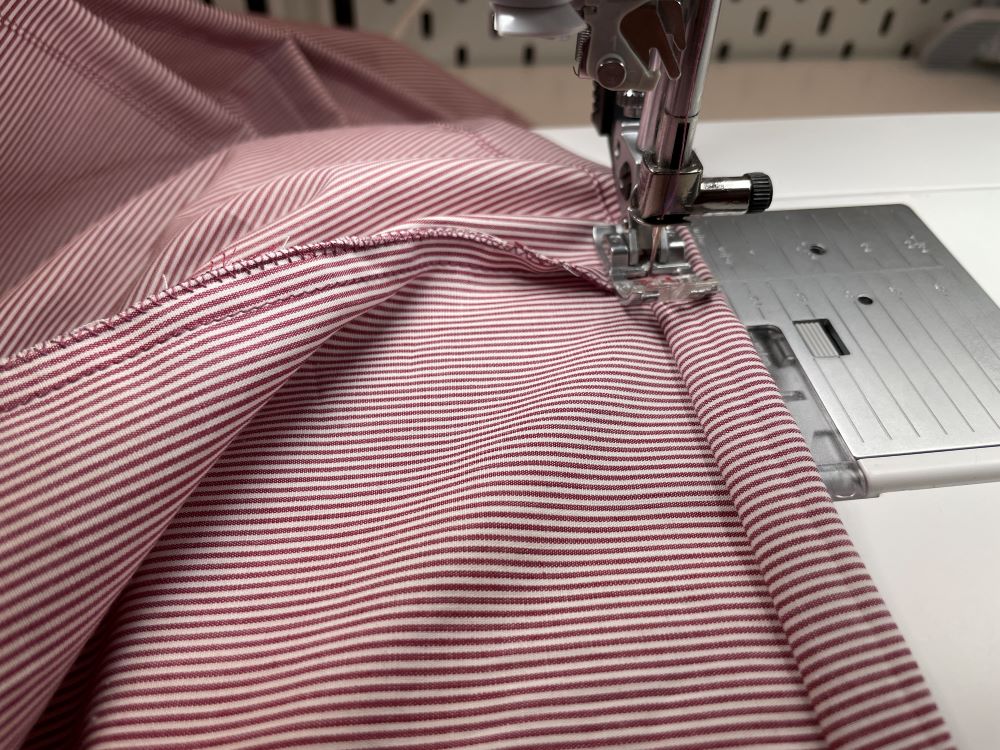
Your shirt is now finished! Now you can make your own shirts and change different details such as the collars, cuffs, pockets, and the overall appearance. Thank you for taking these classes, looking forward to meeting you in upcoming projects!