Turkey
DIY Clear Sequin Zipper Pouch: Sparkly Storage for Makeup, Gifts, and More!
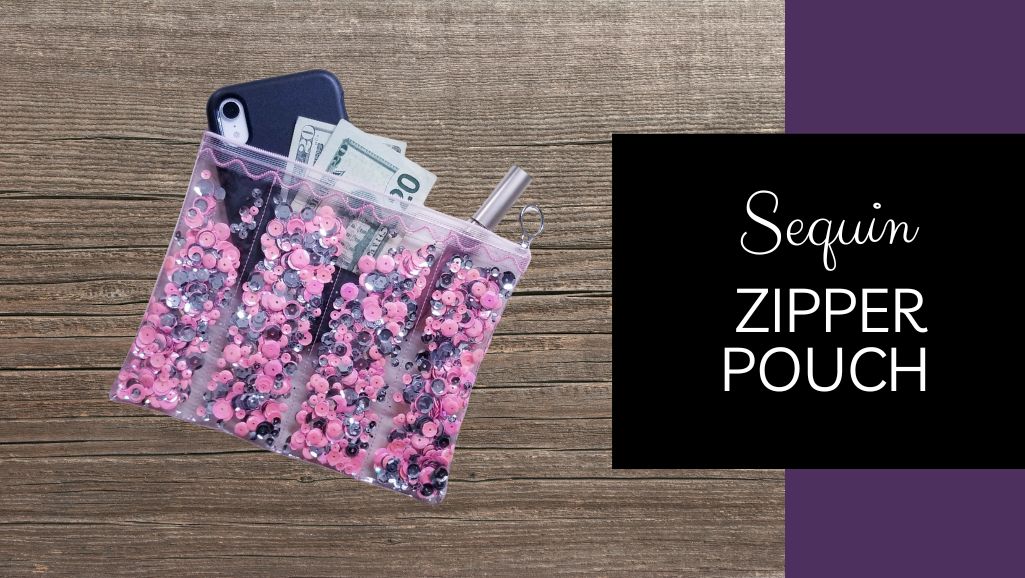 DIY Clear Sequin Zipper Pouch: Sparkly Storage for Makeup, Gifts, and More!
Looking to add a touch of sparkle to your everyday essentials? This DIY clear sequin zipper pouch is the perfect project for you! Whether you’re heading out for a night on the town or organizing your makeup, this one-of-a-kind pouch will keep your items stylishly visible and easily accessible. Customize it with your favorite color sequins or glitter, and even add a small gift for a friend. Plus, the reusable zipper pouch makes it a practical and eco-friendly choice. Let’s get crafting and create something dazzling!
What you will need:
- SINGER® Quantum Stylist™ 9960
- ¼ yd Clear Vinyl
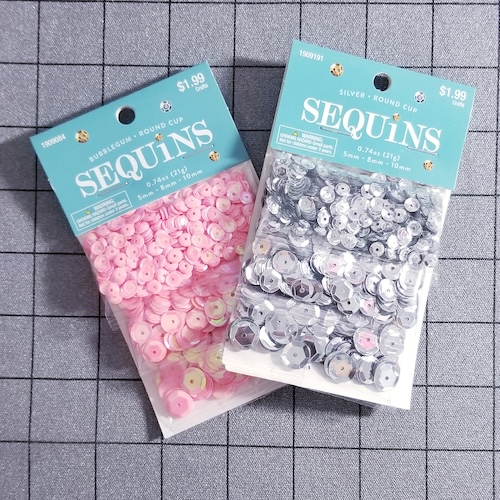
- Sequins or Glitter in a variety of colors
- Coordinating Zipper - longer than the zipper pouch finished size.
- Coordinating Thread
- SINGER® Non-Stick Presser Foot
- Clips
Project Steps
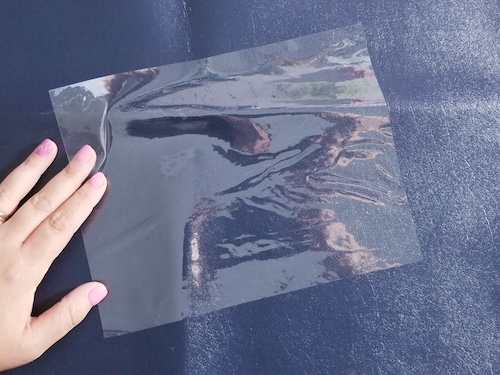
- Cut vinyl to desired length & width. Keep in mind it needs to have a width smaller than the zipper you’ll be using. Ours was cut to 8 ½” x 7”.
- Cut 1 piece of vinyl at your desired size.
- Fold a second piece of vinyl in half (removing any wrinkles &/or bubbles) & cut at the same desired size on the fold.
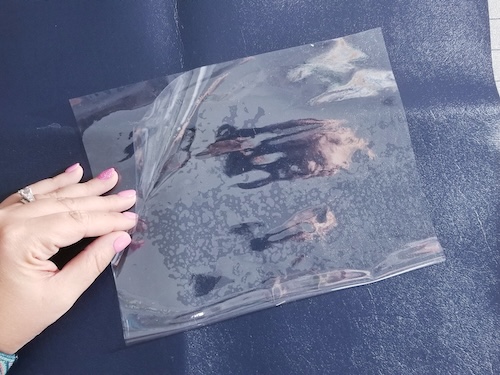
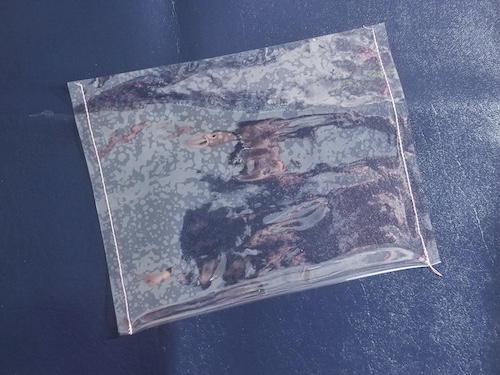
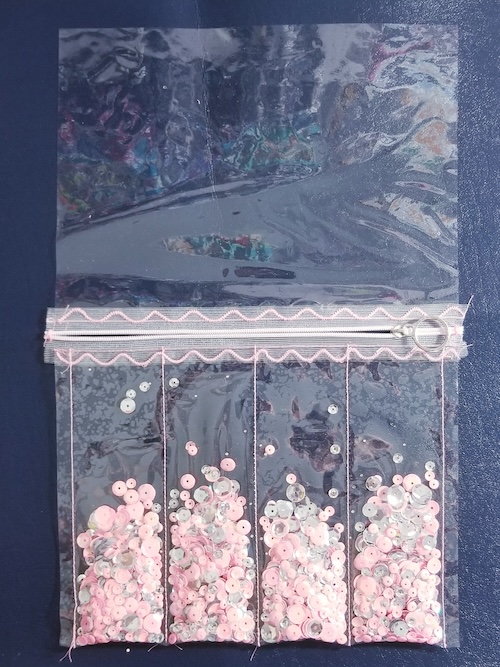
- Using the SINGER® Non-Stick Presser Foot sew a straight stitch on either side of the folded piece from the top down to the fold.
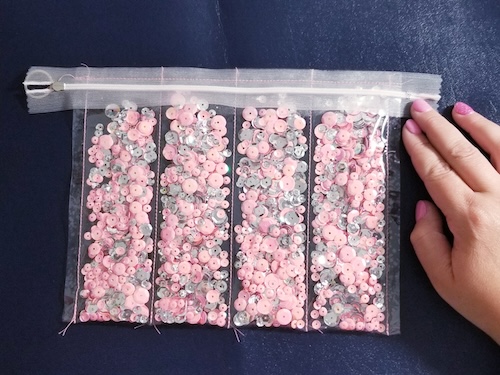
- This is where you can be creative! We choose to sew 3 lines vertically to have 4 total sections. Depending on the look you’re going for you can sew more vertical lines or none at all. You could even sew one line down the middle & separate into horizontal sections filling the clear pocket as you go with sequin & sewing each section closed. The possibilities are endless!
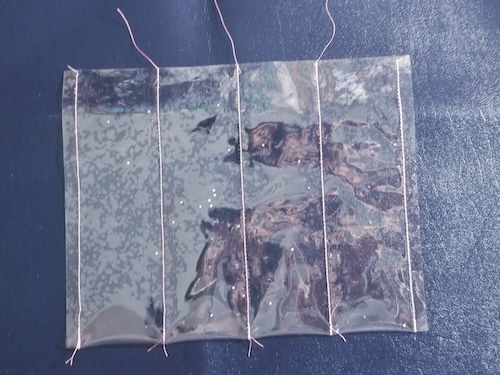
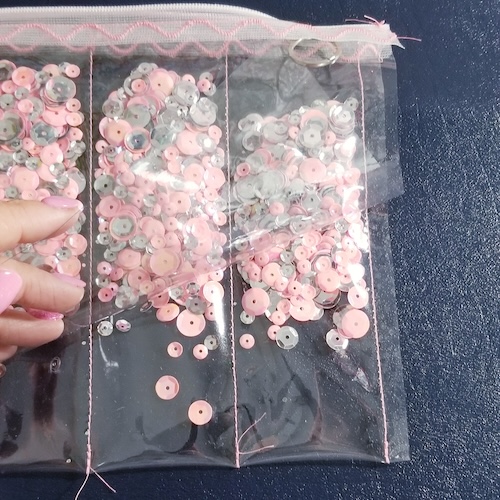
- Once you have your sections, fill the clear pocket/s with sequins & shake to the bottom.

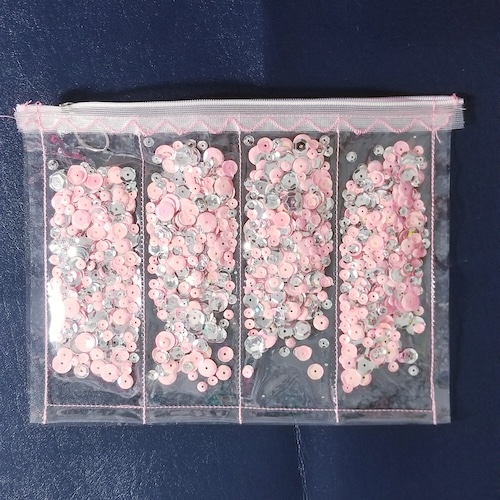
- Place the zipper right side down to the pocket section lining up the pocket opening raw edge with the zipper edge & clip to hold in place.
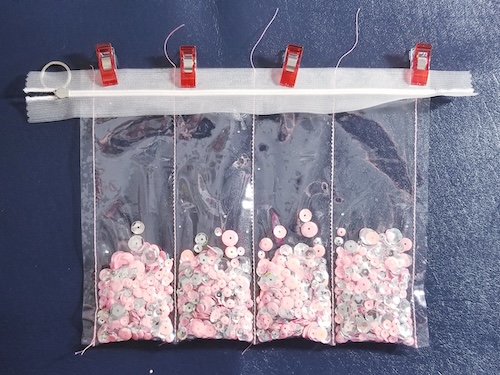
- Sew close to the zipper all the way across.
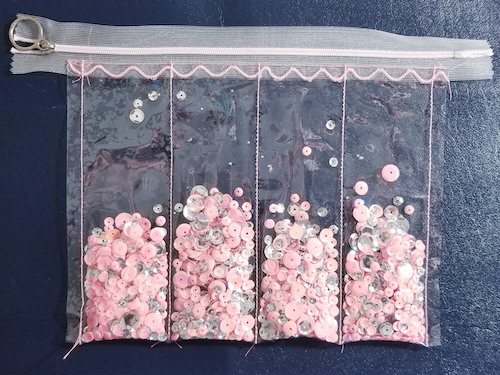
- Fold the right side of the zipper up, pressing the raw edge toward the back & down.
- Top stitch the zipper edge down. We choose to use a decorative stitch. Be creative!
- Place the single clear vinyl piece down to the right side of the zipper pouch lining up the raw edge with the other edge of the zipper & clip to hold in place.
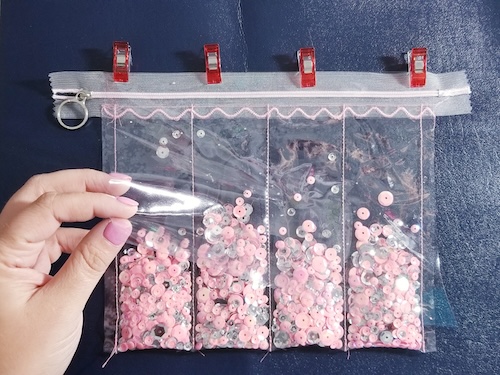
- Repeat steps #8-10 with the other zipper side.
- Unzip the zipper, this is very important to be able to turn the zipper pouch right side out when done.
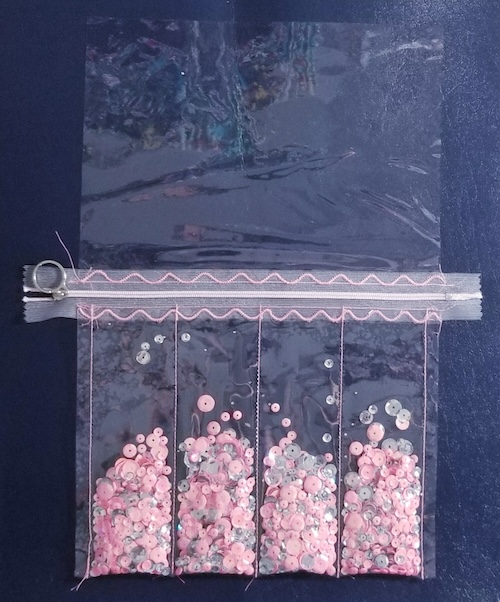
- Place the wrong sides of the clear sections together. The top, right side of the zipper will be in the middle of the clear vinyl sections. Clip the edges together all the way around to hold in place.

- Shake the sequin down to the zipper side of the pouch.
- Starting at the zipper edge sew all the way down, across the bottom of the pouch & back up the other side to the end of the zipper. Remember to back stitch at the beginning & end to lock in the stitches.
- Gently pull the right side of the sequin pouch through the zipper opening. Gently push the edges & corners out to have a square bag.
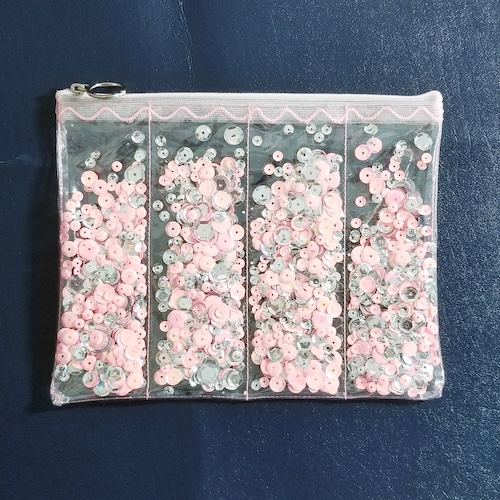
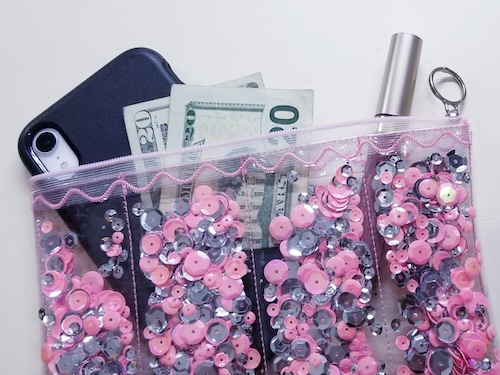
- Fill for a night out on the town with your phone & lipgloss, add toiletries to easily see while traveling or fill with a small gift to give a friend with a custom reusable pouch, the possibilities are endless.