Sweden
Design a Unique Color Block T-Shirt Dress: Beginner-Friendly
 Design a Unique Color Block T-Shirt Dress: Beginner-Friendly
Unlock your creativity and sew an oversized color block T-shirt dress that's as unique as you are! Using the new PRISMA™ Heavy Duty Sewing Machine, perfect for beginners, you'll learn simple techniques to transform a shirt you already own into a stylish dress pattern. Discover tips and tricks for fabric selection, cutting, and sewing, making this project a breeze with the power and precision of the SINGER® PRISMA™ Heavy Duty Sewing Machine.
What you need:
- Oversized T-shirt you like the fit of
- The amount of fabric varies depending on how much color blocking you want to do.
- Between 1yd -1/8 yd of 4-5 fabrics will give you a good variety of options to color block.
- Matching or neutral thread
- Measuring tape
- Fabric marking tool
- Optional: Curved garment ruler
- Optional: Double fold bias binding
Instructions
Preparing Fabric
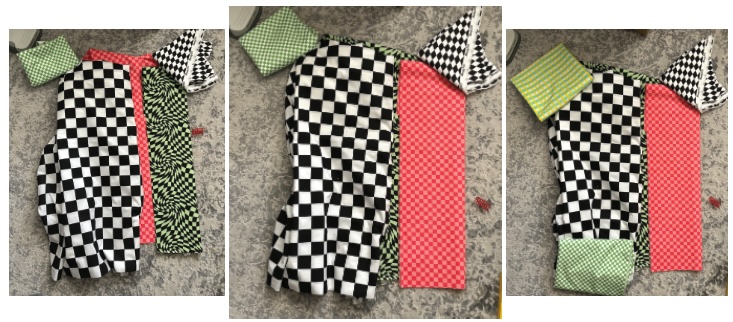
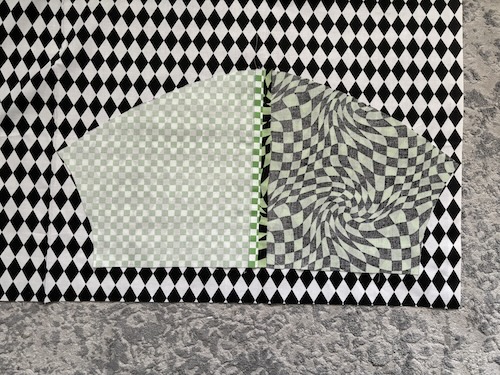
- The first thing to do is figure out the layout of your color blocking. You can do this by sketching and coloring, or you can roughly arrange the fabric on the floor.
- Measure the widest part of the T-shirt body (usually the bottom hem).
Sewing it together!
- Sew together two panels that are at least 1” (3cm) wider than the T-shirt measurement. These panels are going to be your main body sections. You will also want to make sure the panel is at least the desired length of the dress.
Tip: If you are using checkered fabric, cut it 1/2” (1.5cm) outside the last line on both sides. This will ensure that the check pattern ends at your seam.
- Make sure you mark or remember which panel is for the front and which is for the back.
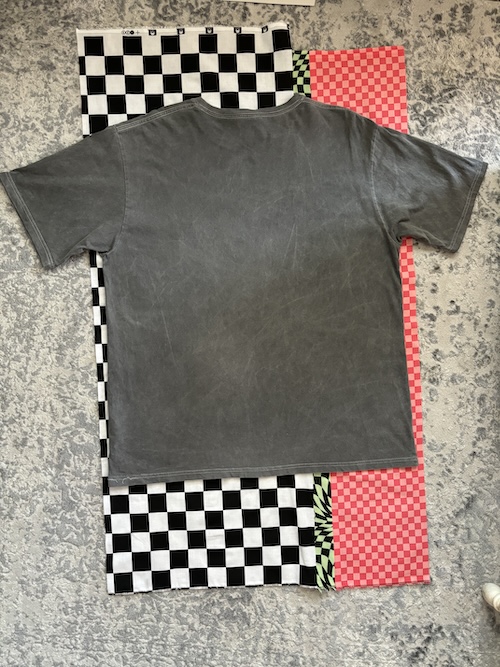
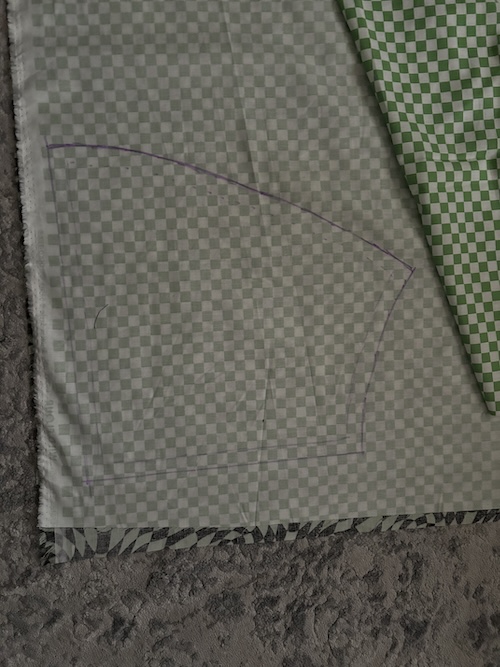
- On a flat surface, lay down the back panel right-side-up. Then lay the shirt over that, back side up and right side out.
- With a fabric marking tool, trace 1/2” (1.5cm) around the outside of the body seams of your shirt onto your fabric.
Tip 1: You only want to trace the seam where the sleeve meets the body, not the full sleeve and body together. One method I found easiest was to mark dashed lines about where the seam was. Then using a curved garment ruler, smooth out the dashed lines as I connect them.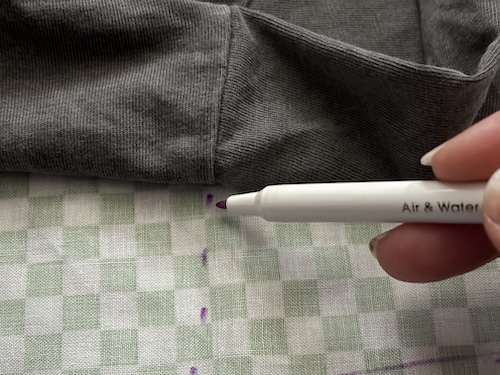
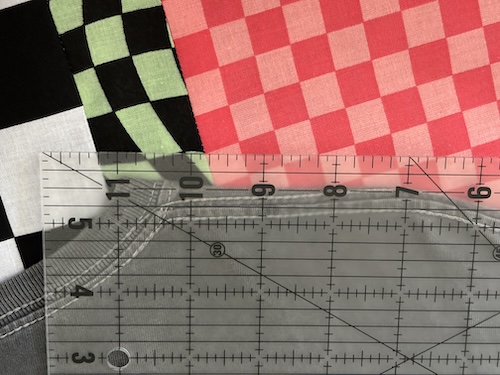
Tip 2: Try using a seam gauge to mark points for tracing, and for long straight sections, I would also recommend using a quilting ruler.
- Repeat this process with the other panel and the front of the shirt.
Note: When tracing the front, you may find it easier to trace around the neck if you place the shirt front face-down on the fabric. - For the sleeves, we will have one with two fabrics and one solid fabric. We’ll start with the two-fabric sleeve like we did the body. Layout one of the fabrics, place the shirt down, and trace around the flat sleeve.
- After tracing, add ½" (1.5cm) line around the whole traced mark for the seam allowance.
- Cut that side out and then trace this onto your other sleeve fabric and cut it out.
- Sew the two sleeve fabrics together at the top seam and press the seam open.
- Trace the sewn sleeve onto your other sleeve fabric.
- Now you can assemble the dress itself. Start by sewing the shoulders of the front and back panel, right-sides together) and press the seams open.
- Add your sleeves; find the middle of the sleeve and pin matching the middle of the sleeve to the shoulder seam on both sides.
- Cut small notches about 1-2” (2.5-5 cm) apart on the edge of the fabric, ensuring you don’t cut through the seam.
- Sew the side seam, including the sleeve, on both sides to complete the shape and press the seams open.
- Fold and press the hems where you’d like them. Do this for the bottom hem and the sleeve hems.
- Pin and stitch the folded fabric down.
Note: Make sure there is at least ½" (1.5cm) folded up so you can use a ½" (1.5cm) seam allowance or just slightly smaller. If your stitching is on the edge of your sleeve, the folded fabric will start to flip out when you wear or wash it. - For the neck, add a line of stitching ¼" (¾ cm) from the edge.
- Cut small notches about 1-2” (2.5-5 cm) apart on the edge of the neckline. Be sure to not cut through the line of stitching you just added.
- Fold this over to the inside and press.
- Buy or make double folded bias binding to add along the neckline.
- Wear with confidence