 Brasil
Shirt school: Lesson 5: Sleeve and side seams, making and adding the cuffs.
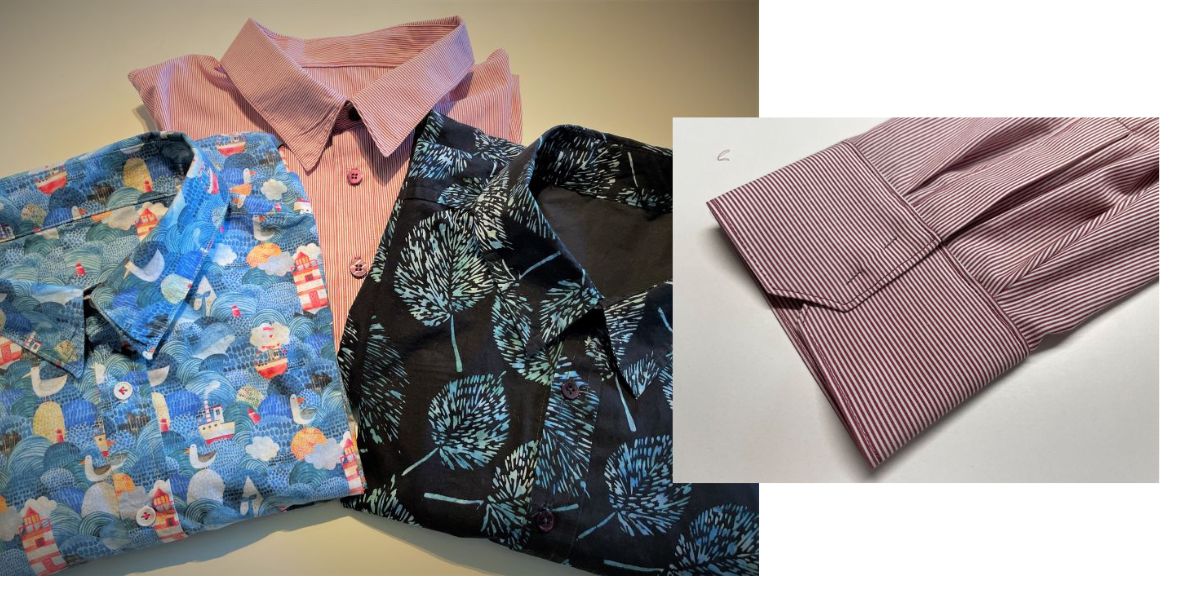
Welcome to Shirt school: Lesson 5: Sleeve and side seams, making and adding the cuffs.
Welcome back to Shirt School! In this lesson, we will be focusing on a crucial aspect of shirt making: sleeve and side seams, as well as the art of making and adding cuffs.
Here you can access instructions for the previous lessons:
- Shirt School - Lesson 1: Creating the Pattern
- Shirt School - Lesson 2: Cutting out the fabric piece
- Shirt School: Lesson 3: Making the shirt front and pockets
-
Shirt School: Lesson 4: Sleeve plackets and inserting the sleeve.
Finishing the sleeves and side seams and adding cuffs
- Stitch the side- seams and arm seams together using a ⅜” (1cm) seam allowance. Zig-zag the seam allowances together and press towards the back.
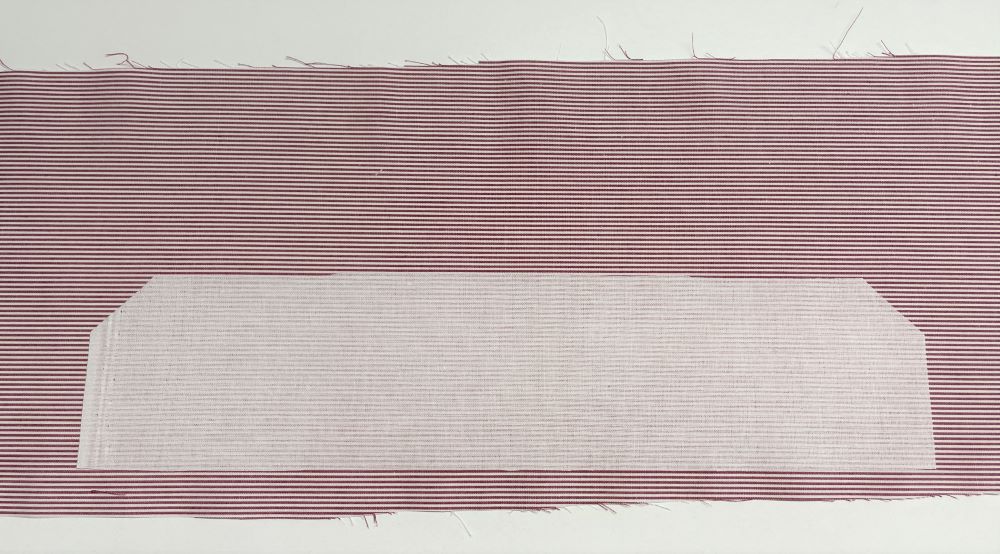
- Cut out the cuffs from a piece of interfacing. The pattern piece should be placed on folded fabric with the fold line at the folded edge. You need to cut two cuffs from the interfacing.

- Fuse the cuff interfacing to a piece of fabric. There should be enough fabric on top to be folded down on the cuff. There also need to be at least ⅜” (1cm) at the lower edge.
- Fold the lower edge up around the interfacing, press and topstitch ¼” (6mm) from the edge, cut away excess fabric close to the seam.

- Fold the fabric down at the top of the cuff, right sides together, pin in place.
- Add ⅜” (1cm) seam allowance at the sides and lower edge stitch close to the interfacing at the sides start and stop at the end of the interfacing.
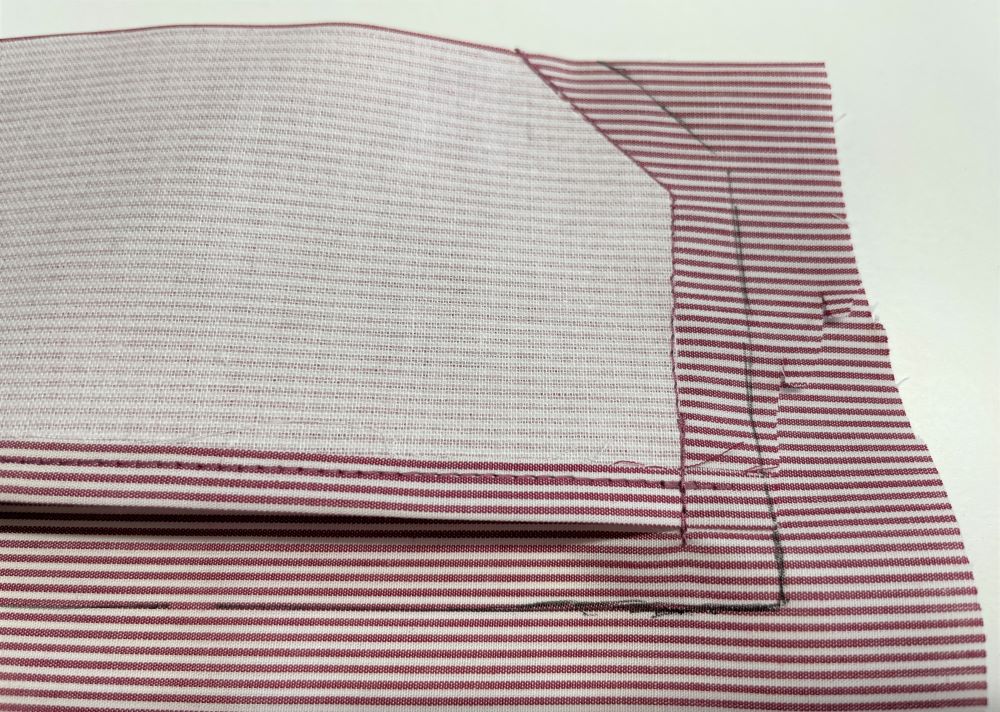
- Cut out on the drawn lines.

- Turn right side out and press. Make one more cuff.
Attaching the cuffs to the sleeves
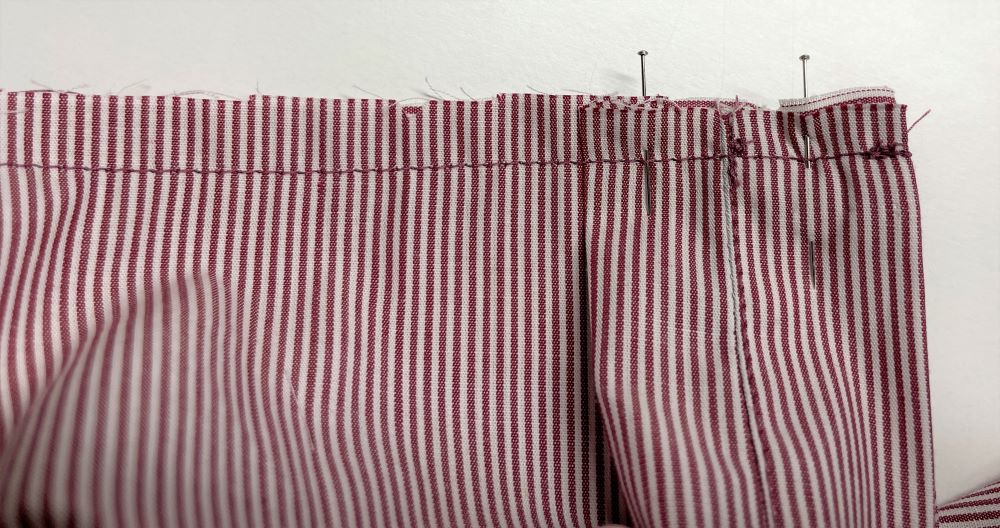
9. Fold the cuff double, mark the center with a notch 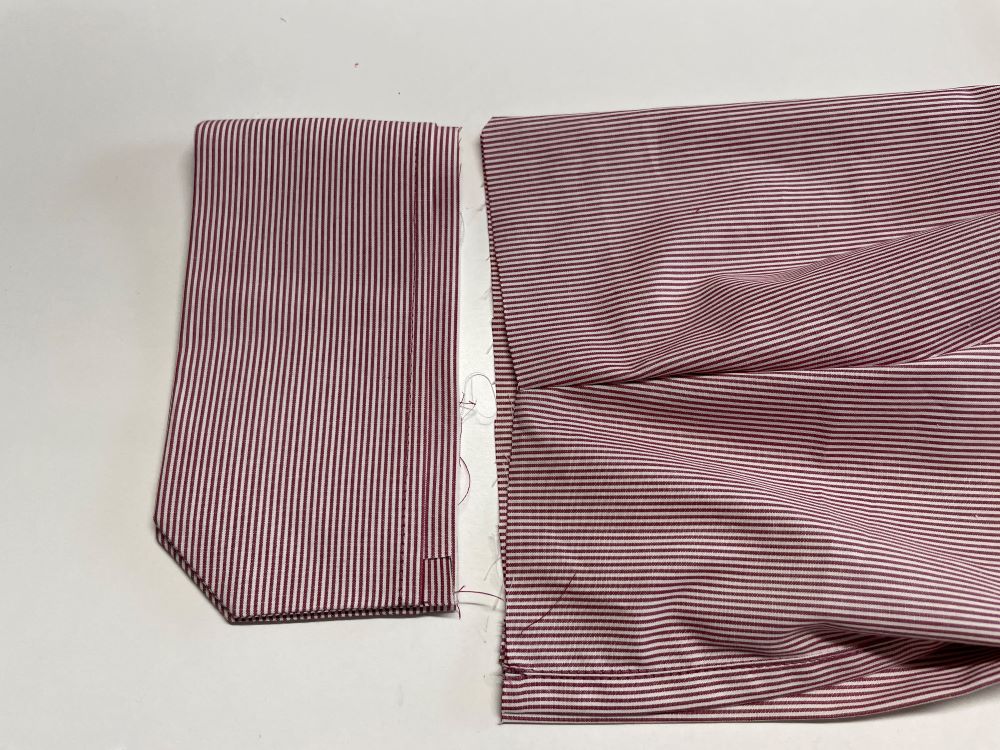
10. Fold out and align the marks, pin in place. The cuff should be pinned to the right side of the fabric. 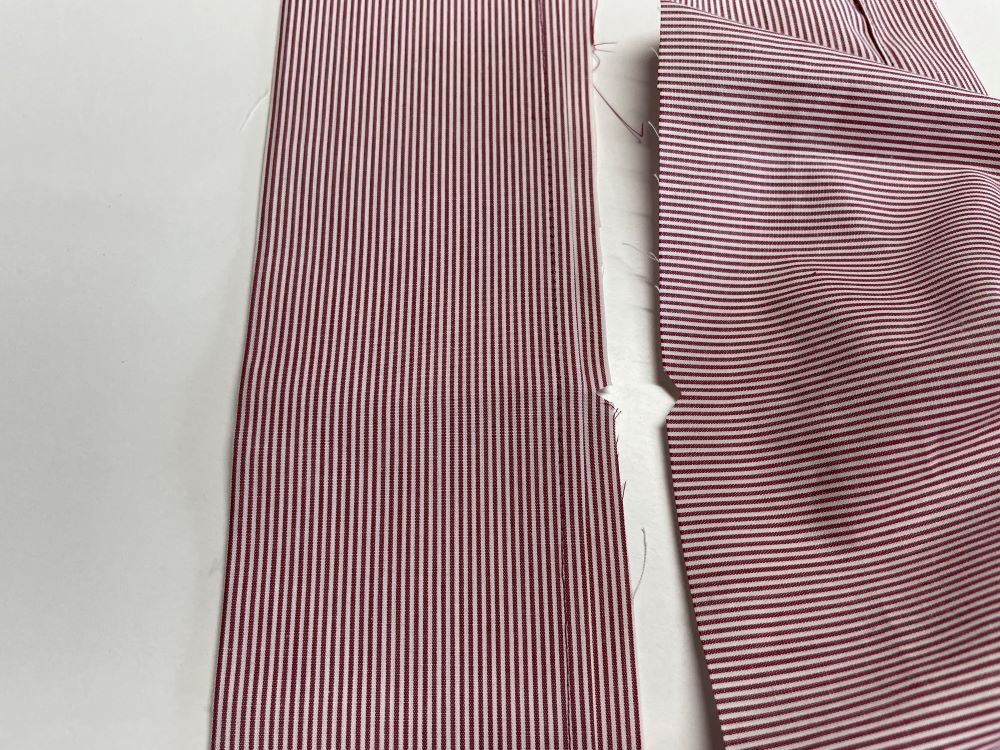
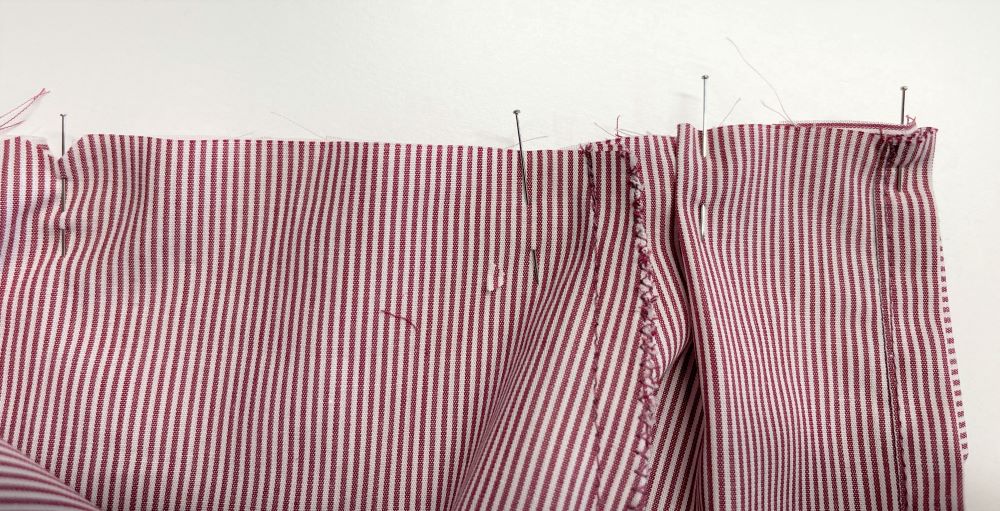
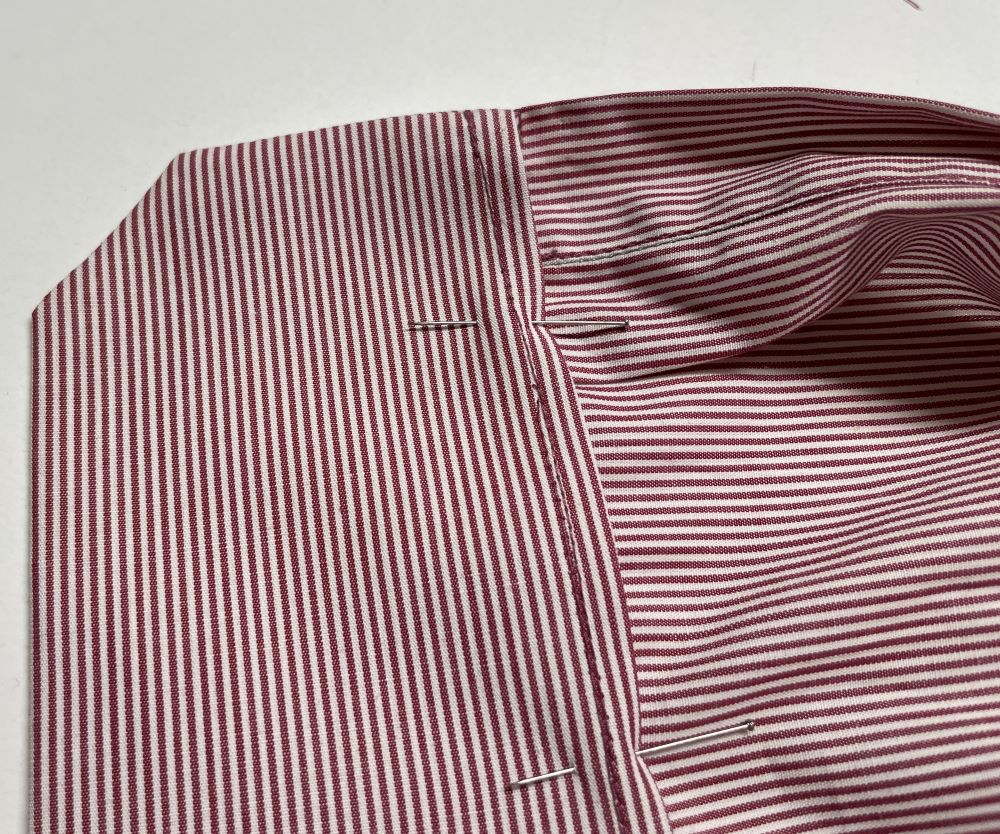
11. Pin the edge of the cuff to the edge opening matching edges, The extra fabric on the sleeve will be formed into a fold at each side of the middle about 1½” (4cm) from the placket opening. The opening of the fold should be facing towards the edge of the sleeve placket
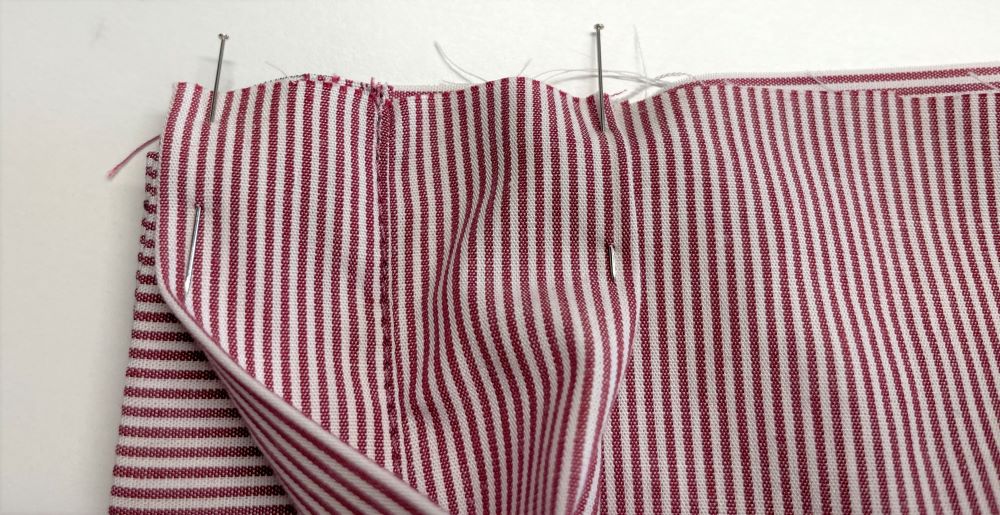
12. Sew together with a ⅜” (1cm) seam allowance. 
13. Fold the seam allowances inside the cuff, pin in place and stitch close to the edge all around the cuff. 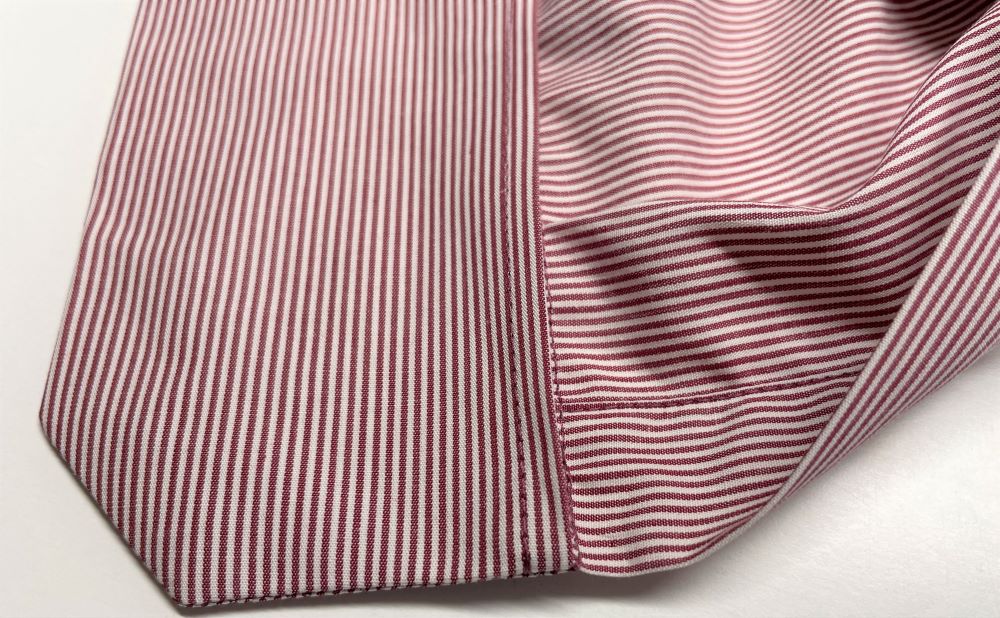
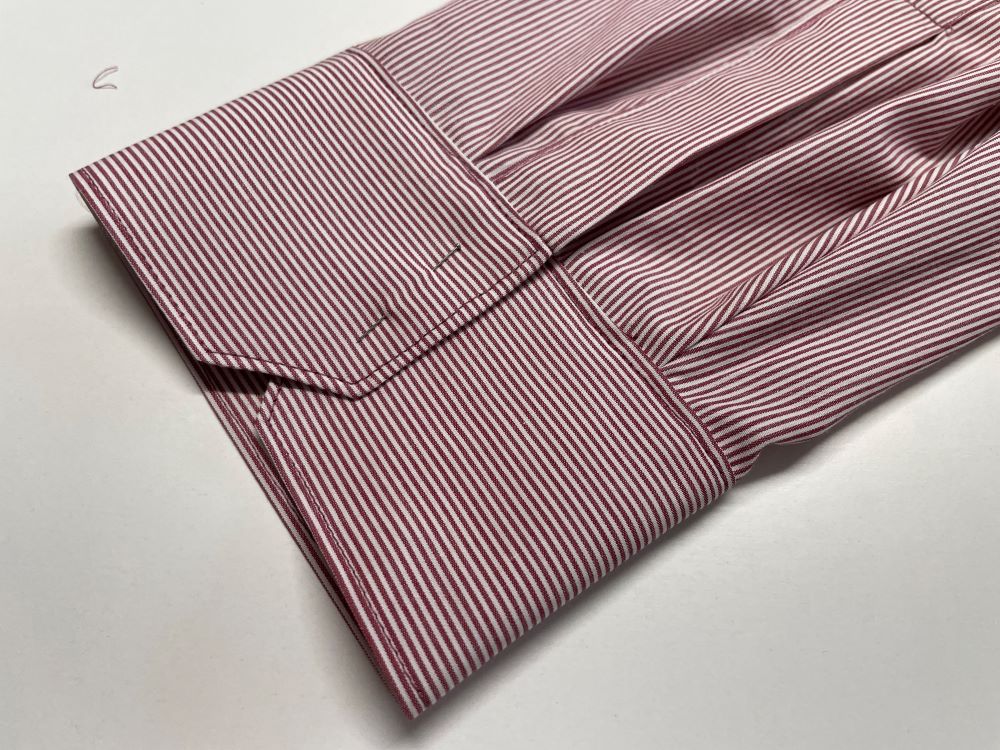
- Repeat on the other sleeve. This lesson is now finished. In the next lesson we will make the classic collar with stand.