 Switzerland
Rag Doll Top
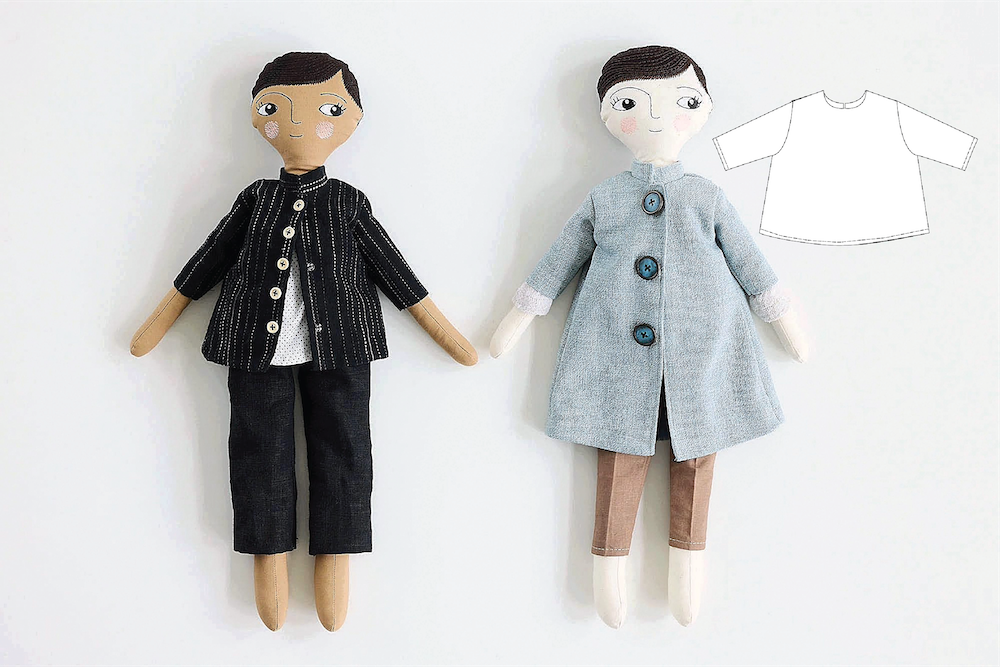
This beginner-friendly Rag Doll top is a must-have for your handmade doll wardrobe! Simple to sew and full of creative potential, this versatile piece can be worn for any occasion. Use soft, lightweight fabric for the best drape, and customize it to fit your vision—make it longer for a dress, or add lace for a charming touch. With so many ways to personalize, it’s a fun and stylish sewing project that’s perfect for beginners and beyond!
What you need:
- PDF pattern
- A small piece of fabric for the dress
- Sewing thread.
- A sew on snap button
- Optional: Buttons for decoration
Instructions:
- Cut out the pattern pieces, seam allowance is included.
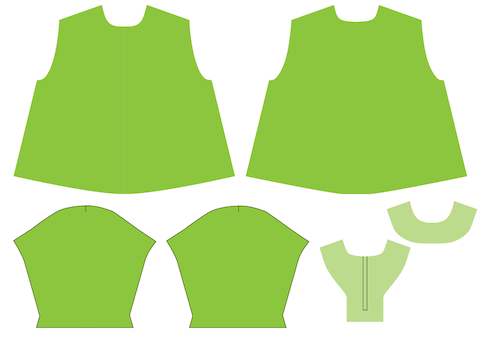
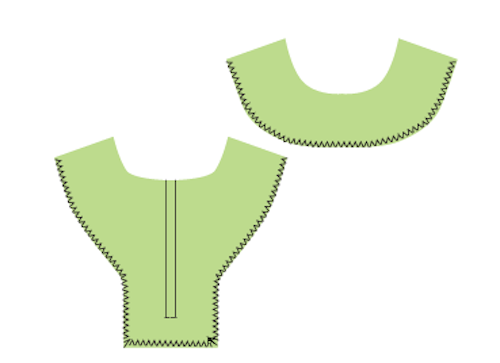
- Zigzag the edges of front and back interfacings, just the outer edge. Optional: Use a serger/overlocker instead.
- Place the front interfacing on top of the tunic front, right sides facing each other. Sew along the neckline using a ¼" seam allowance.

- Make small cuts in the neckline for a smoother neckline.

- Place the back interfacing on top of the tunic back, right sides together. Sew along the edge but follow the drawn line in the middle to make a slit.
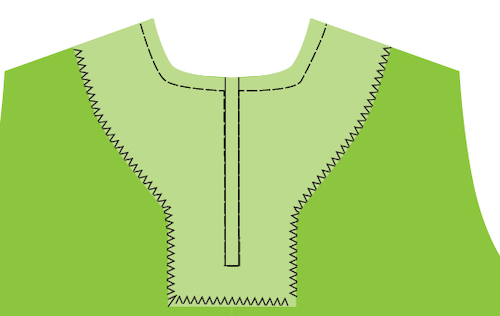
- Cut between the rows of stitching, stop ¼" before the end and cut out to the corners, be careful not to cut in the stitch line, but be brave and cut just to the stitch line in the corners for best result. Make small cuts in the seam allowance at the rounded edge to make the neckline smoother after turning.
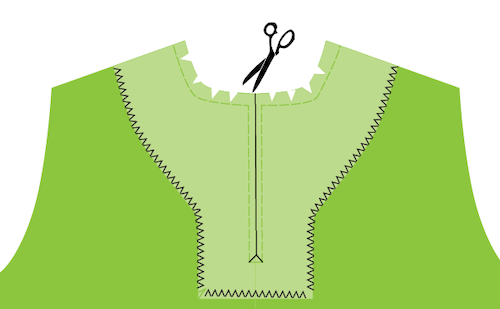
- Turn right side out and press.

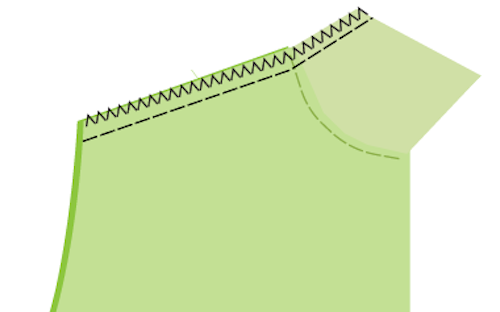
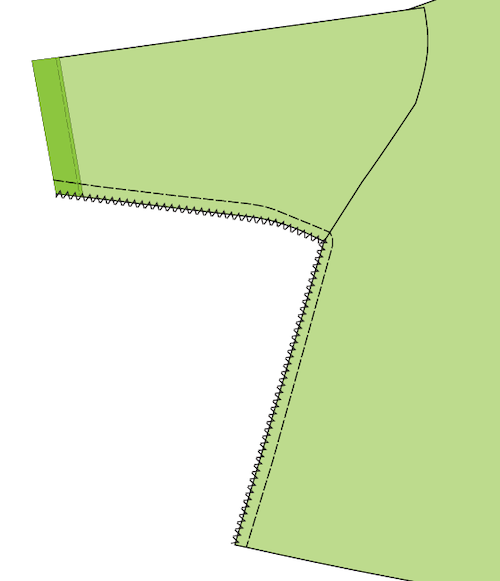
- Put the front and back of the tunic on top of each other, fold out the interfacings and pin the seams on the interfacing and the shoulder seams on both sides together. Sew with a ¼" seam allowance. Zigzag the edges.
- Make the hem on the sleeves: fold the lower edge where the edge gets wider. Press.
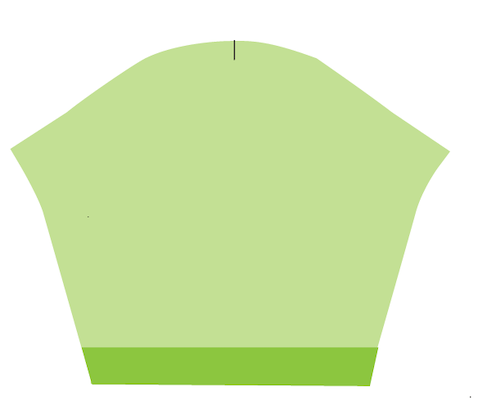
- Open and fold the raw edges to the pressed line.
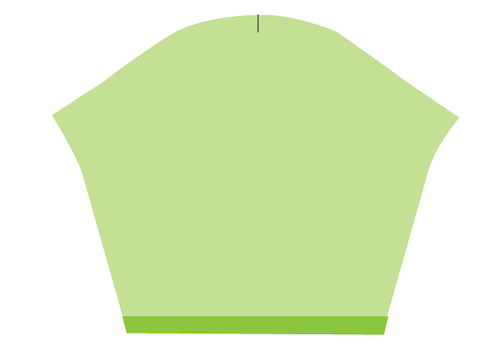
- Topstitch close to the folded edge.
- Put the sleeves in the armhole, pin and sew together. Zigzag the edges. Press. Optional: If you want to you can make a topstitch close to the armhole seam to hold down the seam allowances.

- Pin the side and sleeve seams together on both sides and sew together. Zigzag the edges.
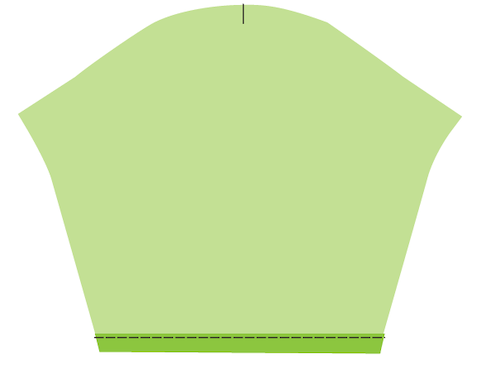
- Make the hem of the tunic: sew a ¼" stitch line around the hem.

- Fold along the line and press.

- Fold once more and topstitch close to the edge.

- Add a sew on snap button on the opening at the back of the neck.
Optional:Sew a decorative button on the back opening.