 Switzerland
Halloween Quilt: Don't Scare the Monsters Quilt

Cutting the sashing and outer edge fabric pieces.
If cutting with the Momento cutting machine:
- Cut files for momento can be found here:
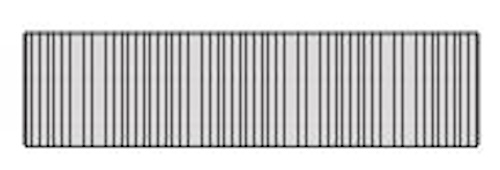
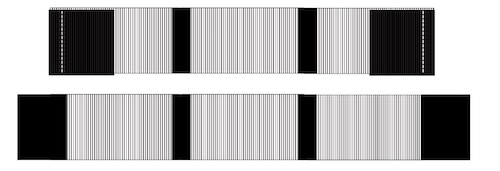
If using striped fabric for the sashing it is important to place the fabric with the stripes going vertically on the cutting mat.
From striped fabric cut:
Inside sashing:
- Four rectangles 2½”x12” (6x30cm)
- two rectangles 2½”x 11½” (6x29cm)
- Four rectangles 2½”x 9½” (6x24cm)
- Two rectangles 2½”x 8 ¾" (6x22.5cm)
Outer edges:
- Four rectangles 5x12” (12x30cm)
- Two rectangles 5x11½” (12x29cm)
- Four rectangles 5x9½” (12x24cm)
- Two rectangles 5x8 ¾" (12x22,5cm)
Note: The pieces need to be cut with the stripes going across the rectangles as shown:
From black fabric cut:
- 8 rectangles 2½”x5” (6x12cm)
- Four squares 2½x2½” (6x6cm)
- Four squares 5x5” (12x12cm)
- For the hanging sleeve corners cut four squares 6x6” (15x15cm)
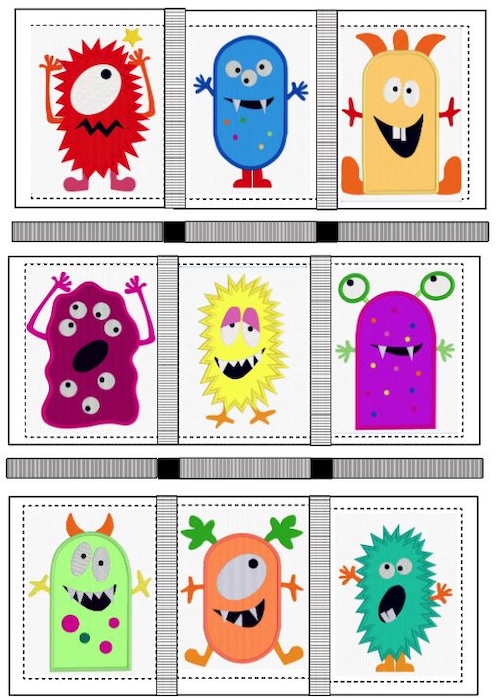
Putting it together:
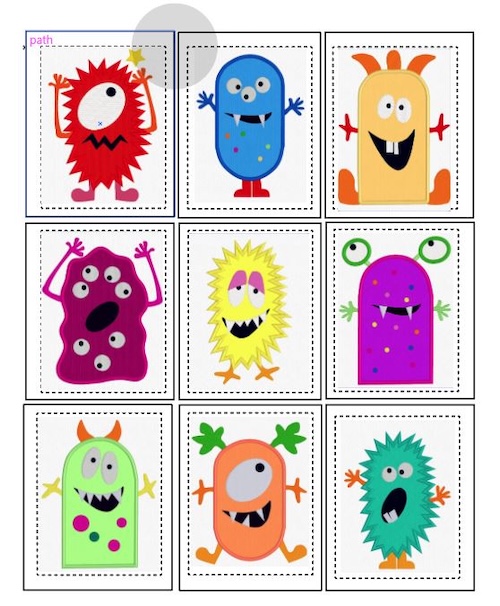
- Stitch out the monsters as described in the instruction, do not cut the seam allowances before the next step.
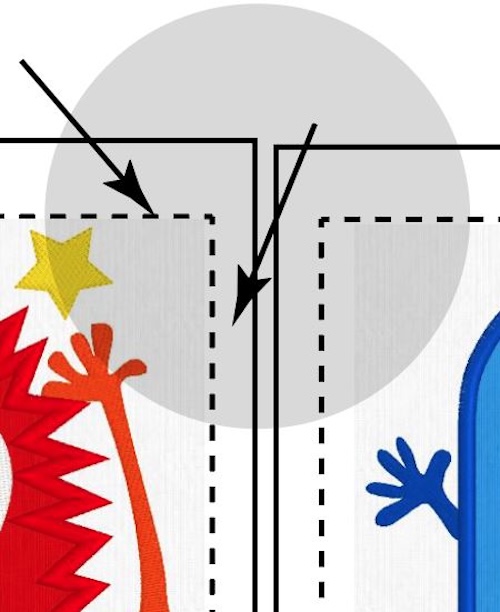
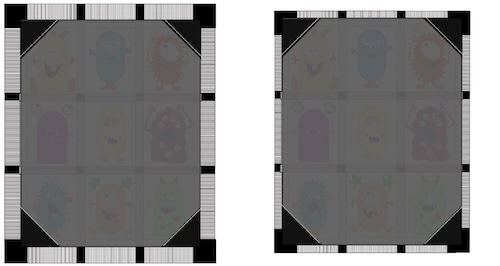
- Lay out the monsters in the order you want, the seam allowances should be 5/8” (1,5cm) on all edges except the outer edges of the quilt where it should be 1 ¼" (3cm) wide. see image below:
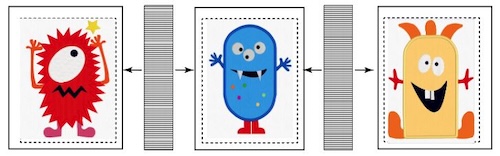
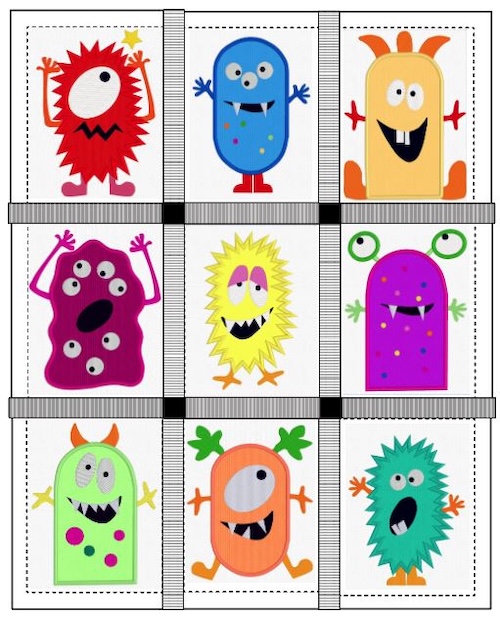
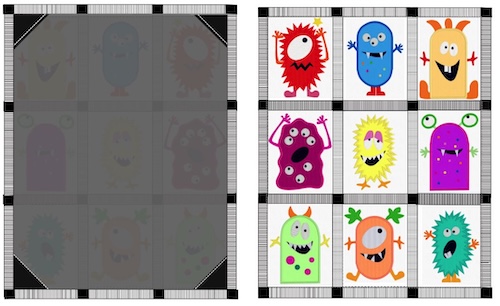
- Take the striped sashing fabric and the small black squares and place them between the quilt blocks as shown:

- Sew the quilt block together with the sashing using a 5/8” (1,5cm) seam allowance.
- The horizontal sashing and the squares should be sewn together in rows as well.

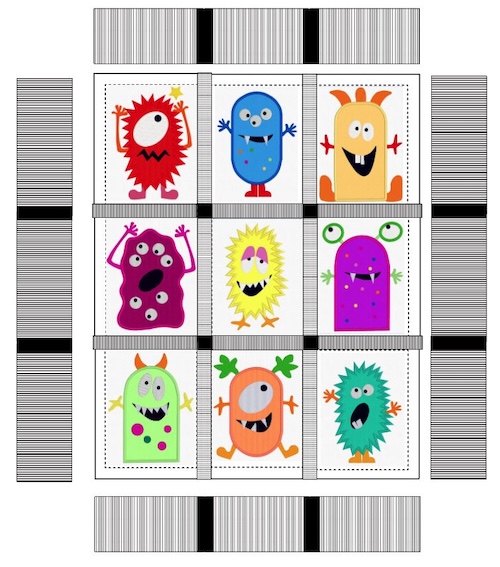
- Now it should look like this:
- Sew the rows together, sashing rows between the monster rows:
- Measure the quilt and cut a piece of backing fabric the same size as the quilt top.
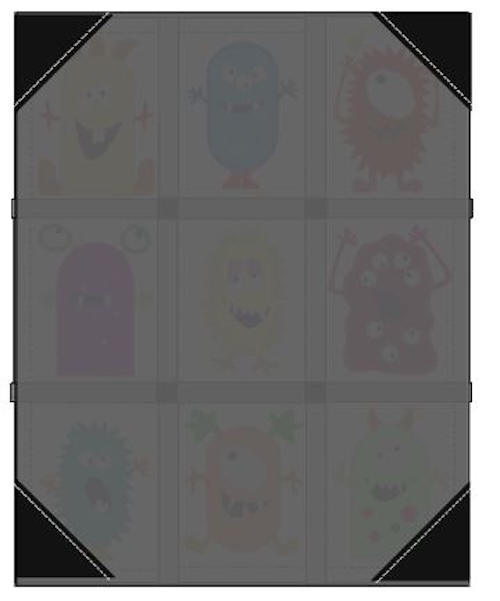
- Lay the quilt top on a table, right side down and place the backing fabric on top, right side up. Pin in place. Turn right side up and baste in place on your machine. Stitch on the previously topstitching at the outer edge of the quilt blocks (1 ¼" (3cm) from the edge)

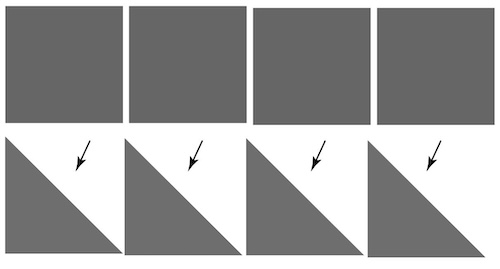
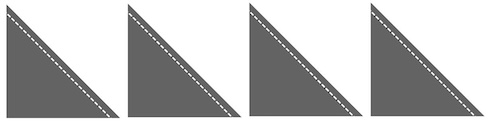
- Take the four hanging sleeve corner squares and fold each one diagonally
- Topstitch close to the folded edge
- Place one folded square in each corner of the quilt on top of the backing fabric. Pin in place.
Making a binding with cornerstones and sashing
This way of making the edge of a quilt may be new for you, but it is a nice way to make the sashing and corner stones all the way out to the edge of the quilt. Follow the instructions below: - Turn the quilt with the right side up. Arrange the pieces for the outer edges except the squares around it.
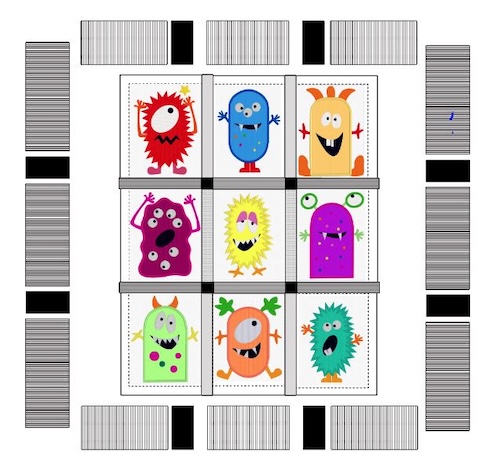
- Sew the pieces together, using a 5/8” (1,5cm) seam allowance.
- Sew the long sides together with the quilt using 1 ¼"(3cm) seam allowance. Sew from the back and follow the basting stitch line to hide the stitching on the front.
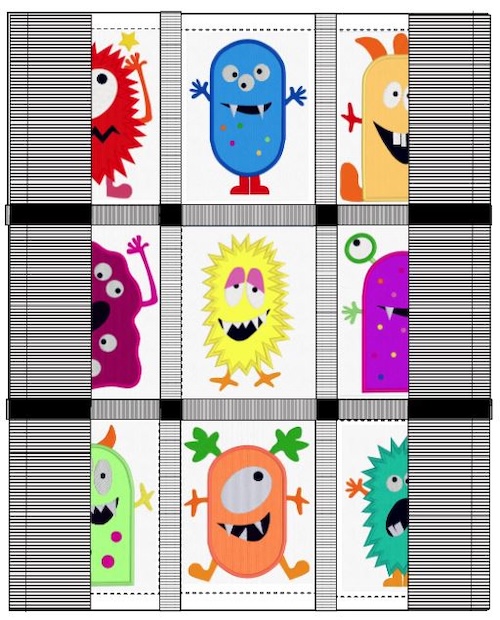
- Press the seam allowances towards the outer edge of the quilt.
- Add the corner squares to the remaining pieces, use a 1 ¼"(3cm) seam allowance. Fold the squares out and press. Cut off 5/8” (1,5cm) of the seam allowance to reduce bulk.
- Sew the top and bottom edge strips to the short sides of the quilt using a 2 ¼" (3cm) seam allowance. Fold out and press.

- Turn the quilt over, fold the raw edges towards the edge of the quilt.
- Fold the edges once more over the edge of the quilt. Make sure it covers the stitch line Pin in place and topstitch at the inner edge. Turn right side up and stitch on top of the inner edge of the binding.
- Topstitch on the edges of the sashing.

- Your quilt is finished. Well done! Make a thin dowel the same size as the distance between the corners. Put it inside the triangles and hang it on the wall. For extra stability you can put a dowel at the lower edge as well. This gives more stability to your quilt.
