 Canada
ANIMAL-THEMED MASK FOR HALLOWEEN!

ANIMAL-THEMED MASK FOR HALLOWEEN!
How to sew your own individual Halloween mask:
Here to Download-Anleitung für Deutsch
You will need:
- Faux leather remnants
- Felt
- Cotton fabric for the back, reinforced with H250 (sewing stabilizer) to prevent fraying and for more stability
- Rubber cord
- Possibly Husqvarna® VIKING® Tear-A-Way for appliqué
- Husqvarna® VIKING® appliqué or non-stick foot
- Usual sewing ingredients
- Husqvarna® VIKING® MICROTEX needle is best for faux leather
- Mask template
- Choose a template, print it out and cut it out. I have included the appliqués separately.
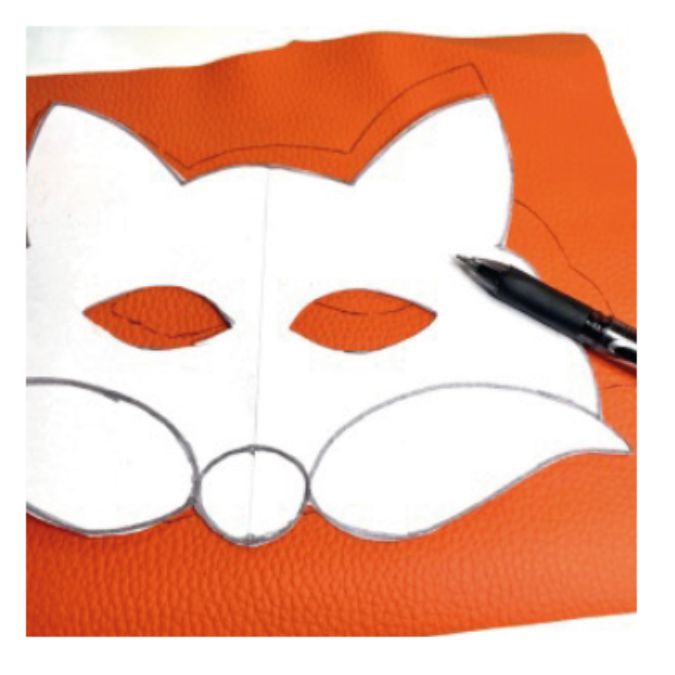
- For free downloads, you will either have to trace them or print them out twice and draw the outline of the mask and the cut-outs for the eyes on a sufficiently large piece of imitation leather. But don't cut it out yet, we'll do that at the very end.
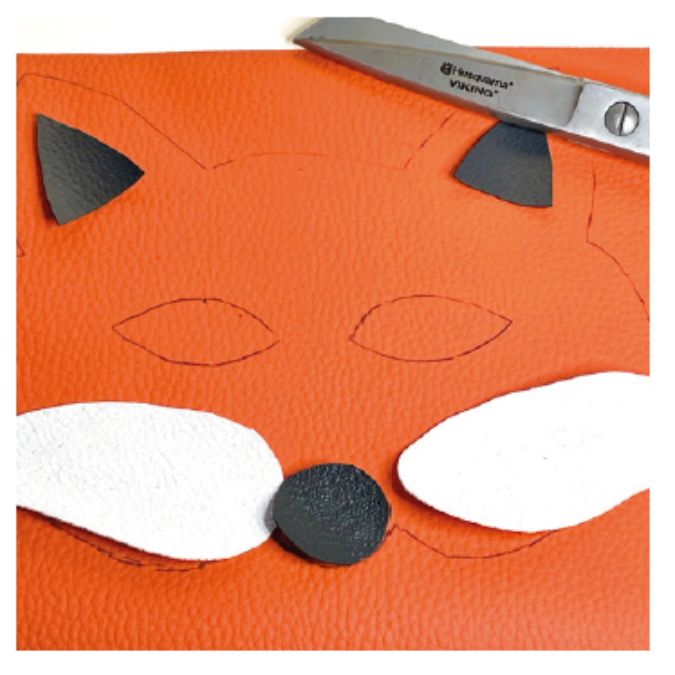
- Prepare, cut out and position the appliqué pieces - depending on the material, you can use Husqvarna® VIKING® stabilizers or washable glue stick (without solvent).
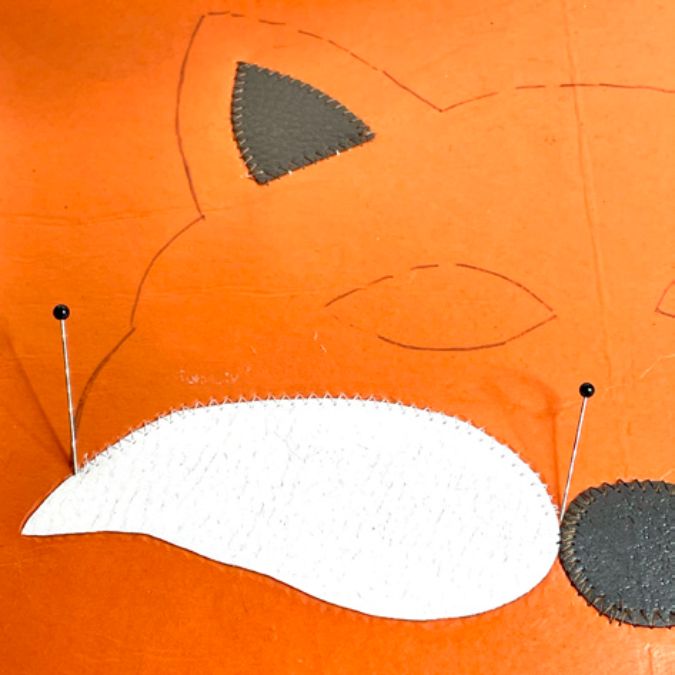
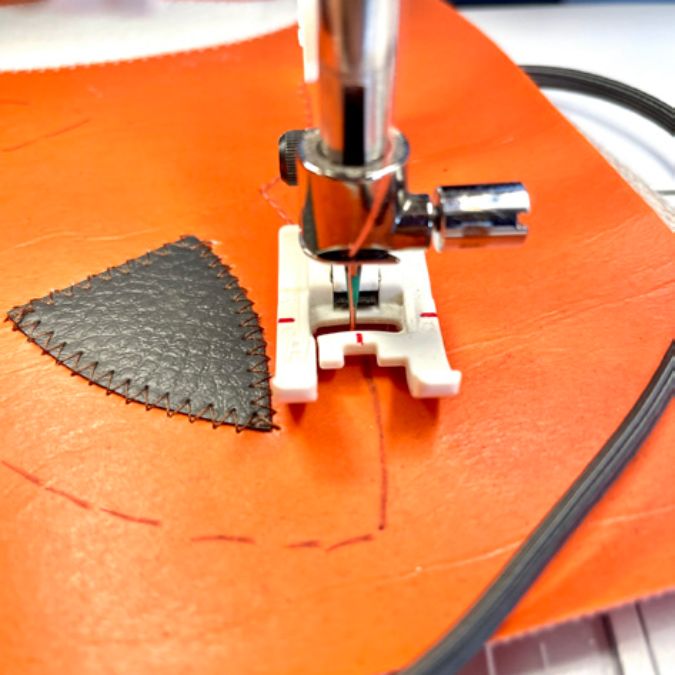
- Appliqué the individual parts with a straight stitch or zigzag stitch, leaving out the seams of the outer contour (only appliqué on the inside, between the two pins) and set any accents (whiskers).
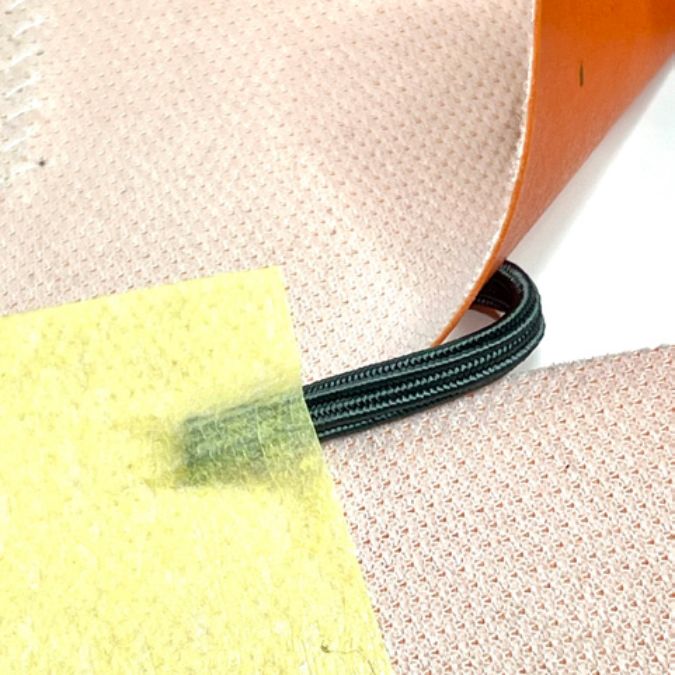
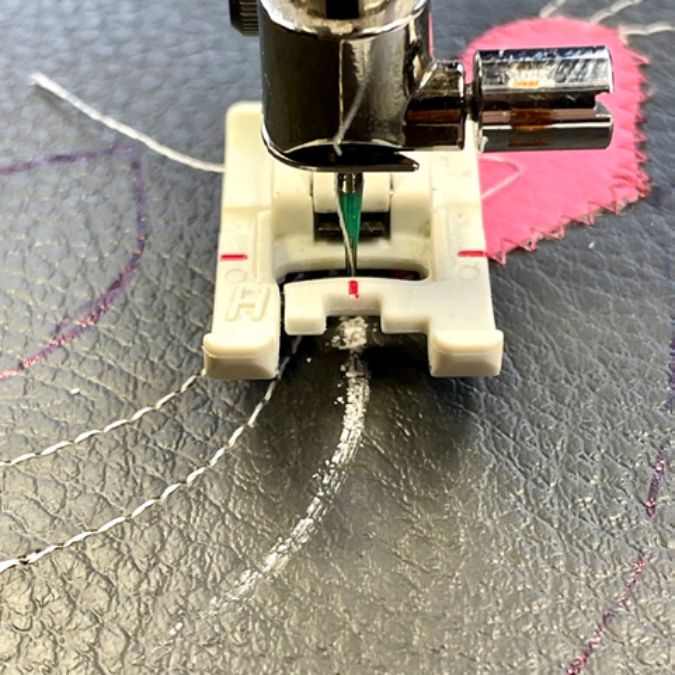
- Depending on the material, use the sliding foot H or the application foot. It is included with many Husqvarna®VIKING® models. Take an approx. 32 cm long elastic band (for a 55 cm head circumference) and fix it at eye level on the back. To do this, cut horizontally into the artificial leather until just before the marking, clamp the braid from the front to the back and secure it with masking tape.
- Place the piece of fabric for the back on top of the mask, left sides facing and clip the two pieces together all the way around - now sew the contour you drew at the beginning once on the front. The remaining open edges of the appliqués are closed and the front and back are joined together. ATTENTION: The elastic band is always in the way, it is only attached to the side!
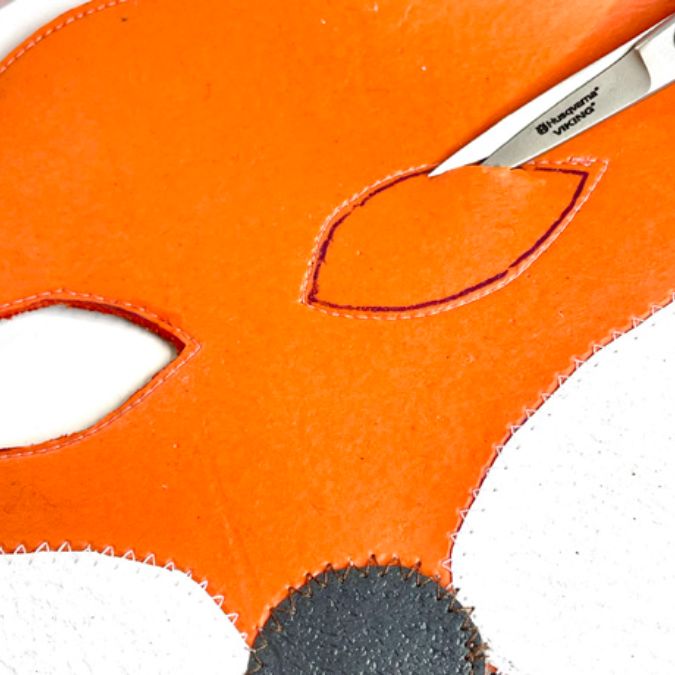
- Next, topstitch the eyes along the marking and remove the inside with pointed scissors.
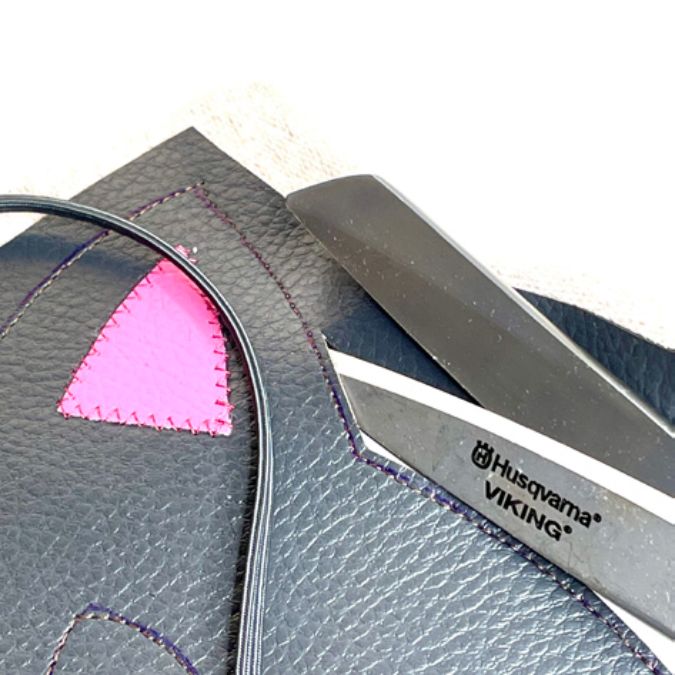
- Now cut off the excess material along the outer contour and the quick disguise is finished!