United States
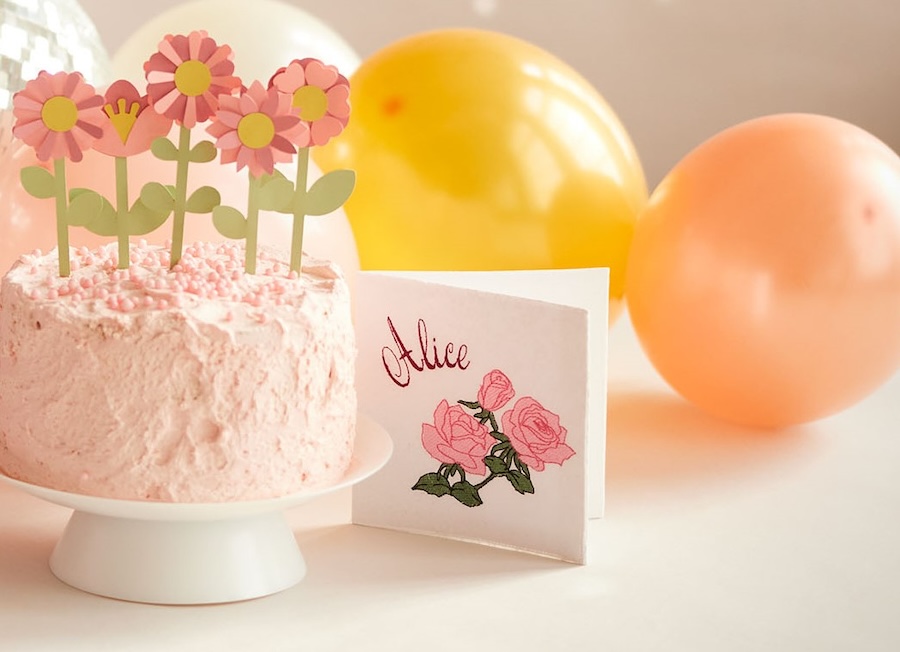
Personalized Embroidered Birthday Card with Rose
Discover the versatility of our Square Blank Card! Personalize it easily with endless customization options.
With 30-day Free Trial of mySewnet Embroidery Software you will get to try out the most user-friendly and feature rich digitizing software on the market. It works with all embroidery machine brands and is available for both Windows and Mac.
What you need:
- mySewnet Embroidery Software, Gold level or above.
- Fabric for the card, in this project an old linen tablecloth is given a new life
- Tear away stabilizer
- Embroidery thread
- Thin cardstock for stabilizing the finished card.
How to do:
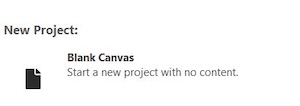
- Open mySewnet software, select Blank Canvas
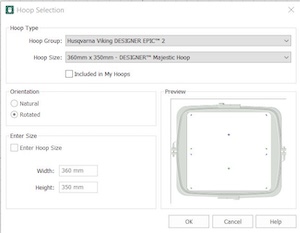
- Set hoop size to 360x350mm.
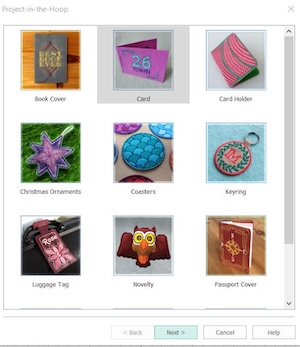
- go to Create and click on Project-in-the-Hoop.

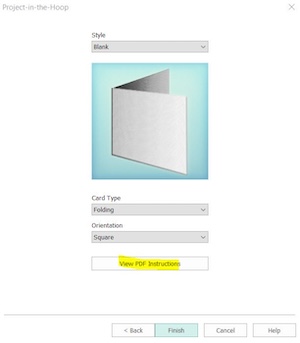
- Select Card and click Next.
- Select Blank, Folding and Square, click Finish.
Note: If this is the first time you make a card, take the time to read the PDF instructions to get more information. Click on View PDF-Instructions.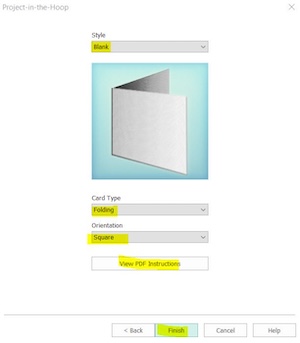
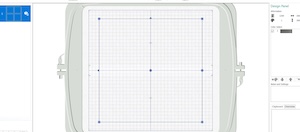
- The framework (outlines) for the card will be shown in the hoop area.
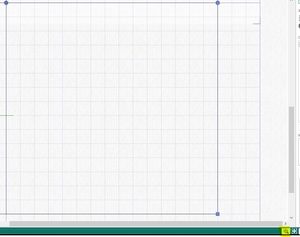
- Zoom in to the lower right square. Use the Magnifying tool and drag around the area you want to zoom into.
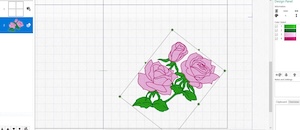
- Go to SuperDesign Flowers 4 section design 6-Roses and click on Apply.

- Drag the green corner handles to make the rose as big as you like.
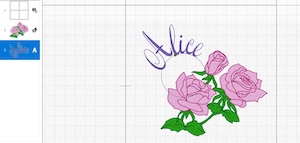
- Go to Letter, select Valentina 12-40mm in the Script Section. Set the Size to 40mm and the Shape to Circle Clockwise.

- Click on Apply. Drag the circle in place and move the lettering with the green handle to get it in the right position.
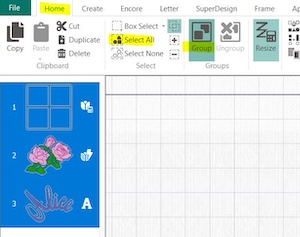
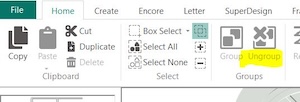
- Lets continue with the inside of the card. Go to Home tab, Click on Select All and then Group. Making a group is much better than using Combine. It is easier to come back and make alterations later, just click ungroup and do the changes, then group again.
- Zoom out so you can see the whole hoop again. On Home tab click on the 45-degree turning tool four times to rotate the card 180 degrees.
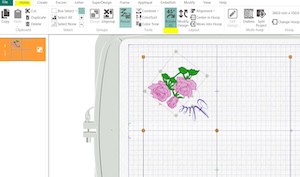
- Click on Ungroup. This will release the embroideries again.
- Zoom in on the lower half of the hoop. This will be the inside of the finished card. Add text and embroideries as you like. I used the same font as the outside to make the design cleaner.

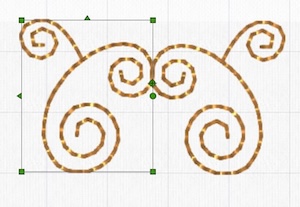
- to make the scroll design I selected a scroll from superdesign Wreath 2 7-swirl 2. size 25mm.

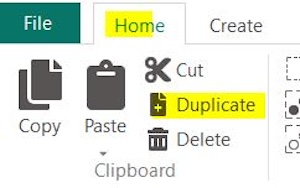
- Go to Home tab and click on Duplicate.
- Flip the design by using the green pointed handle.
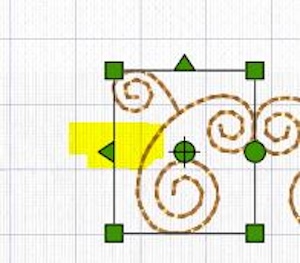
- Move the designs until they just touch each other. See image below:
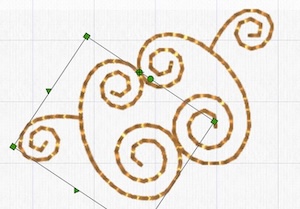
- Select one of them and move the center point to where the designs touch each other.
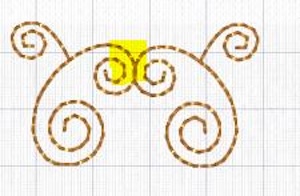
- Drag in the green round rotation handle and make the large scrolls meet each other, see Image below:
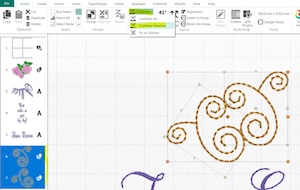
- Select both designs in the filmstrip Holding down CTRL-key. Then click on Combine, Combine Selected.
- The scroll is now finished. Place it under the lettering.
- Go to Home tab, click on select All and then Group
Final Steps:
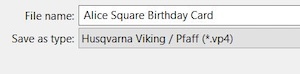
- Go to File, Save As and save the file on your computer. It will be saved in vp4 format.
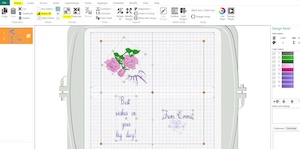
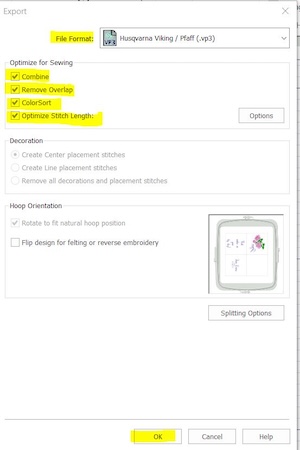
- To be able to stitch the file out in needs to be Exported in your preferred format Go to file, click on Export, and select the output format. The boxes should be selected as in the image below. Click OK. Save on your computer, on a USB-stick or send to your embroidery machine.
Stitching out the Design:
27. Hoop stabilizer and fabric in the 360x350 hoop.
- Stitch out the design. Follow the instructions on your machine.
- When finished, unhoop the embroidery and follow the instructions in the PDF to put the cards together.