 United States
Personalized Embroidered Birthday Card
- 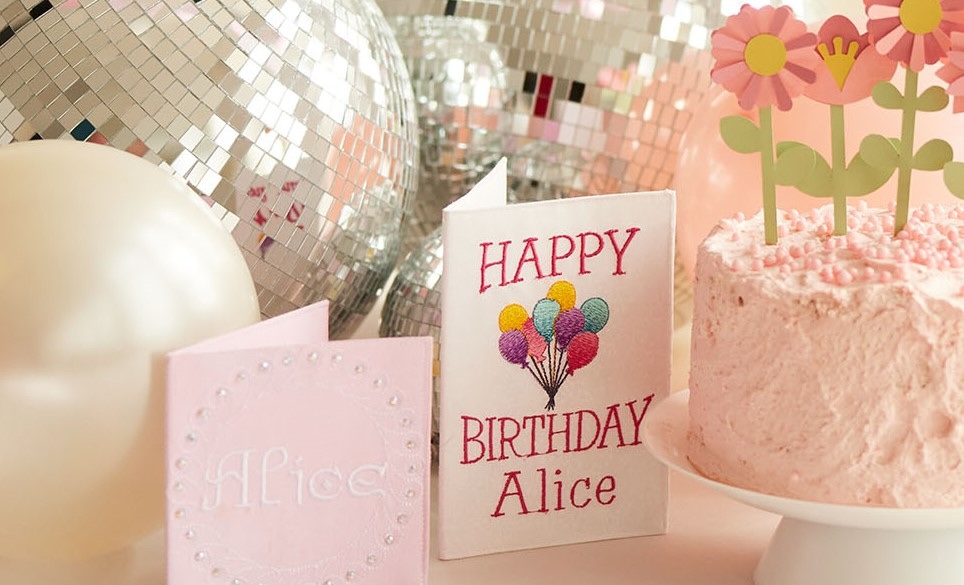
Customizing your birthday card is simple with our editable lettering feature!
With 30-day Free Trial of mySewnet Embroidery Software you will get to try out the most user-friendly and feature rich digitizing software on the market. It works with all embroidery machine brands and is available for both Windows and Mac.
What you need:
- mySewnet Embroidery Software, Gold level or above.
- Fabric for the card, in this project an old linen tablecloth is given a new life
- Tear away stabilizer
- Embroidery thread
- Thin cardstock for stabilizing the finished card.
How to do:
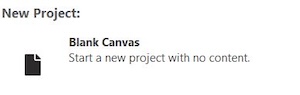
- Open mySewnet software, select Blank Canvas
- Set hoop size to 360x260mm.

- Go to Create and click on Project-in-the-Hoop.
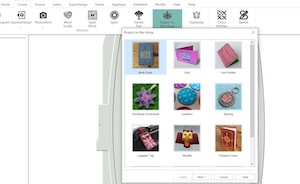
- Select Card and click Next.
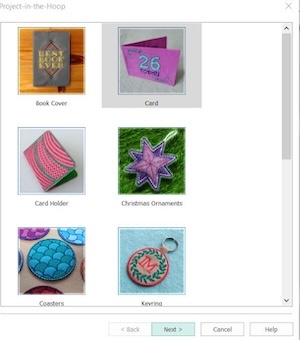
- Select birthday, Folding and Portrait, click Finish.
Note: If this is the first time you make a card, take the time to read the PDF instructions to get more information. Click on View PDF-Instructions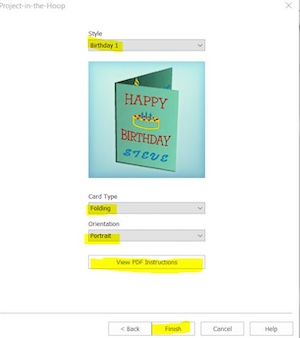
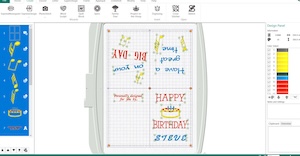
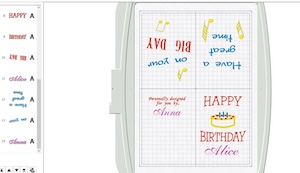
- Your screen will now look like this:
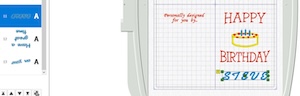
- Next start by changing the name on the front click on the name Steve in the filmstrip. The text in the hoop will be surrounded by a frame with green Handles.
- Right click on the text. A dialog box will appear. Select Edit Lettering.
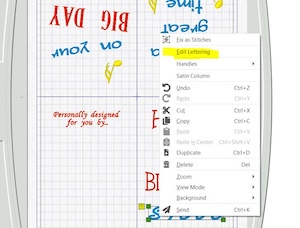
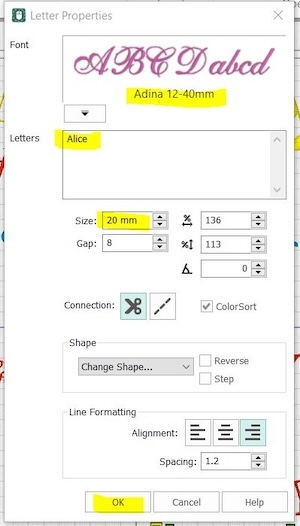
- You can now change the text to another name, in this example Alice. You can also change the font. I chose Adina 12-40mm. I also changed the Size to 20mm.
- Next I wanted to add the maker of the card on the left side. This will be shown at the back of the card when finished. Go to Letter and type the maker's name, in this case Anna. I chose the same font and size as in step 9.

- Now the card will look like this. Time to save the file and stitch it out.
- First we need to save the file. Go to Home, click on Select All and then Group.
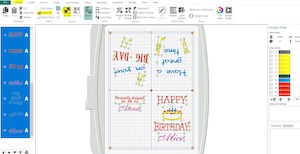
- It is better to group the embroidery design than combine. It is much easier if you need to make any changes later. Click ungroup, change what you need to, then select all and group again!
- Now go to File and click on Save as. Save the file on your computer. The file will be saved in vp4 format.

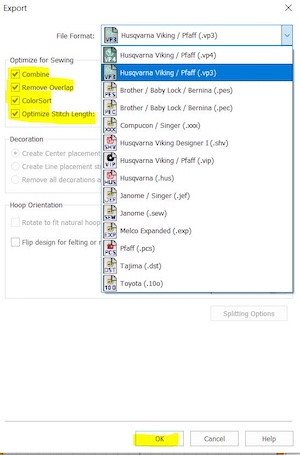
- The last step is to export the file for embroidery. Go to File and click on Export. Now you can save the file in your preferred format. Let the boxes be checked as in the image below.
Stitching out the design
16.Hoop stabilizer and fabric in the 360x260 hoop.
- Stitch out the design.
- When finished, unhoop the embroidery and follow the instructions in the PDF to put the cards together.
