 United States
Craft Your Own Sesame Street Snack Bag
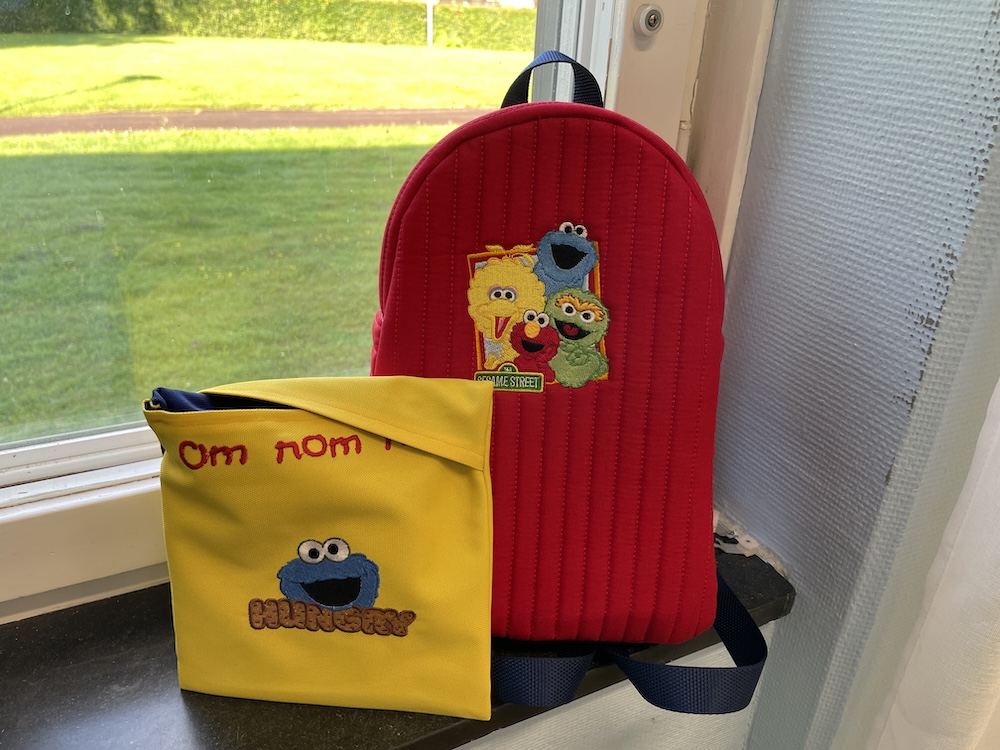
Bring a touch of Sesame Street magic to snack time with this adorable snack bag! Perfectly paired with your Sesame Street Backpack, this snack bag is both fun and functional. Follow these instructions to create your own unique design. From choosing vibrant fabrics to adding charming character patches, you can customize your backpack to showcase your love for the iconic show. Gather your materials, thread your needle, and let’s start stitching smiles together!
Plus, with a 30-day Free Trial of mySewnet Embroidery Software, you can explore the most user-friendly and feature-rich digitizing software available. Compatible with all embroidery machine brands and available for both Windows and Mac, it’s the perfect tool to bring your creative visions to life.
Materials needed:
- Fabric piece for the outside 8½x20” (22 x50cm)
- Fabric piece for lining You could use laminated fabric or PUL for this
- Embroidery file, find it here: 150250012
- 260x200mm hoop.
- MySewnet embroidery software, silver level or higher to be able to add text.
How to do:
Preparing the embroidery file
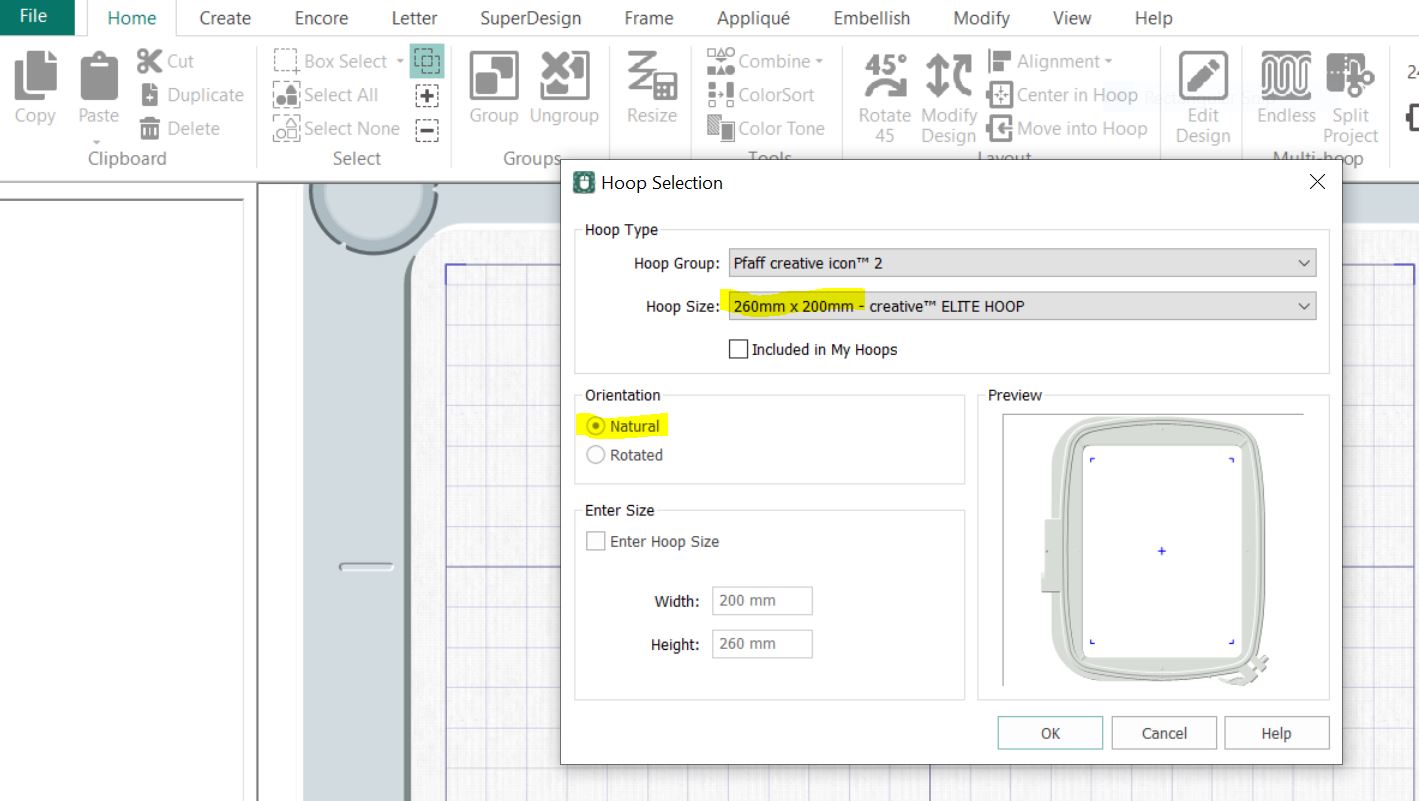
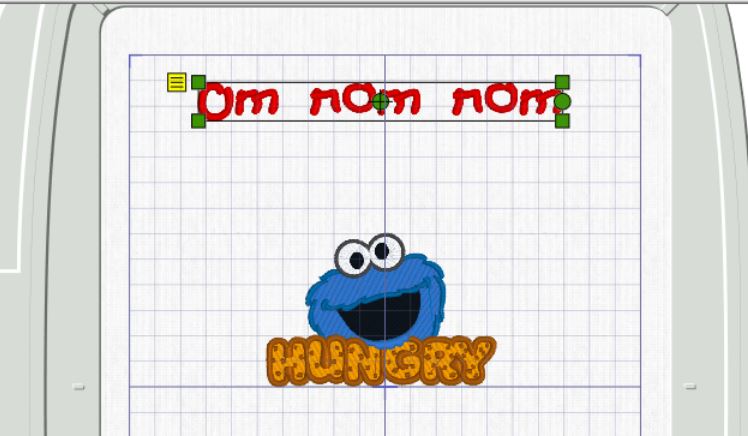
- Open mySewnet embroidery software, select blank Canvas, set the hoop size to 260x200mm, natural orientation.
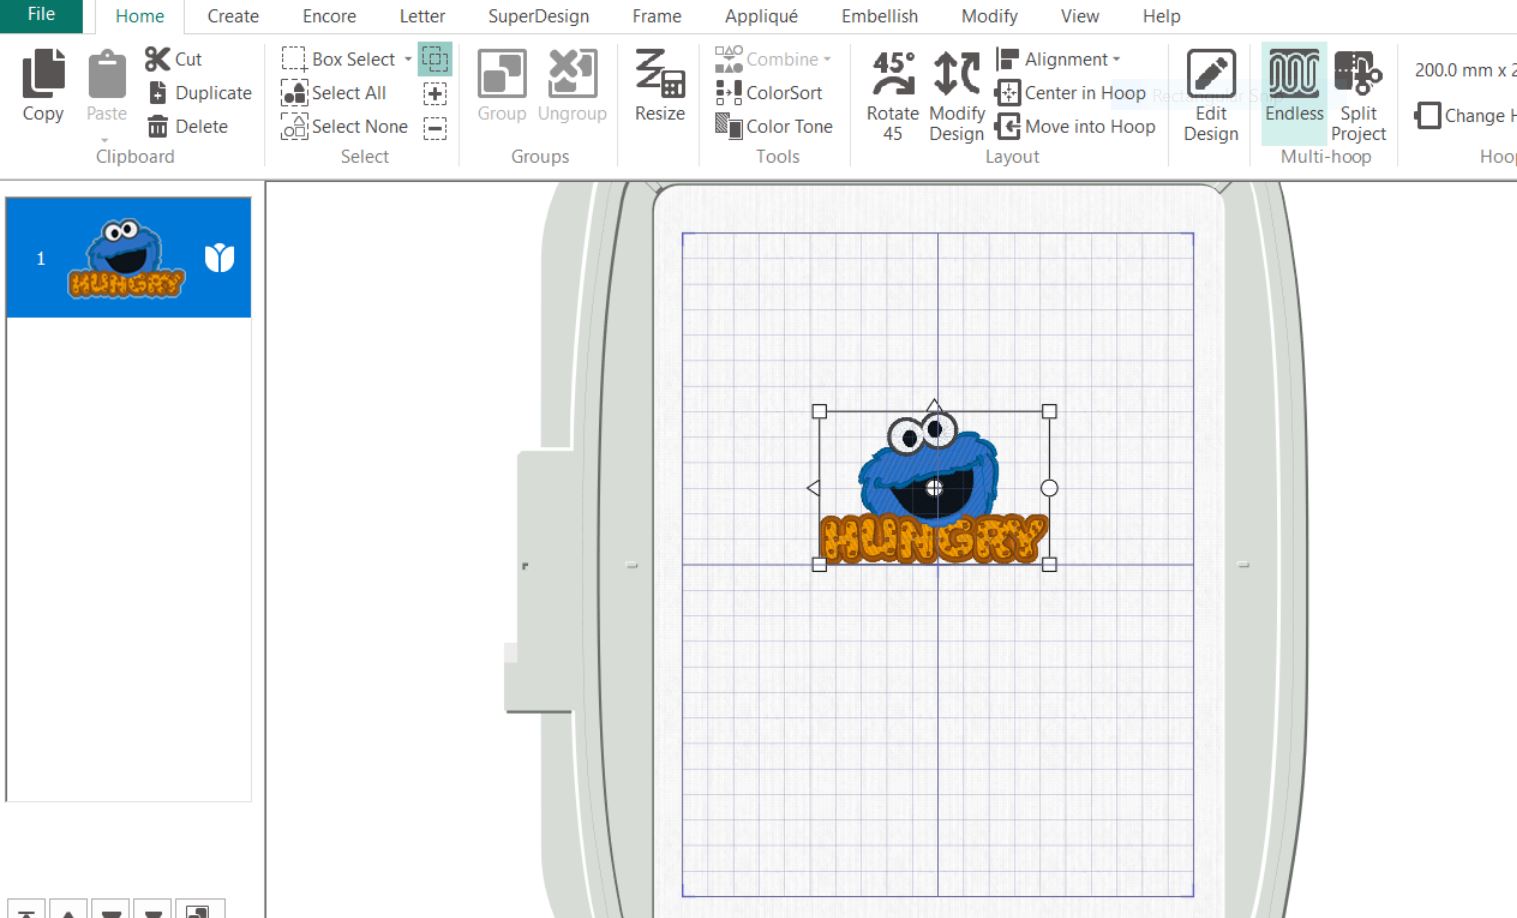
- Insert the cookie monster embroidery, place the embroidery with the lower edge at the center line in the hoop.
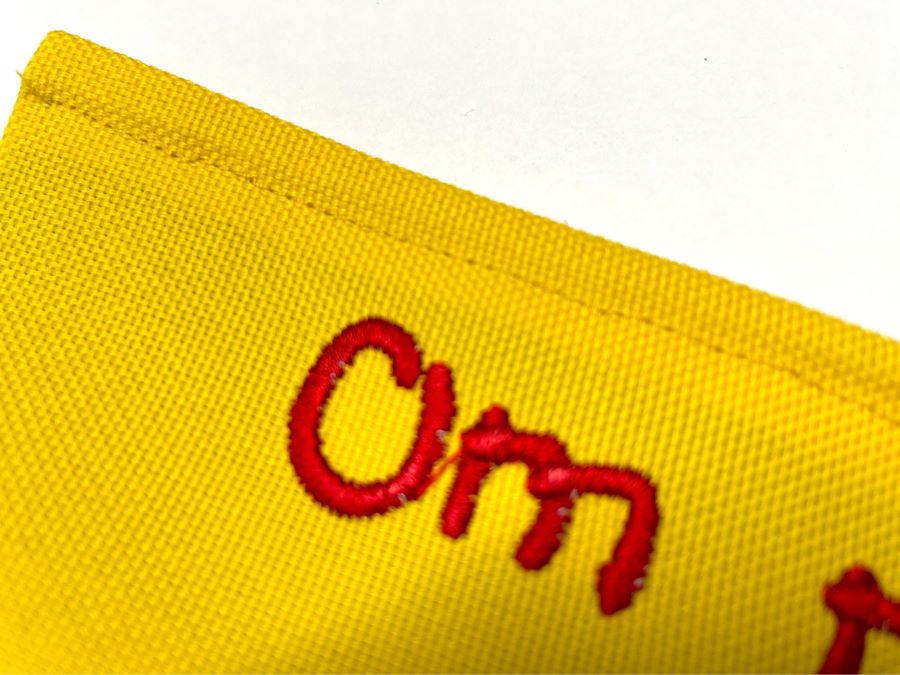
- Go to Letter, children and select the Kids font. Set the Size to 15 mm and type Om Nom Nom in the Letter box. Click on Apply. The text should not be wider than 6” (15cm).
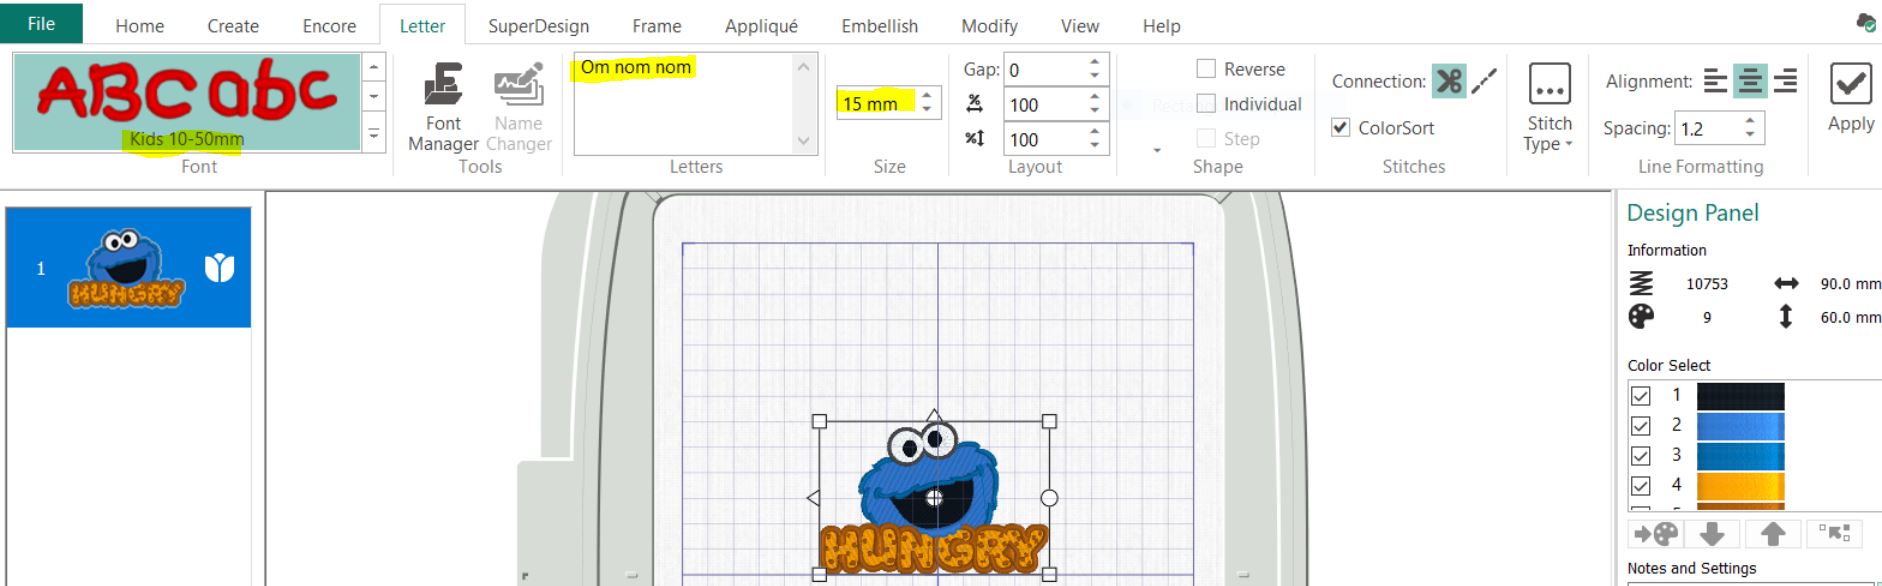
- Place the text with a 1 cm gap from the top of the hoop. Save the embroidery and export it in your preferred format.
Stitching out the Embroidery
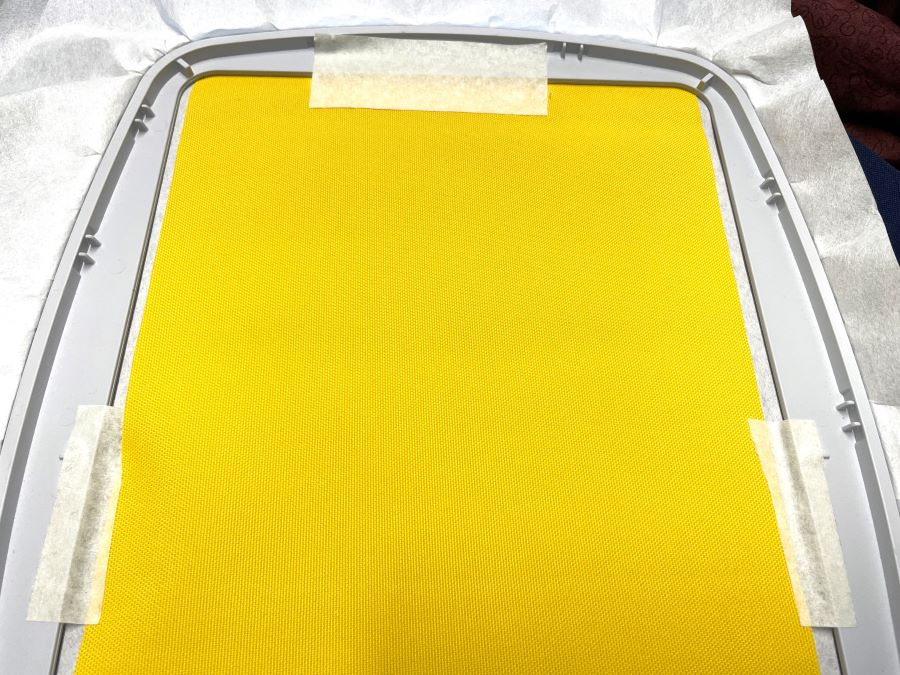
- Hoop tearaway stabilizer in the 260x200mm hoop.
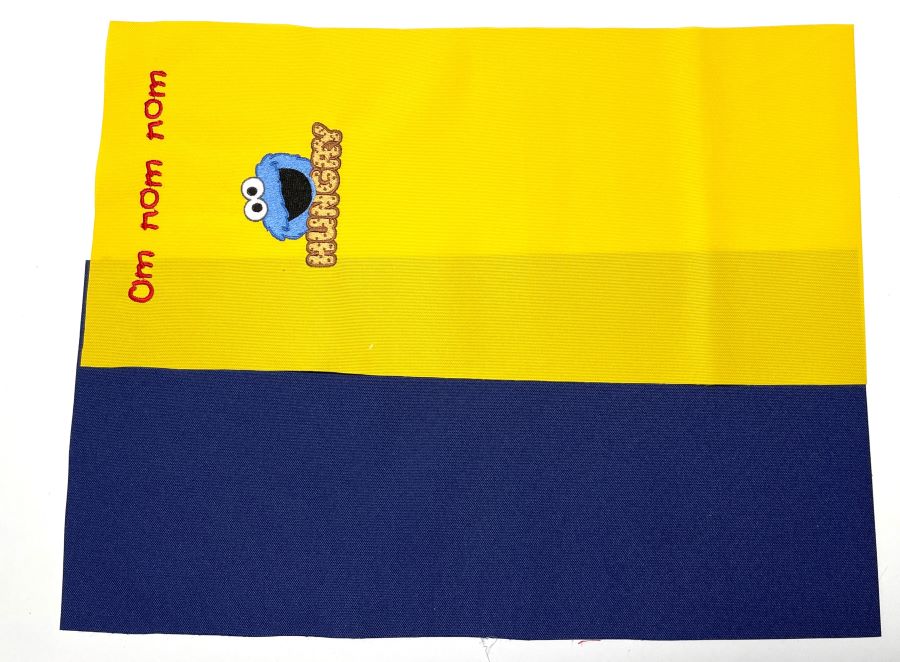
- Place the fabric in the hoop with the short end facing the hoop frame at the top. The fabric should extend outside the hoop at the bottom edge. Baste or tape in place, securing the fabric in the hoop.
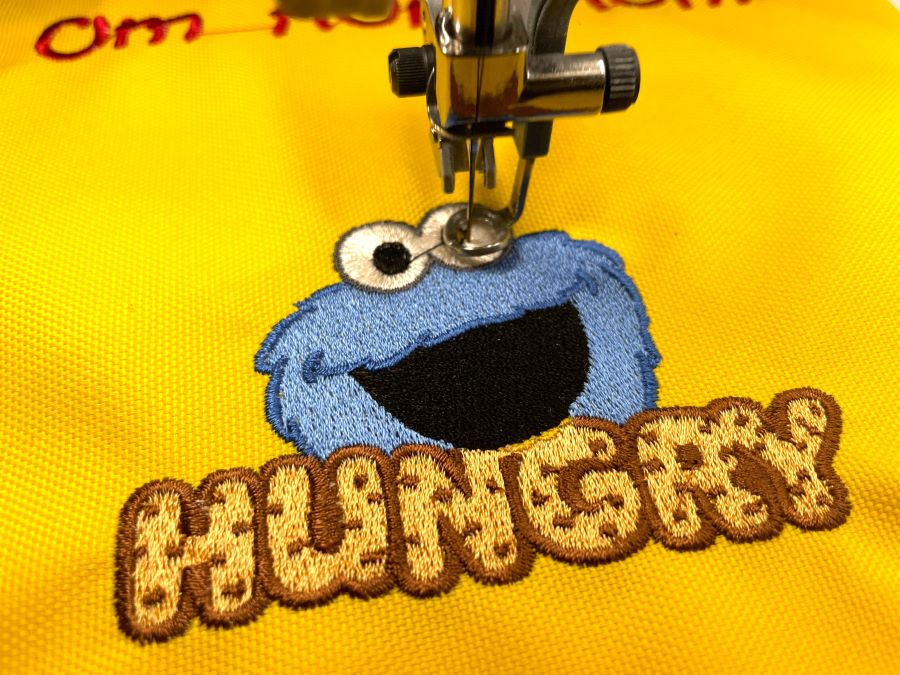
- Stitch out the embroidery.
- Unhoop the fabric and remove the basting. Tear away excess stabilizer.
- Cut the fabric off 1” (2,5cm) above the text.
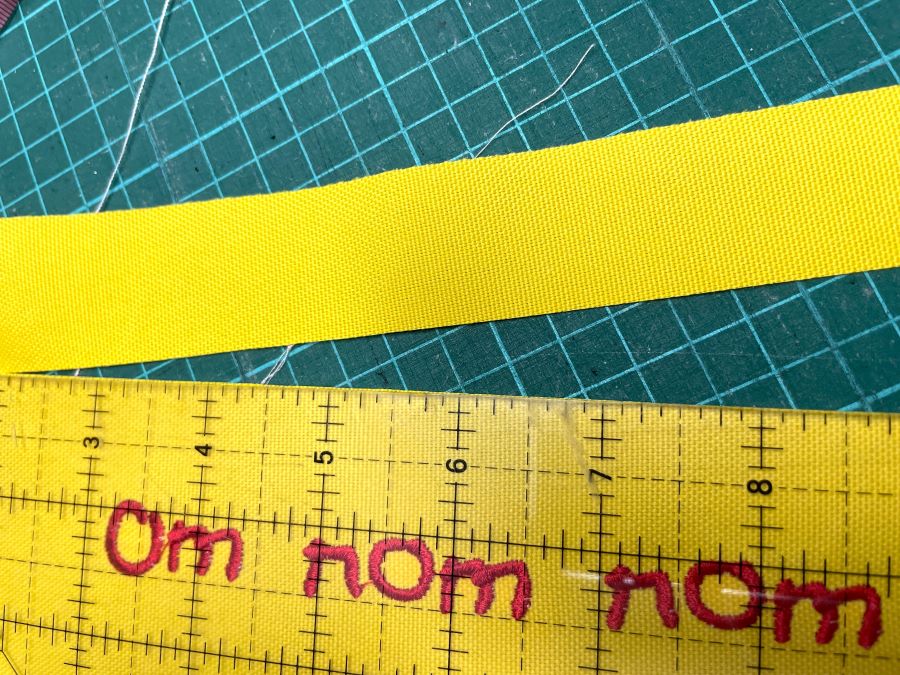
- Cut at the other end to make the fabric piece 18” (45cm) long.
- Cut a lining piece the same size as the outside fabric.
- Place the lining and outer fabric together.

- Sew the short edges together using a 3/8” (1cm) seam allowance.
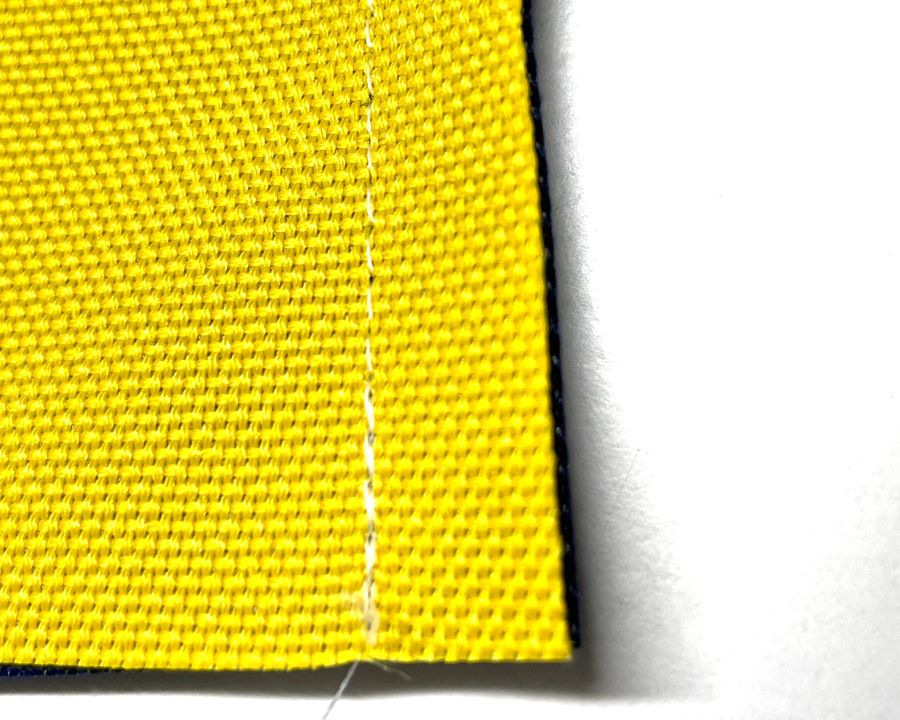
- Turn right side out and press. Be careful if using laminated fabric or PUL.
- Topstitch ¼" (6mm) from the sewn edges.
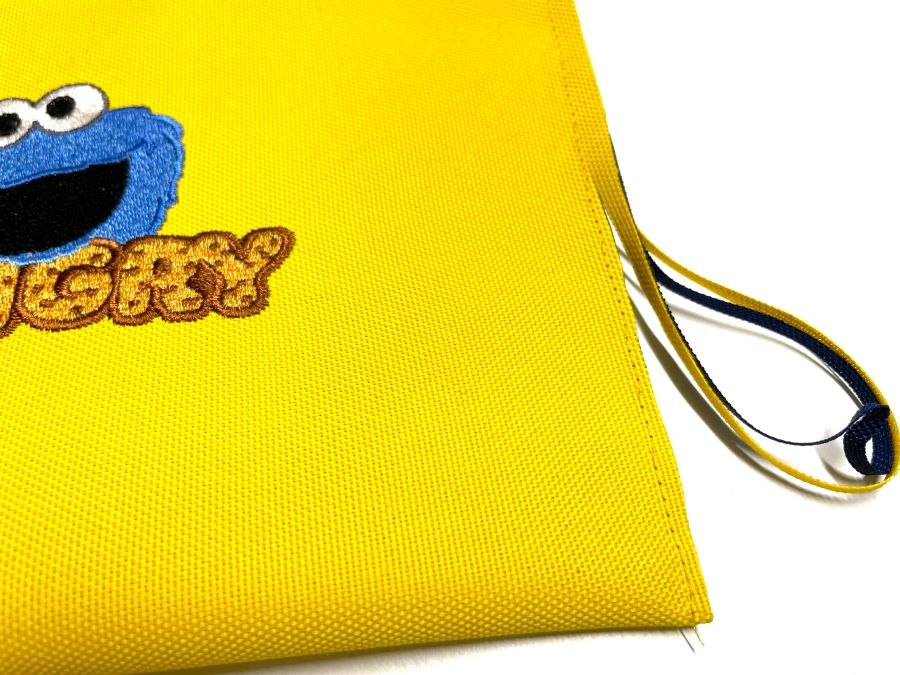
- Measure 7½” (19cm) down from the top and fold the rest of the piece towards the back, then fold the remaining piece over to cover the text. The overlap should be about 2” (5cm). See image below for guidance.
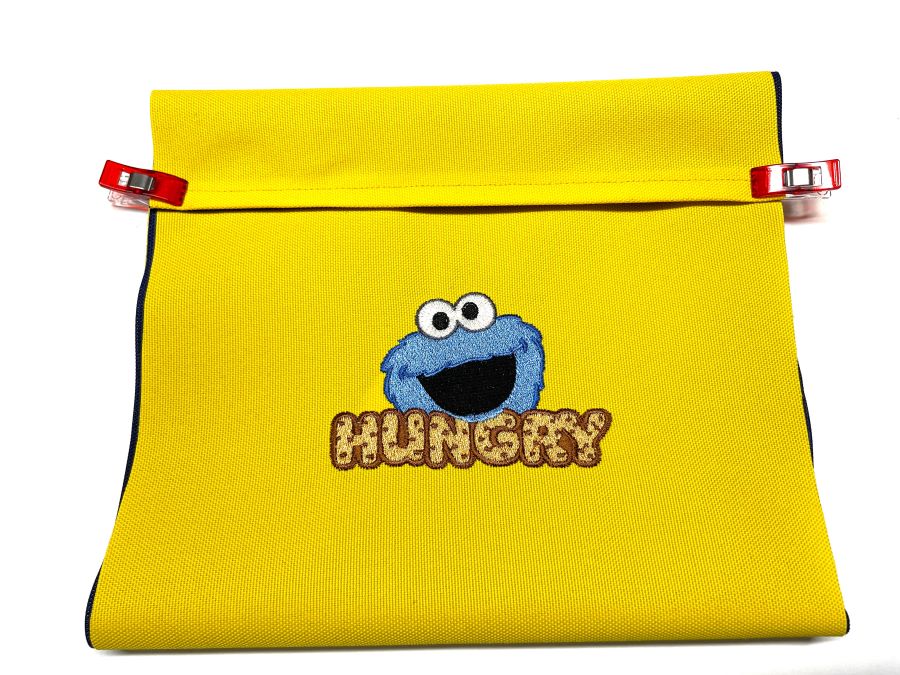
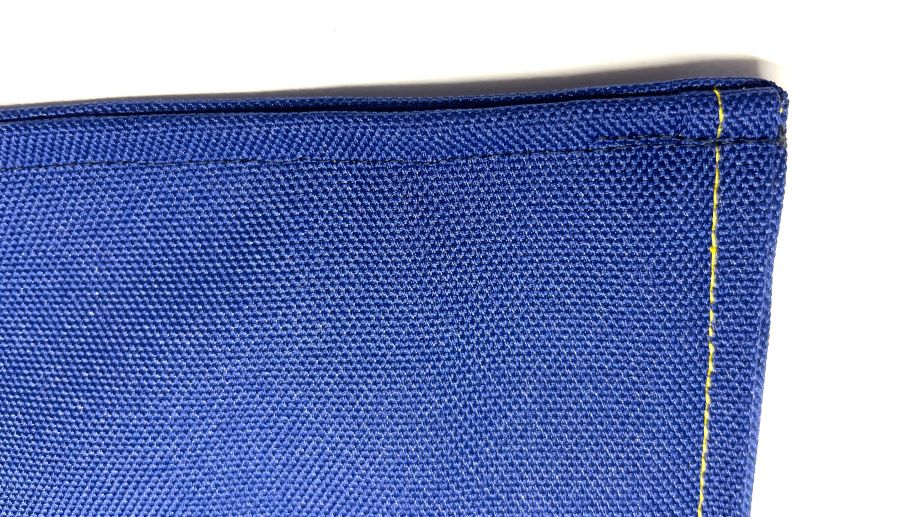
- Stitch together with a ¼" (7mm) seam allowance at the sides.
- Cut close to the stitching leaving about 1/8” (3mm) seam allowance.
- Turn inside out and stitch the sewn edges together, catching the seam allowances inside. Use a ¼" (7mm) seam allowance. Turn right side out again.
Your snack bag is now finished! Well done! 