 United States
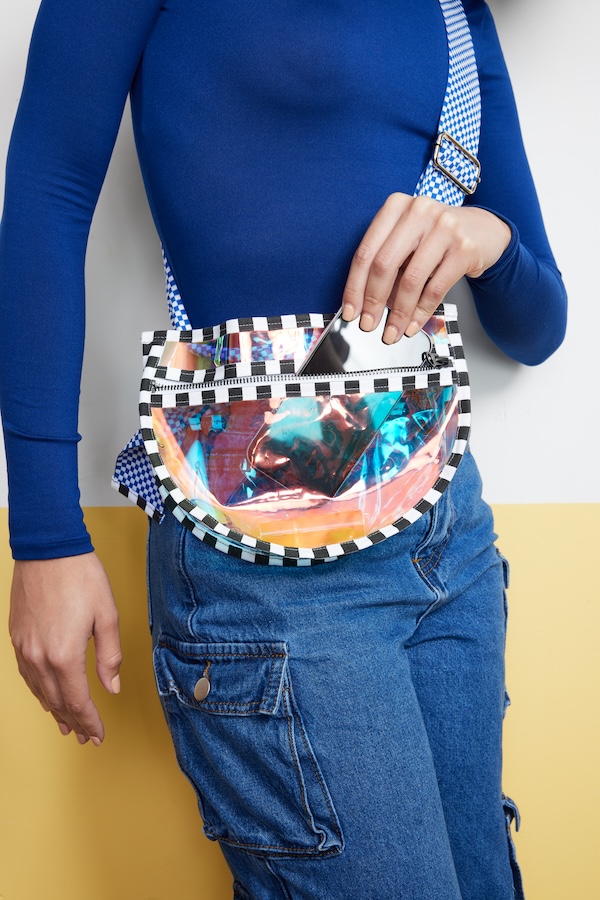
Beginner-Friendly Bag Tutorial: Create a Cross-Body Bag
Beginner-Friendly Bag Tutorial: Create a Cross-Body Bag
Learn how to create a versatile beginner-friendly cross-body bag. Perfect for concerts, festivals, or any on-the-go adventure, this step-by-step tutorial will guide you through crafting a stylish and functional accessory using the power and precision of the SINGER® PRISMA™ Heavy Duty Sewing Machine.
What you need:
- 1/3 yds clear vinyl
- 2.5 yds twill tape for edges
- Thread that matches twill tape
- 2yds strap material (the strap shown is 2.25” wide)
- 9” zipper
- Strap hardware (make sure the width of your hardware is compatible with the width of your strap)
- Clasp end
- Ring end (what the clasp hooks into)
- Slider
- Permanent marker
- Scissors
- Optional: Painter’s tape
- Bag Pattern Template
Instructions:
- Trace or draw the pattern onto your vinyl twice using a permanent marker.
- Cut out both traced shapes, one strip 2”x19” (5 x 49cm), and two 1”x3” (2.5 x 7.5 cm) pieces.
- Take one of the cut-out pattern pieces. Measure down 1.5” (4cm) from the flat side and cut.
Note: We will be placing the zipper in between these two cut pieces. - With one of the sides, you had just cut; wrap twill tape along the cut edge and then place the zipper underneath. Be sure that the twill tape is centered width wise around the vinyl as best you can around the edge.
Tip: If you put a pin in vinyl, the hole will not disappear after you remove the pin. So, I recommend using low adhesive tape, like painter’s tape, to tape the sections you’d like to keep in place. - Using a straight stitch, sew along the edge of the twill tape approximately 1/8” (.3cm) from the open edge of the twill tape.
- Repeat steps 4-5 with the other recently cut edge. Center the zipper between them the best you can.
- On a flat surface, place the sewn side face down and then place the other pattern piece on top.
- Trim the extra vinyl from the top (flat side) to match the other cut pattern piece.
Tip: You can cut a small chunk of this to make a zipper pull as well. - Take the piece you just added a zipper to and the 2”x19” (5cm x 49cm) strip.
- Place the strip along the outside curved edge and wrap the edges with twill tape.
Tip: Since we are avoiding pinning, I recommend only wrapping from the top to just past the zipper, or about 2” (5cm) on one side and adjust the rest while sewing. - Sew along the edge of the twill tape approximately 1/8” (.3cm) from the open edge of the twill tape. Stop every 2” (5cm) or so, put the needle down in the fabric to ensure your project doesn’t move under the needle, and adjust your layers to ensure everything is wrapped together neatly and evenly.
Tip: I highly recommend turning on needle stop up/down if your machine has the capability. This way, every time you stop sewing, the needle will stop in the down position for you to easily adjust the fabric. - Sew until the whole curved side is sewn with twill tape and the strip attached and trim off the excess twill tape.
- Take your two 1”x3” (2.5 x 7.5 cm) pieces. Fold over twill tape to cover one of the short ends on each piece.
Tip: Fold over the cut end of the twill tape to the wrong side so you don’t see the raw edge. - Take your back panel and from the top/flat edge make a mark 1.5” in and 3” down on both sides. This marks where the covered corner of the short pieces will be, and this should place the other short edge even with the top of the bag.
- Place the twill tape edge of the short piece to just cover the mark and sew in place.
- Repeat steps 10-12 to attach the back of the bag to the rest.
- Fold the side strip down so the two flat edges meet nicely.
- Fold over twill tape along the top and sew along the edge of the twill tape approximately 1/8” (.3cm) from the open edge.
Note: Make sure the top of your short pieces on the back are also sewn in-between the twill tape. - Grab your strap and the strap hardware.
- On one end of the strap, slide on the ring end of your hardware. Pull the strap through so there is 1.5” (4cm) on one side of the hardware
- Fold this over to sew the strap to itself with the hardware in place. Be sure to fold under the raw edge of the strap about ½" (1cm).
- Sew approximately 1/8” (.3cm) away from the folded under edge. Then sew another parallel line approximately 1/8” (.3cm) above the line you had just sewn.
- On the other end of the strap, put the slider on with the strap over the middle bar.
- Then put the clasp end on the strap.
- And the magic adjustable moment comes when you take the end of the strap and put it between the middle bar of the slider and the fabric that’s already in the slider and over the middle bar.
- Weave the strap behind the two small tabs on the back of the bag.
- Adjust to your liking and wear with confidence