United States
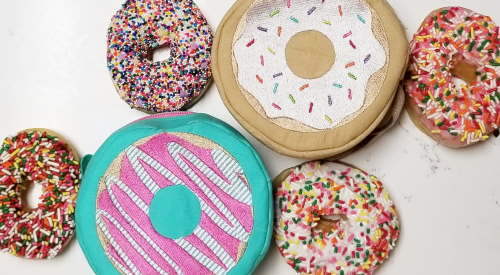
Back to School Cool: Donut Pouches!
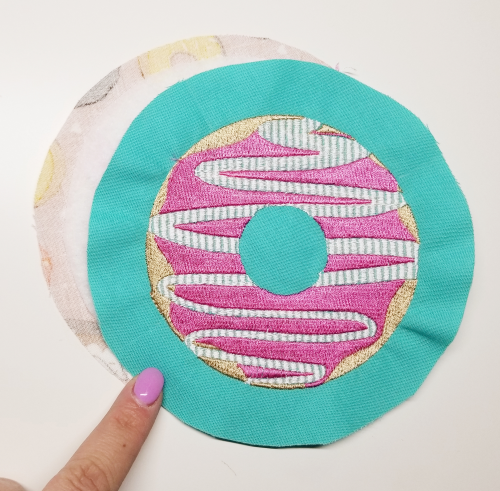
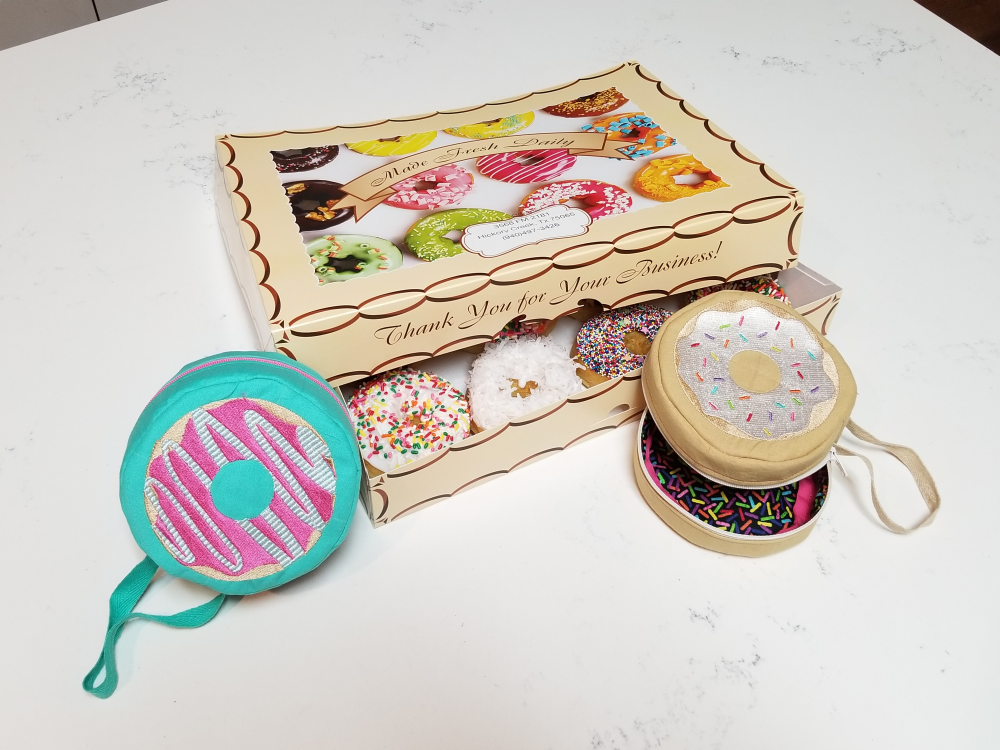 Mmm, donuts! Stitch up one of these super fun donut-sized pouches to hold all your little do-dads. Choose from one of two included donut embroidery files. You have the ability to change the donut, frosting & topping thread color to whatever “flavor” you crave. For non-embroidery options, use a bold print, or fussy cut a fun design. Luckily, an entire box of these is calorie-free!
What you need:
- Sewing & Embroidery Machine
- Zipper Foot
- Sensor Q-Foot or R-Foot
- Clear Seam Guide Foot
- INSPIRA® Universal Needles -Size 80
- INSPIRA® Embroidery Needles - Size 90
- Coordinating Sewing & Embroidery Thread
- ¼ yd Exterior Fabric
- ¼ yd Lining Fabric
- ¼ yd Fusible Fleece
- ¼ yd Pellon Decor-Bond
- INSPIRA® Tear-A-Way Stabilizer
- 14” or Larger Coordinating Zipper
- 10” piece of 1” Twill Tape
- 1 pk of ½” Double Fold Bias Tape
- Marking Pen or Pencil
- Rotary Cutter & Mat
- Iron & Ironing Board
- Designer™ Splendid Square Hoop - 120mm x 120mm
- Circle Pattern Cutout
- Free DONUTS DESIGNS!
-Sprinkle Donut
-Strawberry Donut
Cutting Instructions:
Main Fabric & Lining Fabric:
- x2 - Larger Pattern Piece 5 ¾ Circle
Note: If you’re embroidering, wait until after embroidery to cut out the main pattern piece.
- x1 - 1 ⅝” x 15” (zipper gusset)
- x1 - 3 ¼” x 2 ¼” (hinge)
Decor-Bond & Fusible Fleece:
- x2 - Smaller Pattern Piece 5” Circle
- X2 - 1” x 14 ¼” (zipper gusset)
- x1 - 2 ½” x 1 ½” (hinge)
Instructions:
- Fuse decor-bond pieces to corresponding main fabric pieces, making sure to place them in the center.
- Fuse fusible fleece pieces to corresponding lining fabric pieces, making sure to place them in the center.
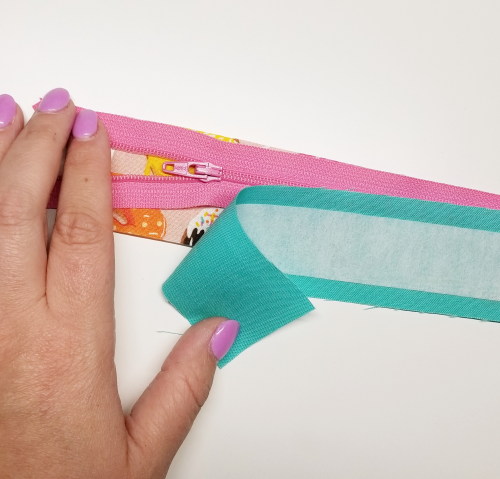
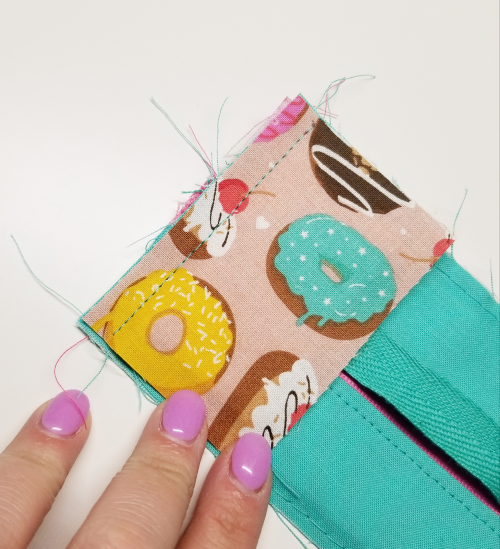
Sew Zipper Gusset: - Find the center of the zipper & all 4 zipper gusset pieces & mark with a marking pen.
- Lay the main fabric gusset down right side up. Place the zipper right side down along one long raw edge lining up the center markings. Finally place the lining fabric gusset right side down, again lining up the center marking. Pin or clip in place along the raw edge.
- Using a zipper foot sew at a ¼” seam allowance along the edge.
- Press both gusset pieces away from the zipper teeth with wrong sides together.
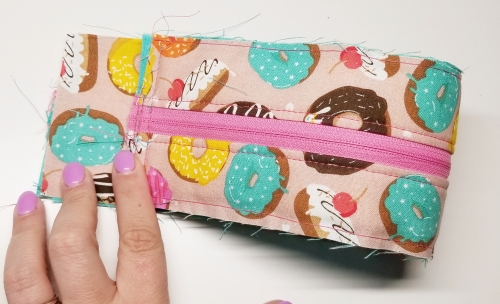
- Top stitch the gusset pieces down close to the zipper.
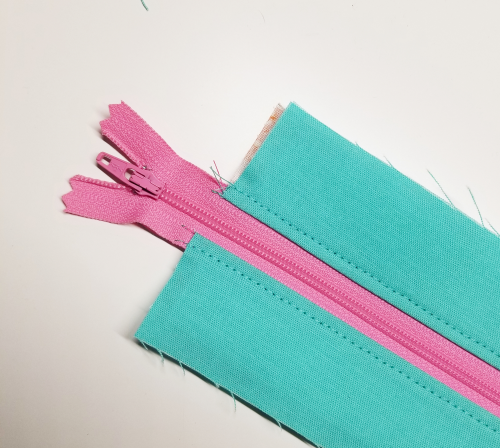
- Base with a ¼” seam allowancethe raw edges of the main fabric & lining fabric to hold in place.
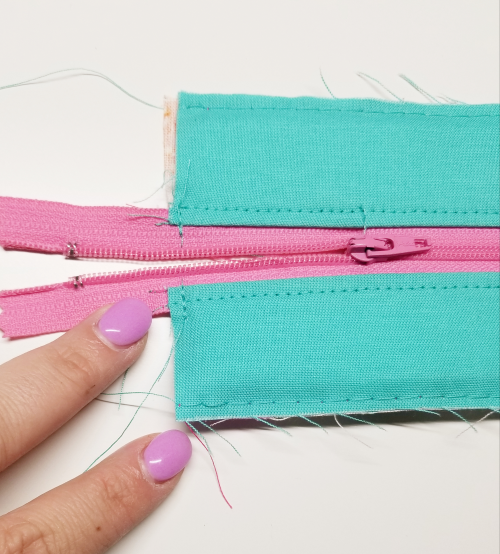
- Repeat steps 2-6 for the two other gusset pieces along the other side of the zipper.
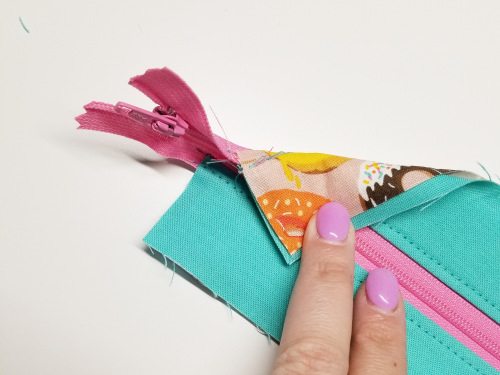
- Sew over the zipper ends to keep them from opening & cut off the excess zipper close to the fabric edge.
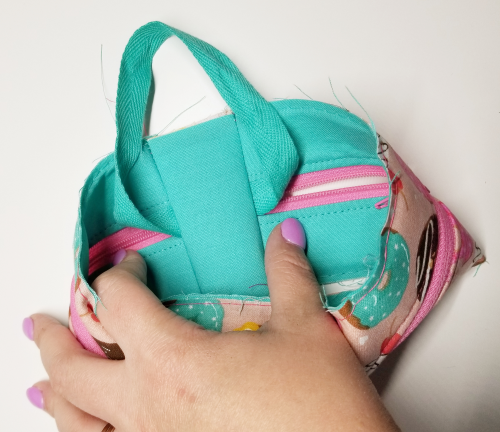
Add Handle & Hinge: - Pin or clip one end of the twill tape to one end of the zipper on the main fabric side, lining up the raw edges.

- Place the main fabric hinge piece right side down along the raw edge.
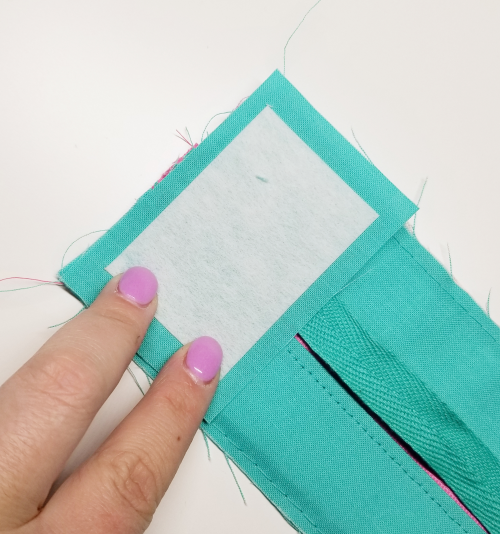
- Place the lining fabric hinge piece right side up along the long raw edge.
- Sew together with a ¼” seam allowance.
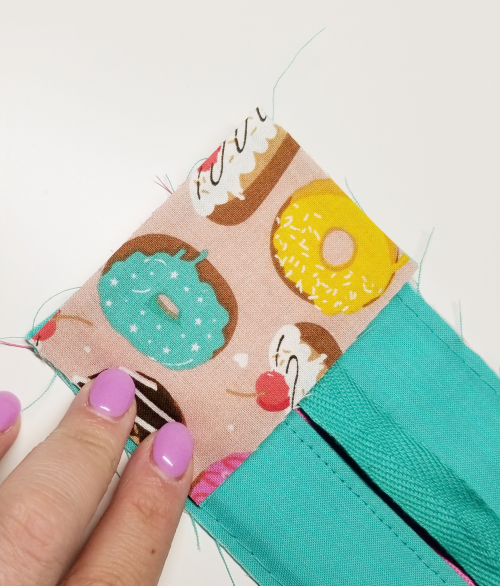
- Take the other end of the twill tape & line it up along the other end of the zipper in the same form as done in step 1. Pin or clip in place.
- Lay the opposite end of the hinge piece sewn together in step 4 with the main fabric touching right sides together.
- Sew together with a ¼” seam allowance.
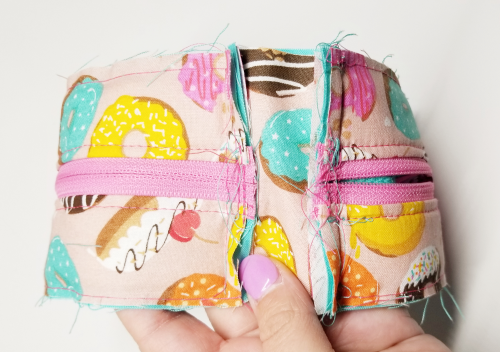
Add the Top & Bottom Pieces: - Take one main fabric & one lining fabric circle piece. Place them wrong sides together.
- Sewing with a basting stitch all the way around with a ¼” seam allowance. Clip edges around the circle, be careful not to clip the seam.
- On the lining side of the circle mark the center cross points as shown.

- Find the center marking done in step 1 of the ‘Sew Zipper Gusset’ & the center on the short end of the hinge piece. line those lines up with the lines marked in step 3 on the circle piece. With the right sides together of the main fabric zipper gusset & the main fabric top piece match up pin or clip in place all the way around.
Pro-Tip: Place one clip where the lines are across from each other first & work your way around lining up the raw edges, place clips or pins as you go.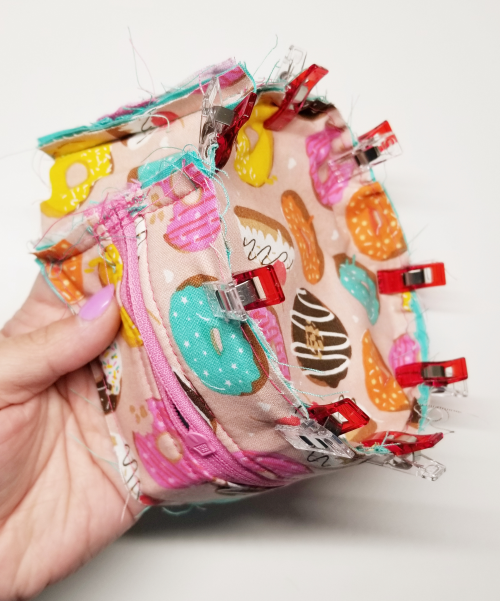
- Sew all the way around with a ⅜” seam allowance making sure you are on the left side of your basting stitch to avoid seeing that stitch from the right side when finished.
Pro-Tip: Work slowly as you sew around. Stop every inch or so with the needle in the down position to adjust the pouch to get a clean sewn edge.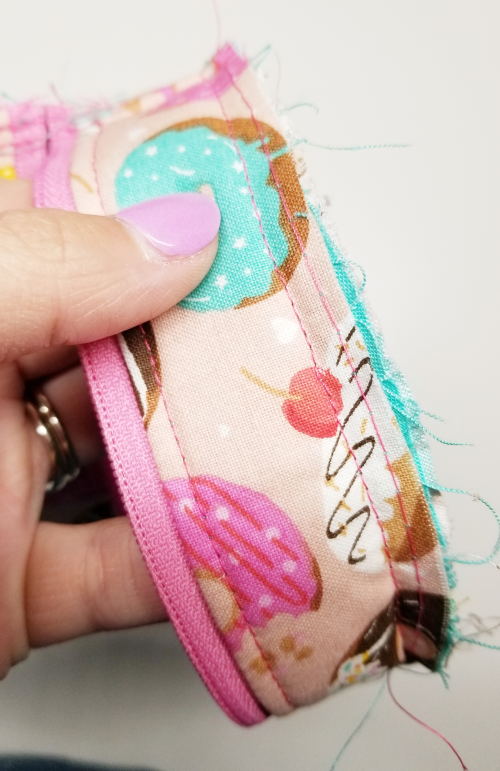
- Repeat steps 1-5 with the other two main fabric & lining fabric bottom pieces.
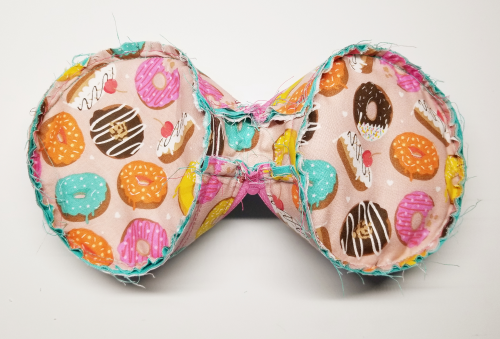
- Attach the bias folded tape the hinge long raw edges first.
- Attach the bias folded tape to the round edge of the bottom & top lining pieces to hide the raw edges.
- Fill your zipper pouch with goodies or even a donut!