Saudi Arabia
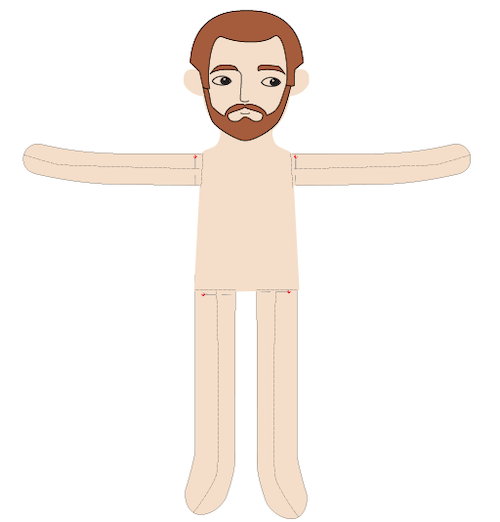
Stitch & Create: In-the-Hoop Rag Doll Man
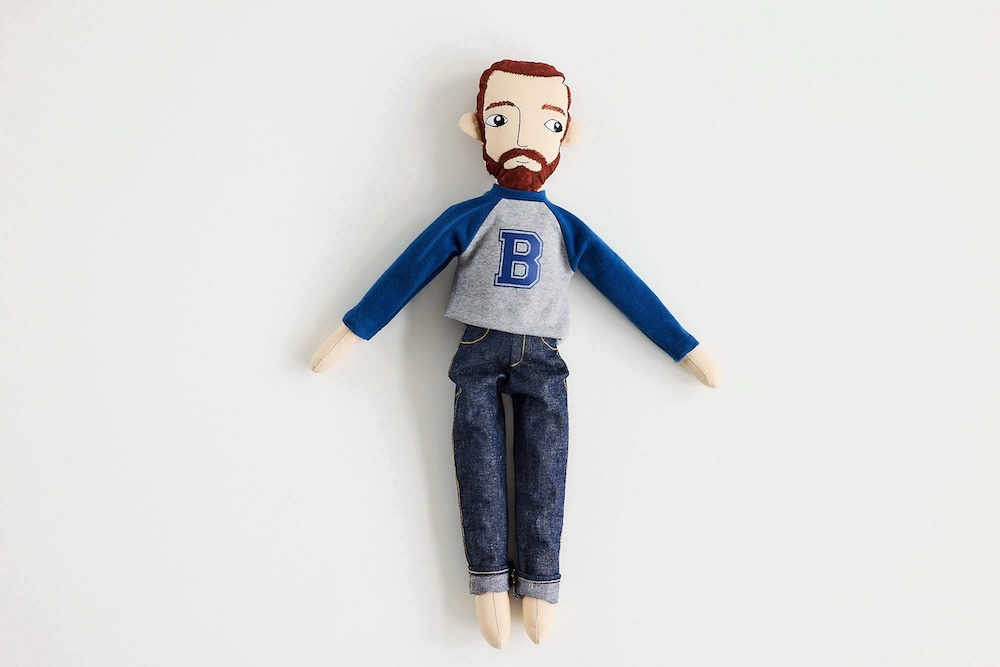
This charming ragdoll is fun to make and perfect for intermediate crafters! The doll is stitched out and partially assembled right in the hoop, making it a creative and rewarding embroidery project. Follow the step-by-step instructions to bring your ragdoll to life. You’ll also find a pair of in-the-hoop jeans and a full wardrobe of additional clothes for him available,ready to mix, match, and dress him up in style!
What you'll need:
- This In-The-Hoop project uses three embroidery files:
- Materials Needed:
- 3 pieces of skin-colored fabric, each 21.5” x 13.75” (55 x 35 cm) – two for the body and one extra piece
- 1 additional fabric piece for arms and legs: 15.75” x 8.5” (40 x 22 cm)
- 2 fabric squares for hair and beard: 6” x 6” (15 x 15 cm) each
- Embroidery thread for stitching the hair, beard, and face details
Note: For the best result it is recommended to fuse a thin interfacing to the back of the fabric. This gives a little bit more stability to the doll later when it is filled with fiberfill or similar. It also makes it unnecessary to use stabilizer in the hoop, which could be hard to remove after the Stitch out.
Instructions
- Load the embroidery files into your embroidery machine.
Making the back
- Hoop skin colored fabric in your 200x360mm hoop
- Open Ragdoll Man Back embroidery file.
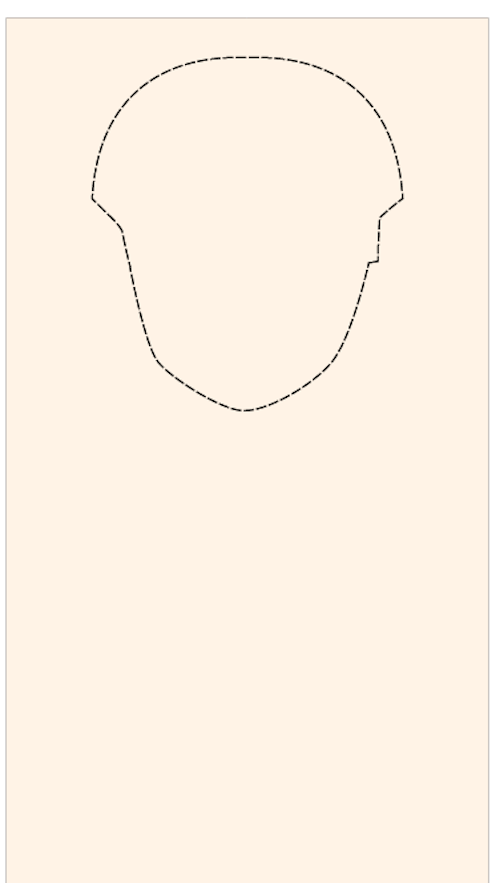
- Insert hoop into your embroidery machine and stitch out color 1. This will make an outline for placing the applique fabric for the hair.
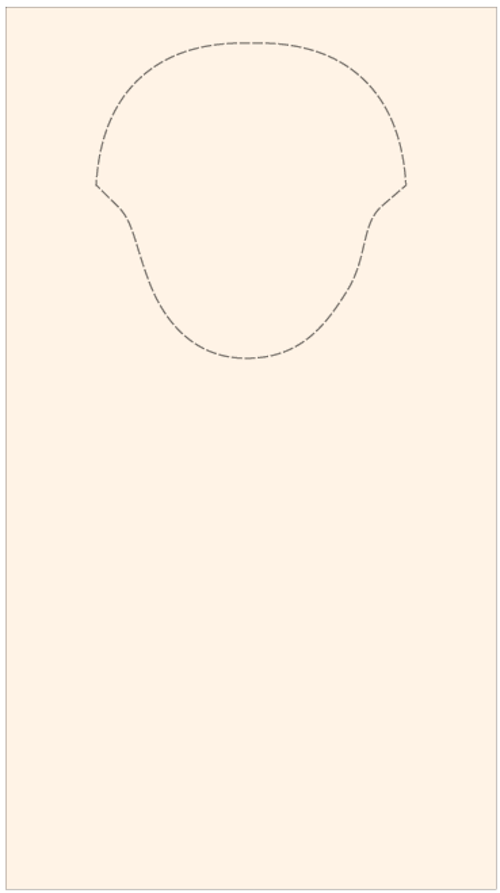
- Place the fabric on top of the outline, make sure it covers the outline on all sides.
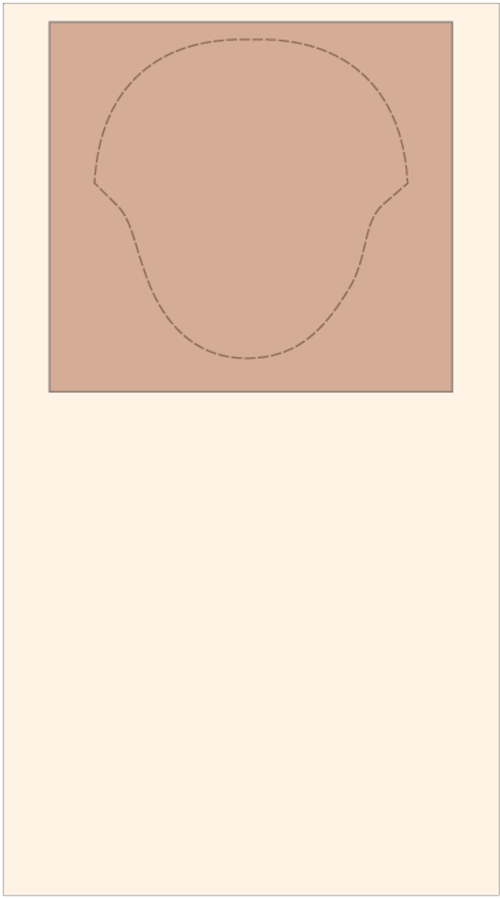
- Stitch the next color, use a thread that matches the applique piece. The stitching will sew the applique piece in place. Cut away excess fabric outside the outline. Take care not to cut into the stitches, leave about 1/16” (1mm) margin.
- Using the same thread stitch out the next color. It will make a feather satin stitch along the lower side of the applique.
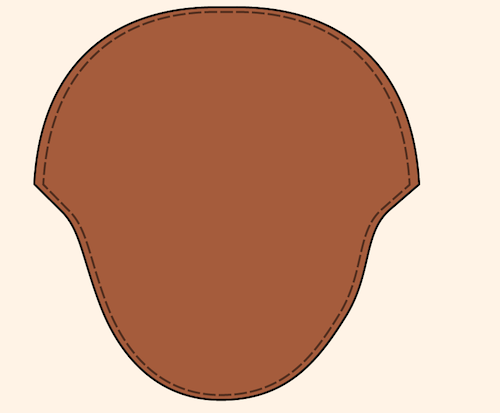
- Stitch out the last color. This is a placement line for placing the back piece on the front piece later.
- Unhoop the fabric and cut out on the placement line and around the top of the head. Put it aside for now.
Making the front and body
- Hoop skin colored fabric in the 360x200mm hoop
- Load the embroidery Ragdoll man Front
- Stitch out color 1 this will make an outline for the applique piece.
- Place a applique fabric piece on top, make sure it extends outside the placement line on all sides. Stitch out color 2. Use an embroidery thread close to the applique piece colors for the coming steps as it will be visible on the finished doll. This will stitch down the applique piece and also makes the outlines for the beard and face.
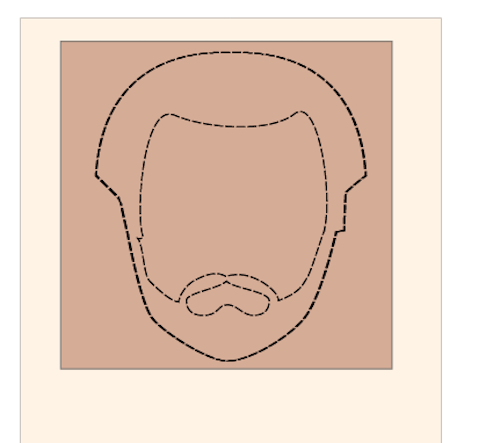
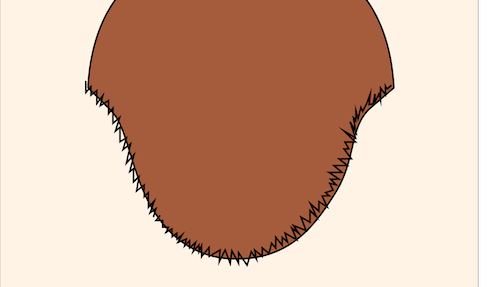
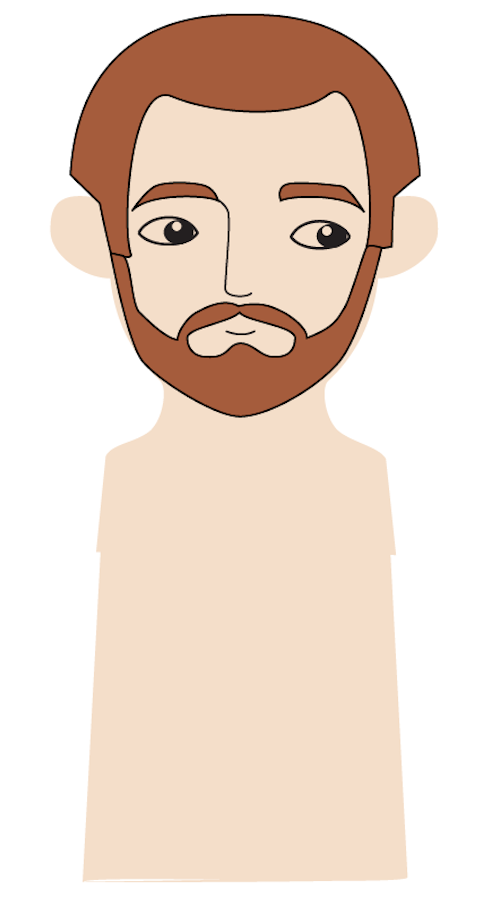
- Cut away excess fabric on the outside of the head and beard, and also on the inside. Be careful not to clip into the skin-colored fabric when doing this. Now it will look like this:
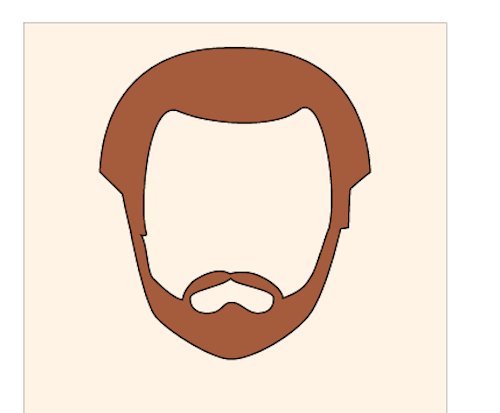
- Stitch out the next color. It will make a feather satin stitch on the hair and beard edges and finally the eyebrows.
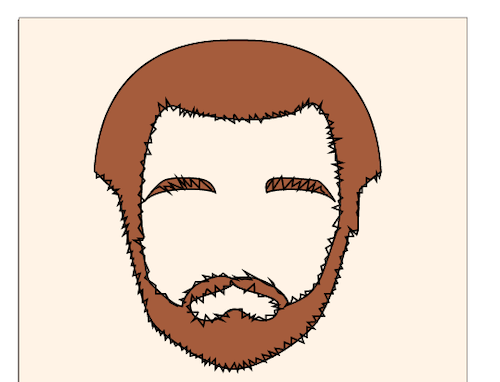
- Change to whit thread and stitch out the eyes, color 4
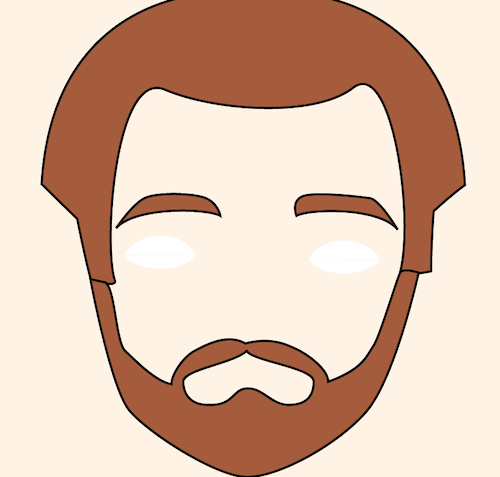
- Change to black or very dark brown color. This step (color 5) makes the center of the eyes.
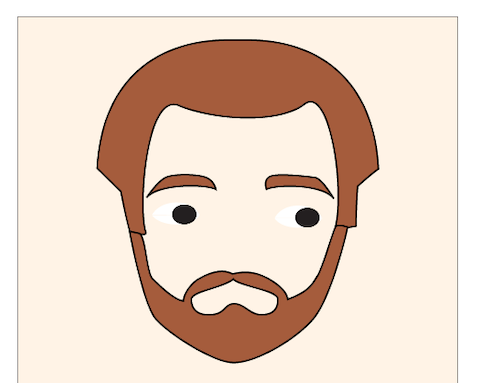
- Change back to white and stitch out color 6, the highlight of the eyes.

- Change back to black/very dark Brown and stitch out color 7. This will outline the eyes, make the nose line and mouth.

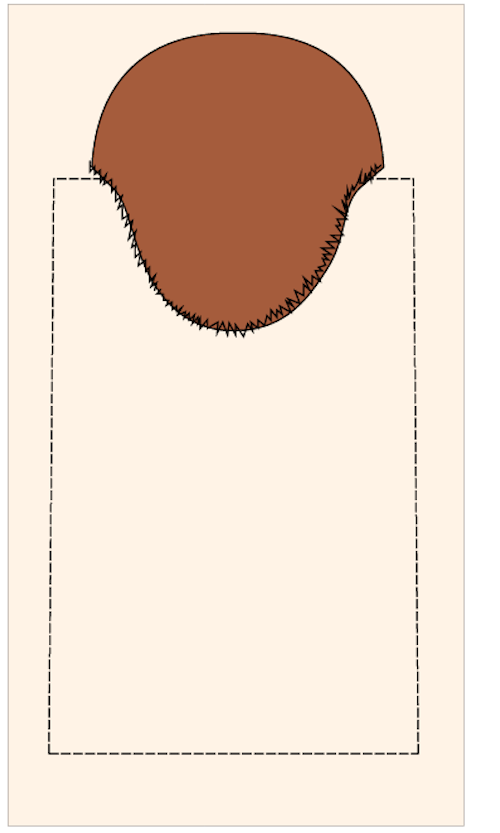
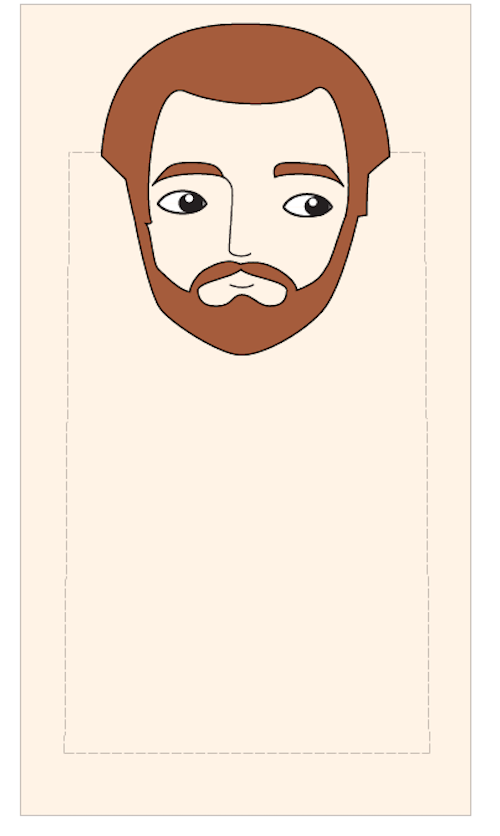
- Change to skin colored thread. From this point you can use an ordinary sewing thread instead of embroidery thread, since we are bringing the front and back of the doll together in the next steps. Stitch out color 8. This will make a placement line, the same line as we did on the back piece earlier.
Bringing front and back pieces together
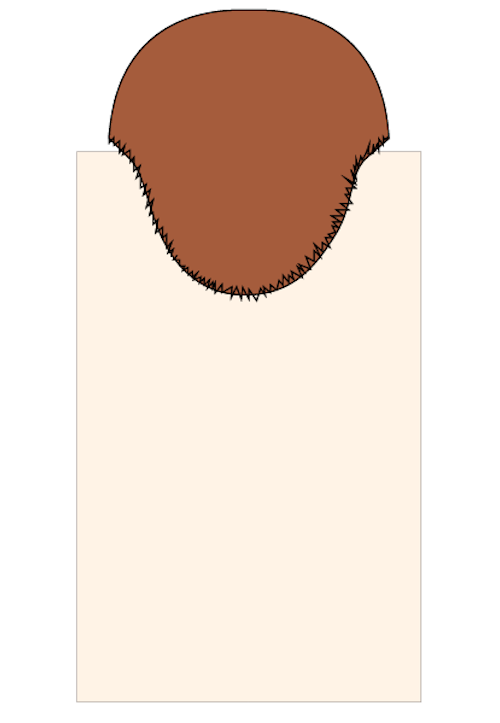
- Do not unhoop the front piece! Put the cut out back piece on top of the front piece in the hoop, matching the top of the heads and the stitch lines on the sides and bottom. Tape in place.
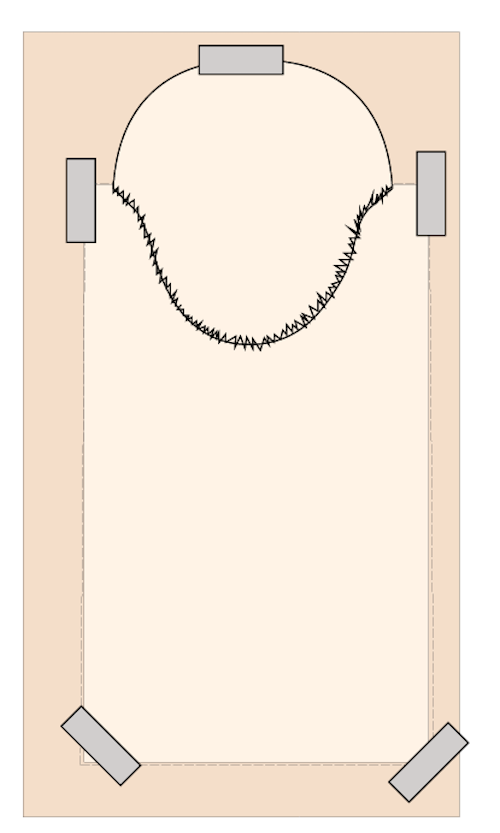
- Stitch out the last color, 9. This will triple stitch the contour of the body sewing the two pieces together. The stitch line will leave openings for the arms and legs.
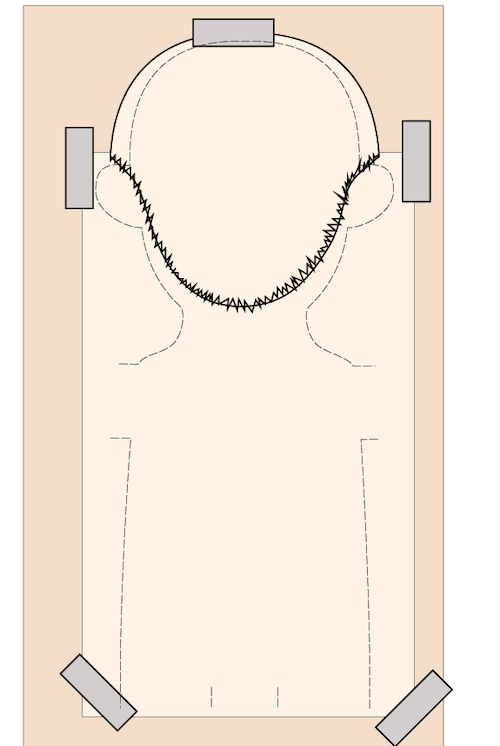
- Unhoop the project. Cut close to the edge, about 1/8” (3mm). Do not cut into the openings for the arms and legs.
- Turn right side out and press if needed.
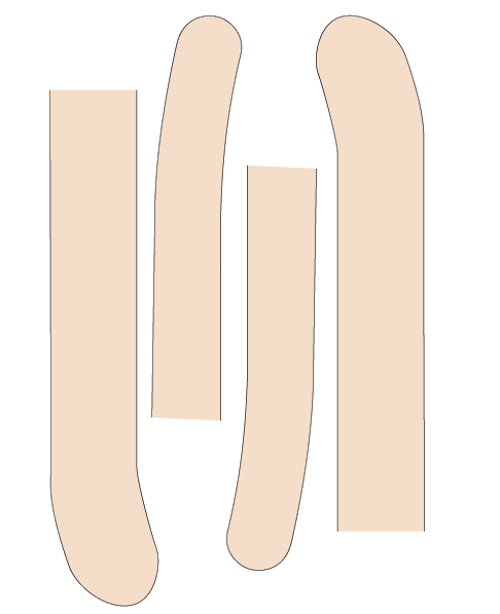
Making the arms and legs
- Hoop skin colored fabric in a 200x360mm hoop.
- Place the16x9” (40x22cm) on top, right side down.
- Stitch out color 1. Use ordinary sewing thread for the stitch out. This step makes the arms and legs.
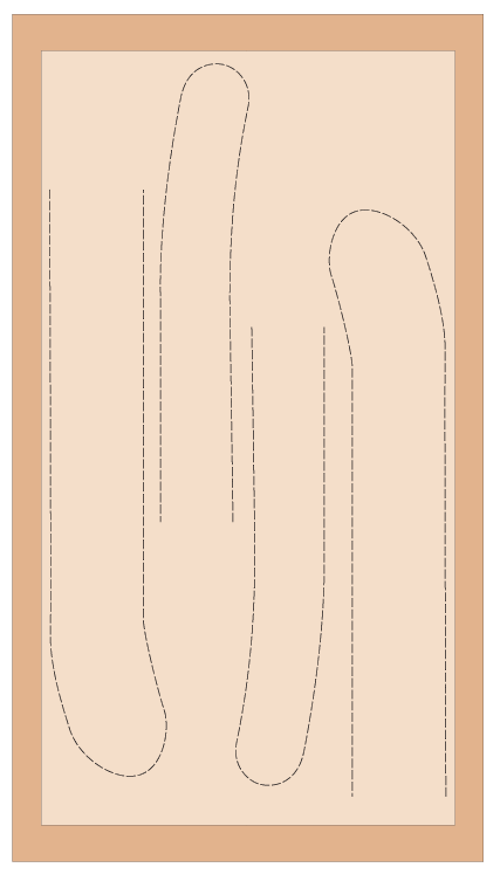
- Unhoop the project and cut out leaving about 3/8” (3mm) seam allowance.
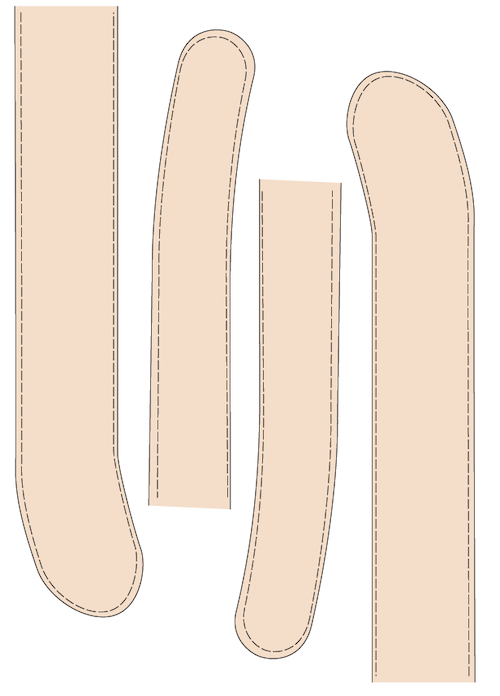
- Turn right side out and press if needed.
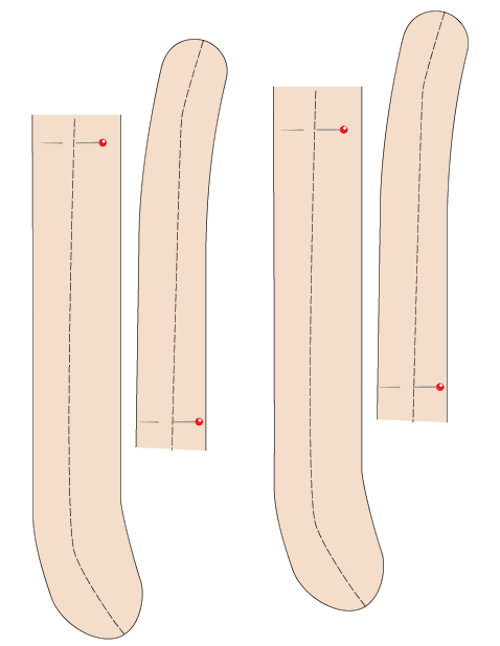
Putting it all together
- Fill the arms and legs with fiberfill or wool. Leave about ½” (1,5cm) at the opening and put a pin across ½” (1.5cm) from the opening. The seams should be aligned, see image below.
- Insert the arms and one of the legs in the opening. Insert the edge about ¼"(6mm) and pin in place. Stitch across the leg and arms with a straight stitch. Reinforce the stitching at the beginning and end.
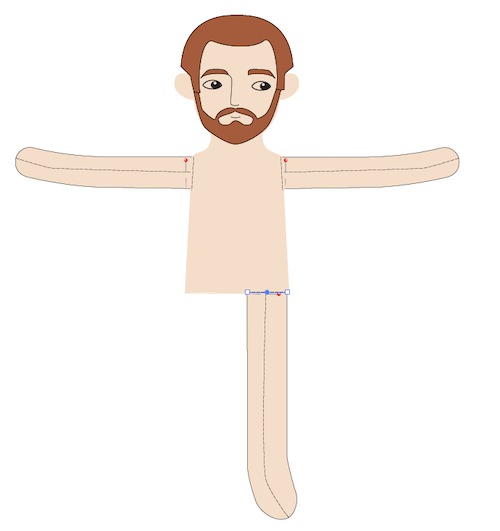
- Fill the head and body through the remaining leg opening.

- Insert the last leg, pin in place and stitch the opening close with a straight stitch.