Ireland
Shirt School: Lesson 6 - Adding Classic Collar

Shirt School: Making a Men’s Shirt - Basic Model Lesson 6: Adding a Classic Collar with Stand
Welcome to Lesson 6 of our Shirt School series, where we guide you through the art of making a men's shirt from scratch. In this lesson, we'll focus on adding a classic collar with a stand to your shirt, giving it that timeless, professional look.
Here you can access instructions for the previous lessons:
- Shirt School - Lesson 1: Creating the Pattern
- Shirt School - Lesson 2: Cutting out the fabric piece
- Shirt School: Lesson 3: Making the shirt front and pockets
- Shirt School: Lesson 4: Sleeve plackets and inserting the sleeve.
- Shirt School: Lesson 5: Sleeve plackets and inserting the sleeve.
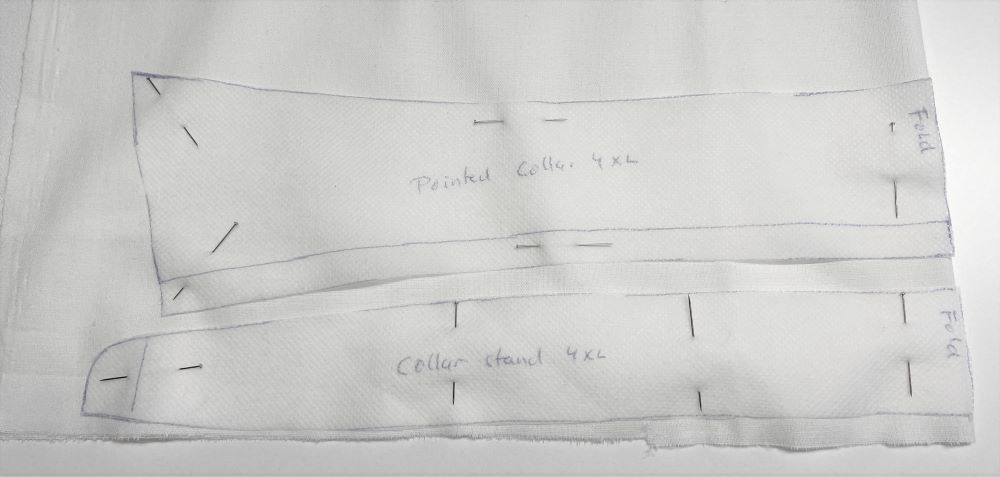
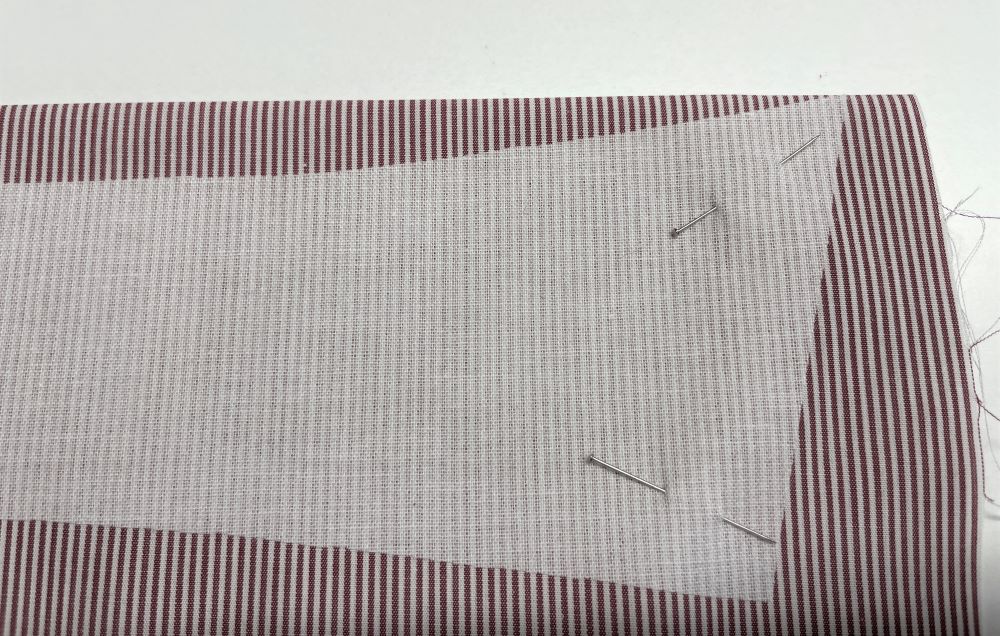
- Place the pattern pieces for the collar and collar stand on interfacing. The thickness of the interfacing depends on how stiff you want the collar to be. I prefer a woven interfacing because it adds stiffness and fullness to the collar and stand. Cut out with no seam allowance (except the seam allowance we added at the bottom of the collar earlier.)
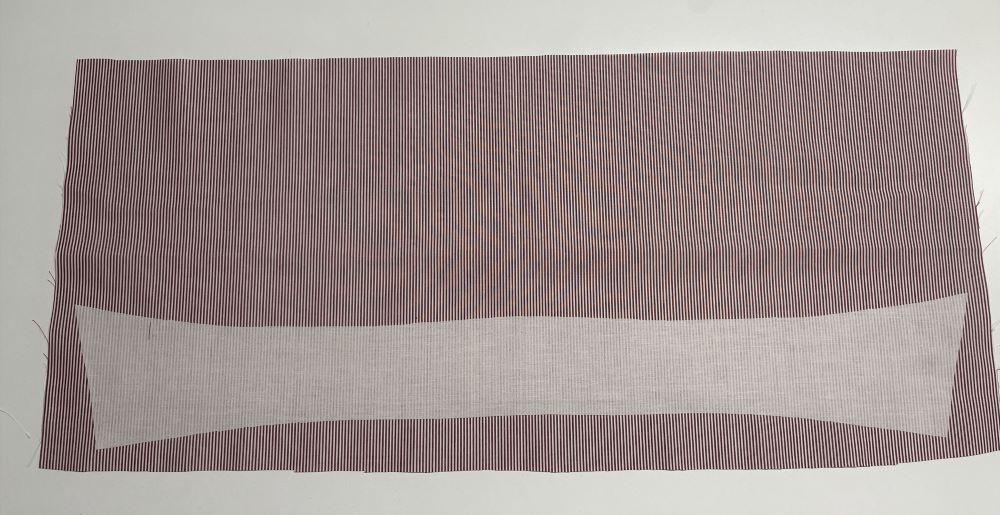
- Fuse the collar piece to the wrong side of the fabric piece. Make sure there is enough fabric left on top of the collar to be able to fold it down over the collar piece.
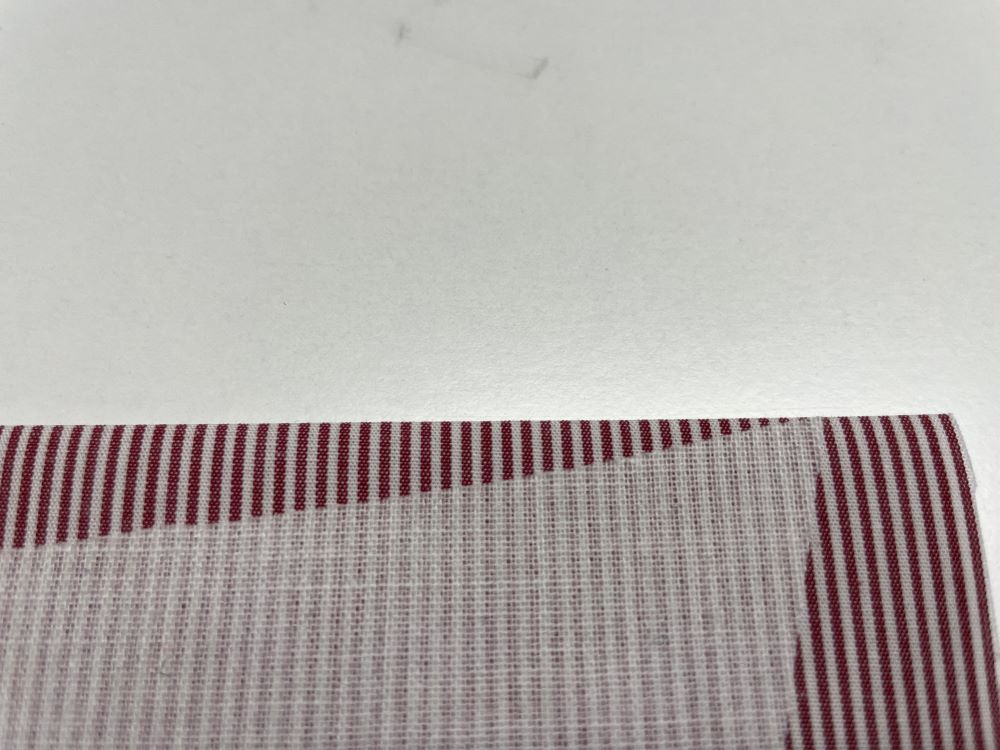
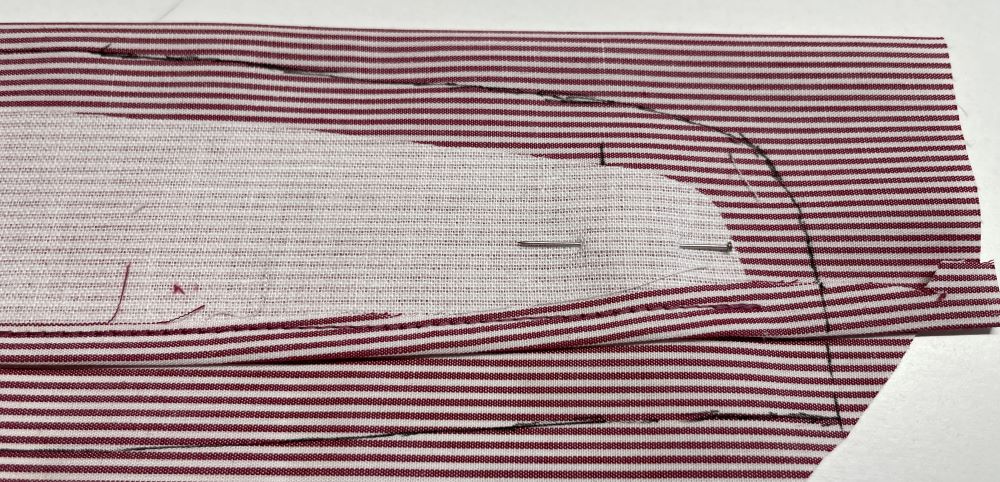
- Fold the fabric to the back, the edge of the fold should touch the top of the collar. This makes the collar easier to turn at the points and reduces a lot of bulk. Pin in place.
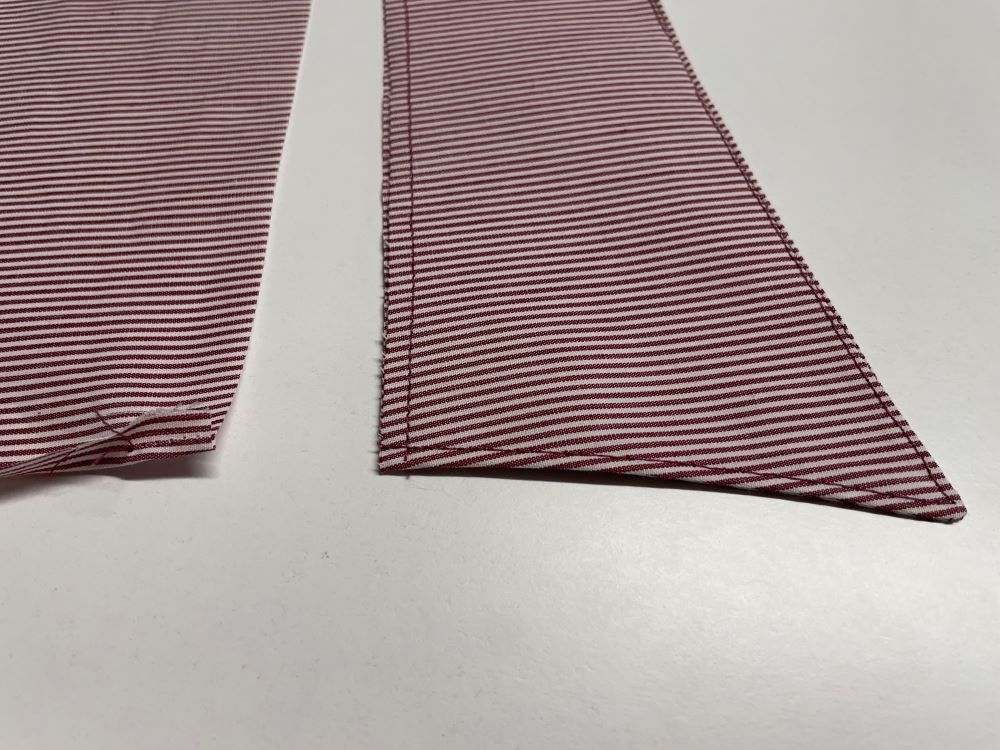
- Stitch along the three top edges of the collar (not the lower edge.) Start and stop exactly at the lower edge of the interface.
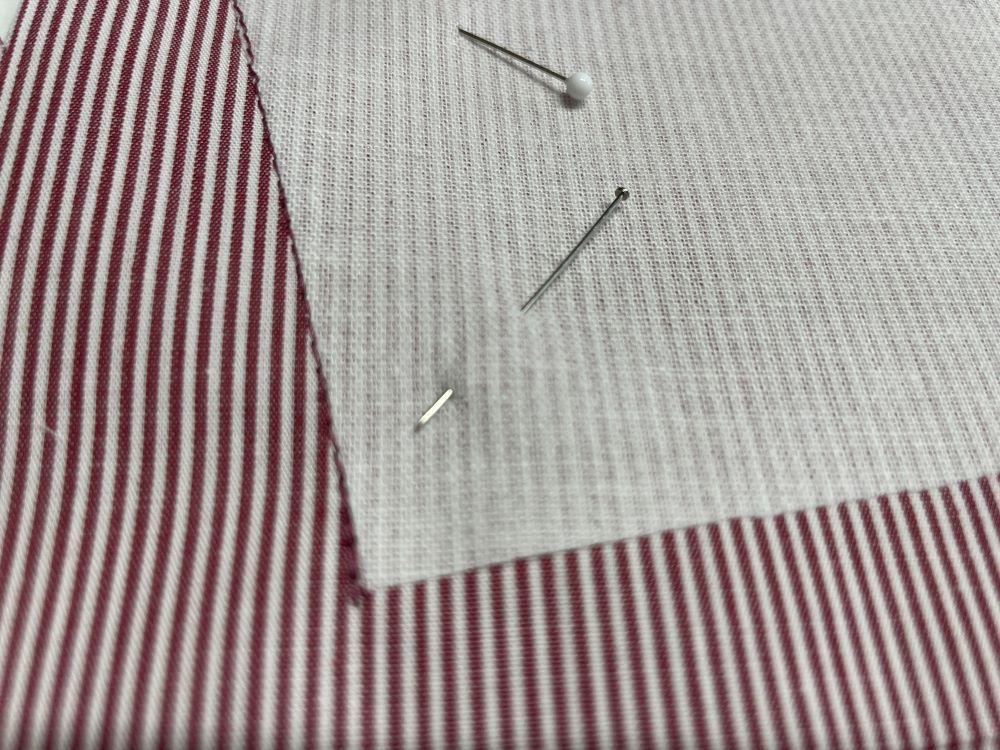
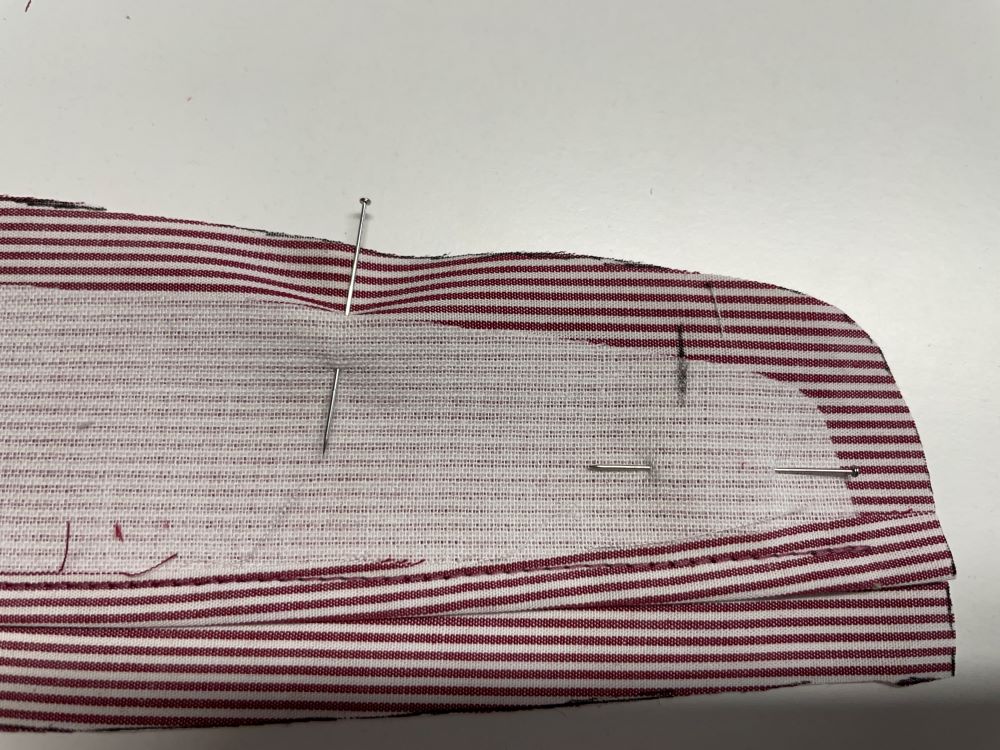
- Cut away excess fabric at the lower edge close to the interfacing, but only the top layer. Cut away excess fabric outside the sewn edges about ⅛” (3-4mm).
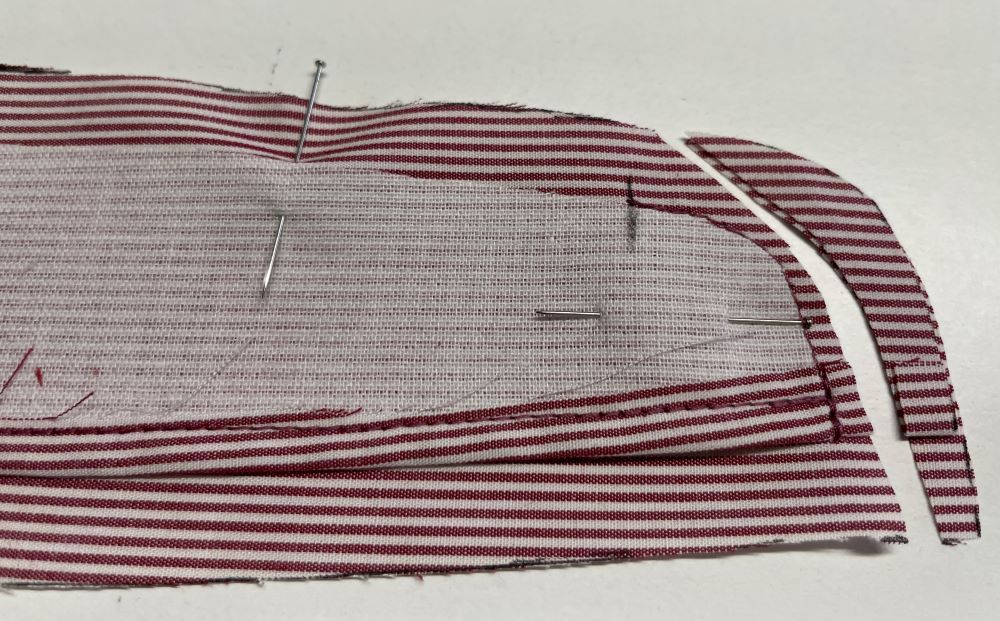
- Turn the collar right side out, press and topstitch close to all edges.
- Cut away excess fabric at the lower edge. Yor collar is now ready, let us make the collar stand.
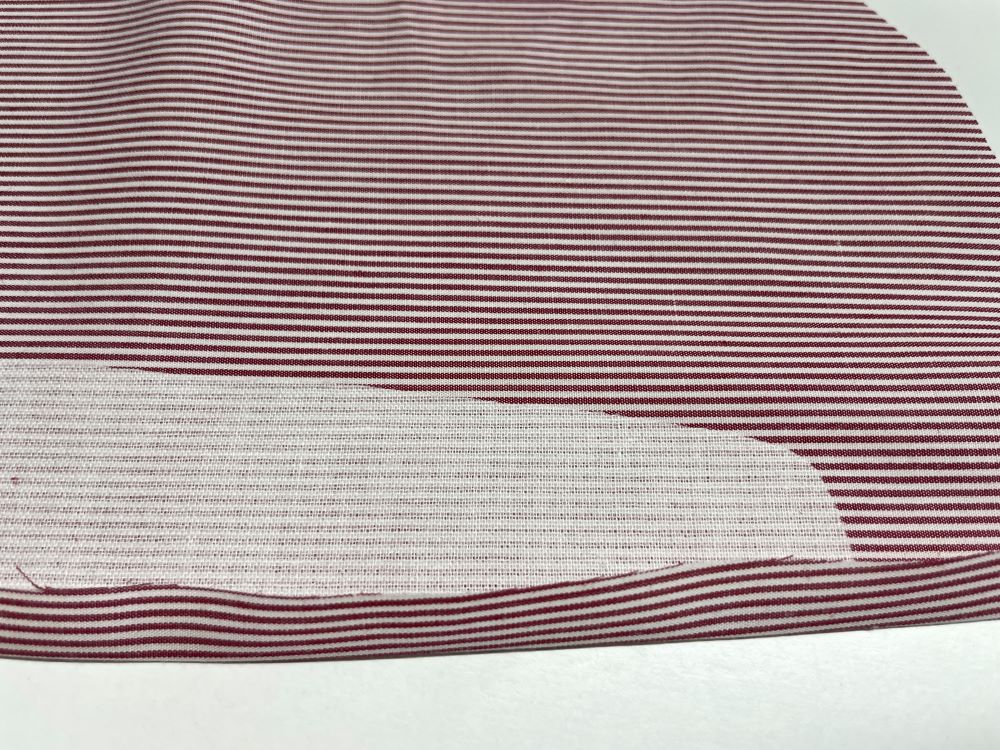
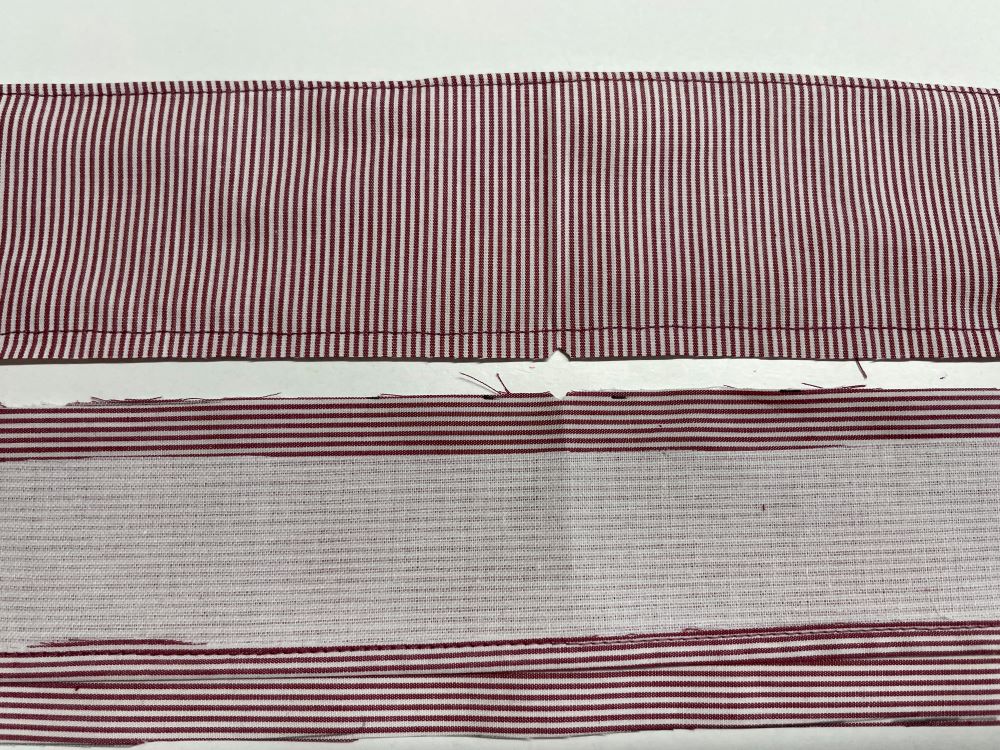
- Fuse the collar stand to a piece of fabric, there should be at least ⅜” (1cm) fabric left at the lower side.
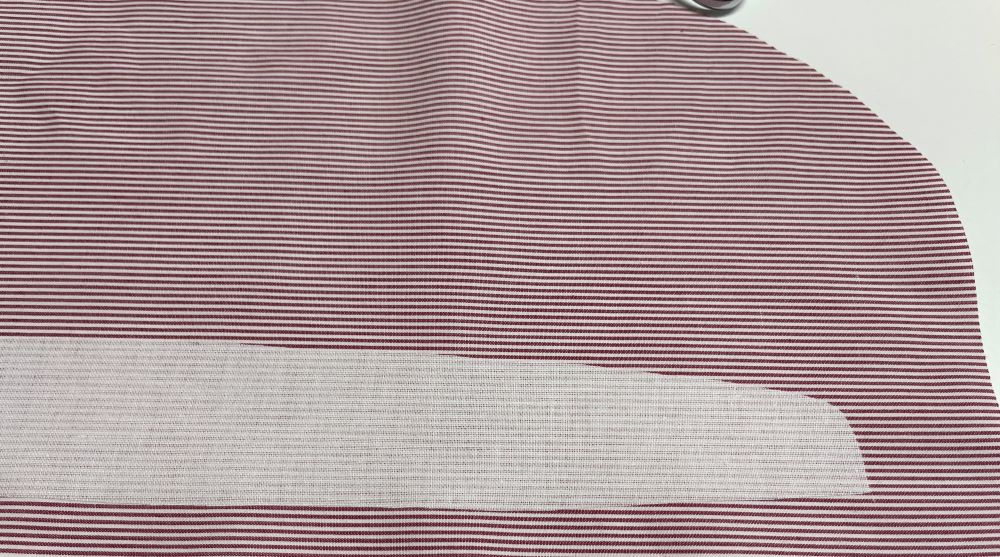
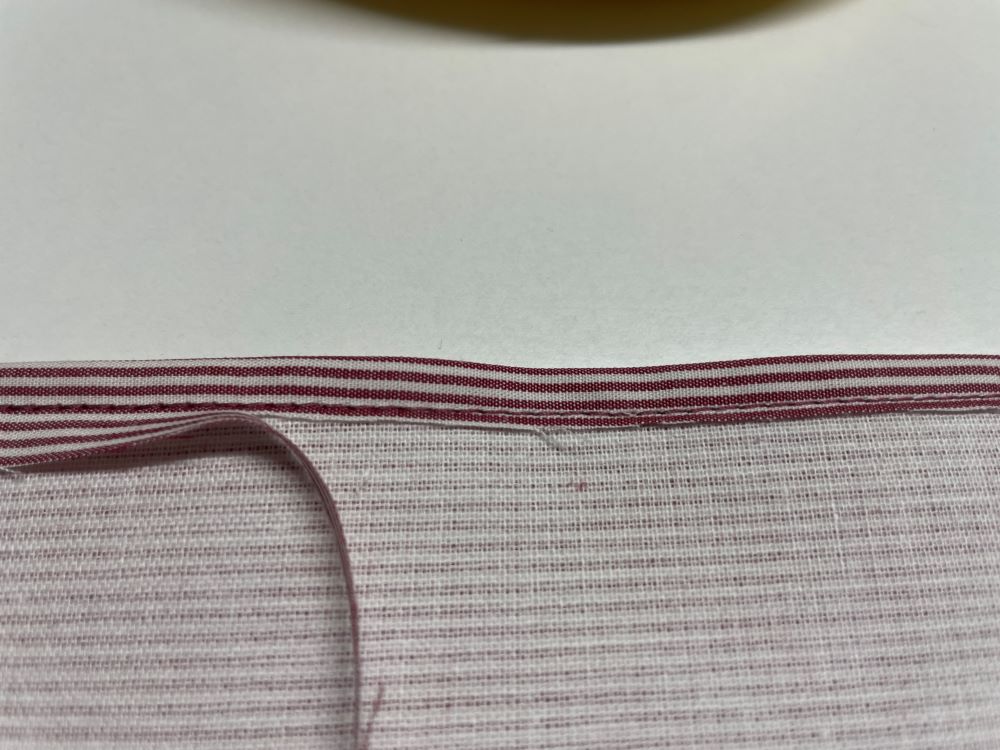
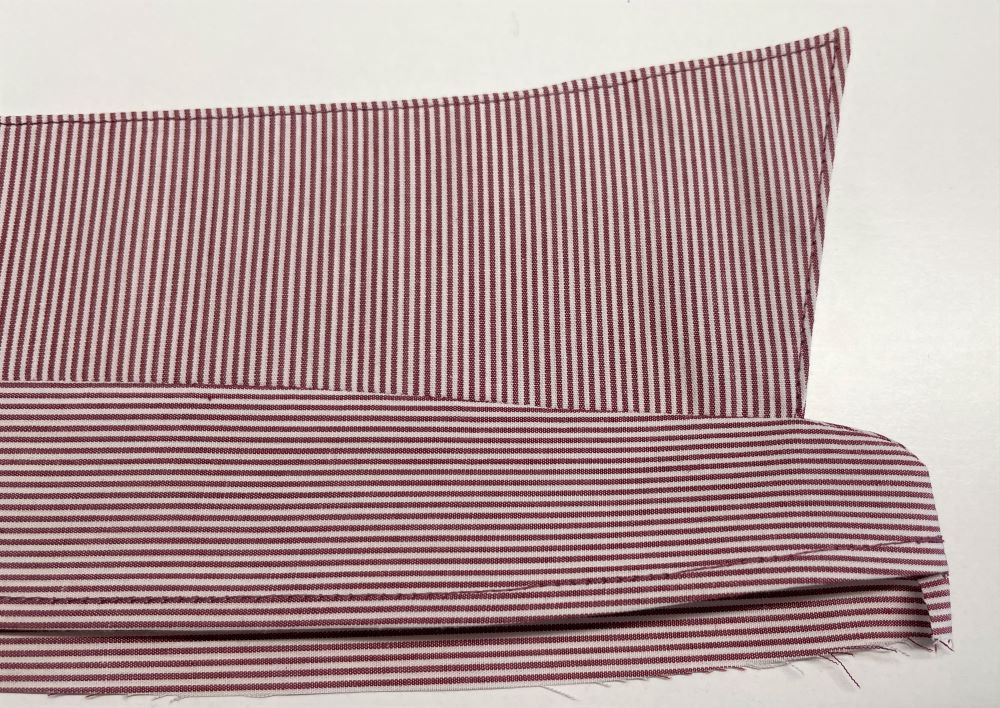
- Fold the fabric up over the lower edge of the interfacing and press. Stitch About ¼” (5mm) from the edge) Cut away excess fabric. Close to the stitching.
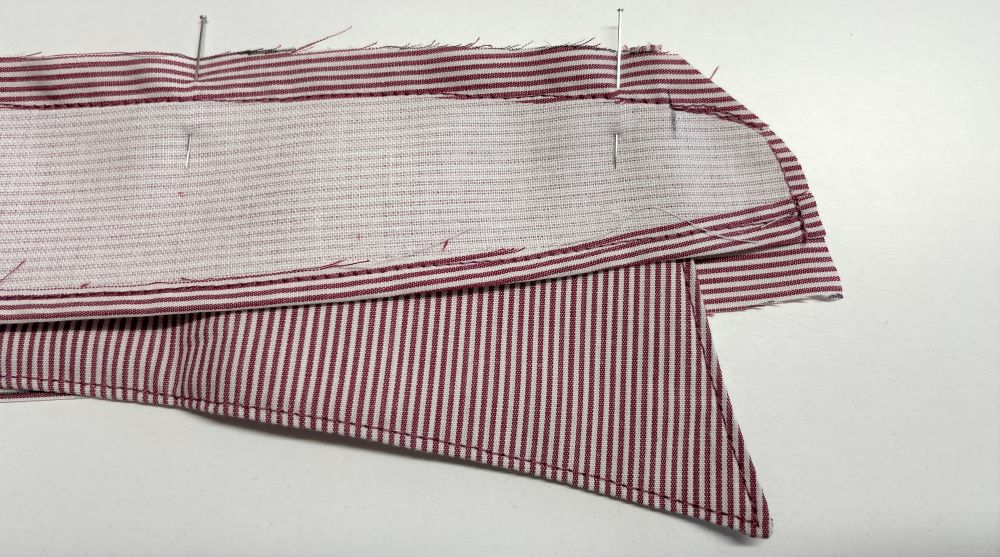
- Put the collar stand piece on top of another fabric piece, right sides together, pin in place. A11 ⅜” (1cm) seam allowance all around the collar stand and cut out. Mark the line for the collar (center front line on collar stand).
- Stitch close to the edge of the interfacing, starting at the center front line and down to the edge of the collar stand. Repeat on the other end of the collar stand. Cut away excess seam allowance, but only along the stitching you just made.
- Mark the center of the collar and collar stand.
- Put the collar in between the layers of the collar stand and pin in place. The collar should be pinned in place in the opening between the center front markings.
- Stitch the collar in place with a ⅜” (1cm) seam allowance. Remove the pins and turn the collar right side out and press.
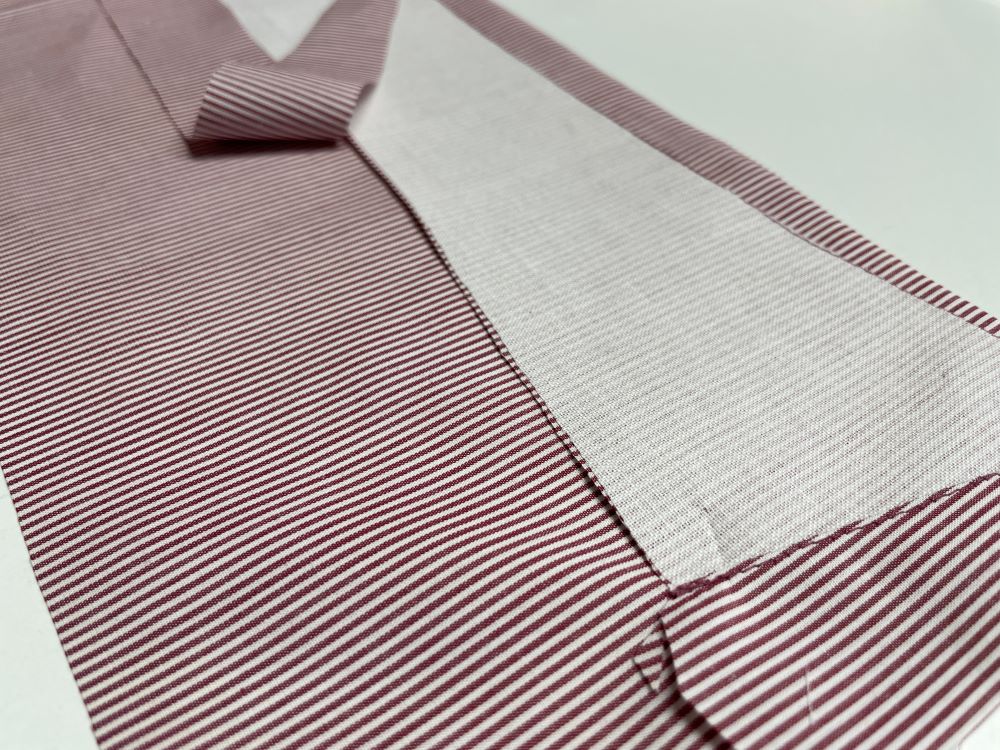
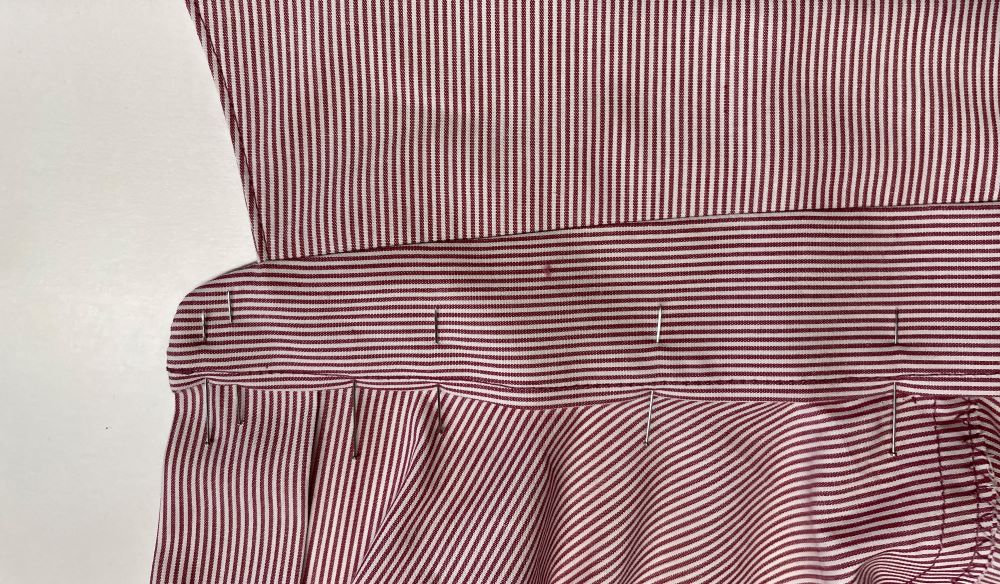
- Pin the collar with the attached stand to the right side of the neck opening on the shirt, the collar stand should be aligned with the edge of the center front placket. Stitch in place with a ⅜” (1cm) seam allowance.

- Turn the seam allowances in and pin in place.
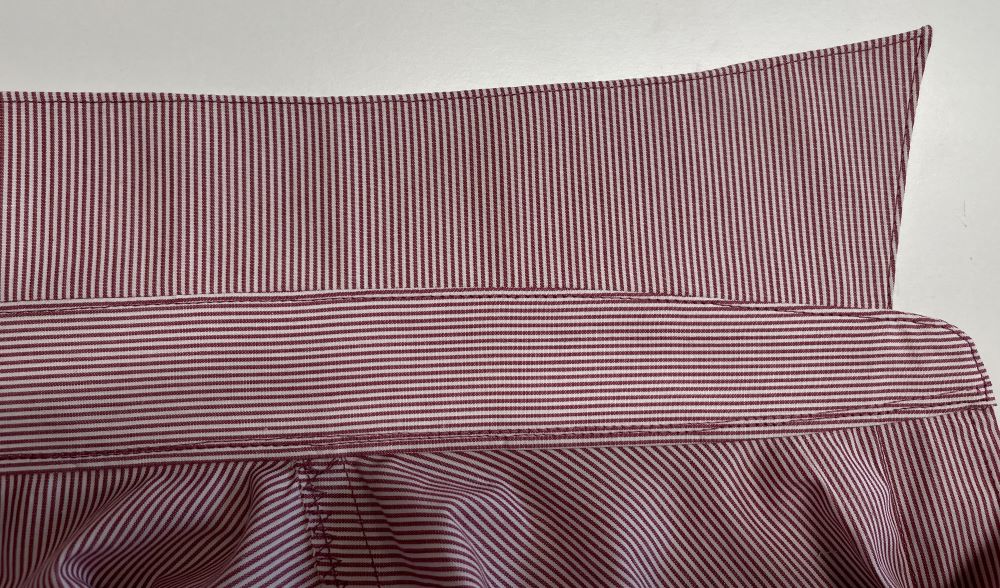
- Topstitch around the collar stand, start at the center at the top and stitch all around close to the edge, catching the folded edge of the collar stand.