United Kingdom
Square on Point Cutting Alternatives in Quilting Software
When designing quilts in quilting software, cutting squares on point while maintaining the straight of grain is essential for both fabric stability and quilt longevity. This guide explores why on-point cutting results in more fabric waste, how to handle directional prints, and why matching the grain direction at the seam line prevents distortion. Whether you're preparing a quilt for competition or ensuring a balanced finish, understanding these cutting alternatives will help you achieve professional-quality results.
The yardage and cutting instructions as well as the Momento cut out of squares on point is made taken the straight of grain in consideration. This means that there will be more fabric waste than usual. There are several reasons for this:
- To cut the on-point squares on point keep the true grain of the quilt itself. Of course it gives more waste.
- If the fabric has a directional print, you do not want it to be cut in the wrong direction.
- the triangles you sew the on-point square to is on the bias, which means that both pieces have the same direction on the grain at the sew line. it also makes the outer edges of the block on the straight grain, making the blocks easier to assemble.
- If you submit your quilt to a quilt competition, there have been comments on the grain of fabric when judging quilts. This is more of a problem with directional fabrics.
- blending bias and straight cut edges in a quilt can create problems later when you wash the quilt .
There are several ways of reducing fabric waste
When cutting out by rotary cutter or by hand
- In the yardage tab you get the side length of the square, use that length, and make a strip, then sub cut into squares. The grain will be on the “wrong side,” but the fabric waste will be reduced.
- You can cut out one square in another material like thick paper or some other fabric and use it as a template. In this case you can cut it out on point or along the grain of the fabric.
When cutting out on the Momento Cutter
- Use the biggest cutting mat you have. If there is a possibility to cut more than one square on point the layout automatically will be aiming for optimal use of fabric. This is easier to achieve on a larger cutting mat.
- You can cut out the square on point in a different material or a piece of waste fabric. You can then use it as a template and lay out the squares on point and get them closer together. Of course, you can arrange them horizontally with the sides off grain.
- You can uncheck the squares on point in the cutting process and then make a cut file for them in the crafting software. See instruction below:
Let us make a sample project to show how to cut out the on-point square separately and horizontally. Remember that you will change the grain of the piece by cutting it this way.
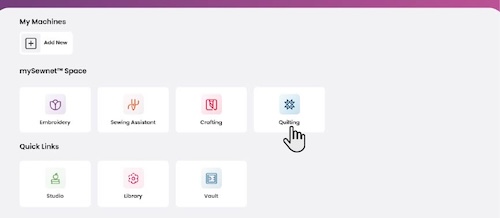
- Open the quilting software.
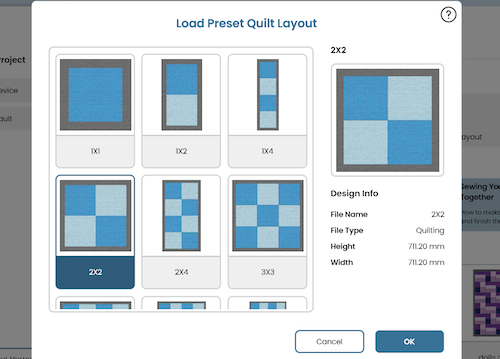
- Click on the preset quilt layout button.

- Select the 2x2 quilt layout, Click OK.
- Click on Select All. Allt the blocks will be selected and shown on the Quilt blocks panel on the right side of the screen.
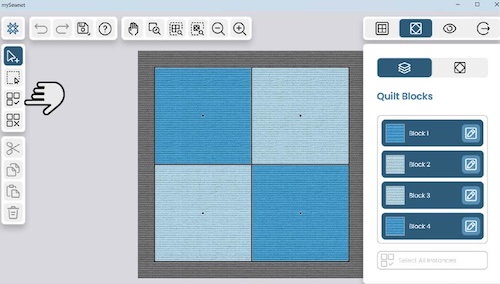
- Select one of the blocks by clicking on the Edit Icon. A new window will appear.
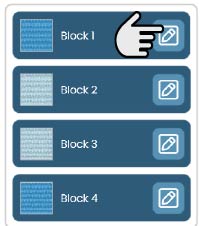
- In this view you can see the blocks available.
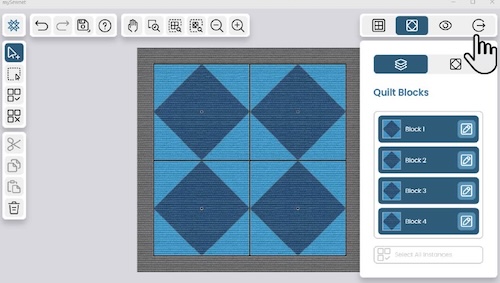
- Select the diamond block and click OK.

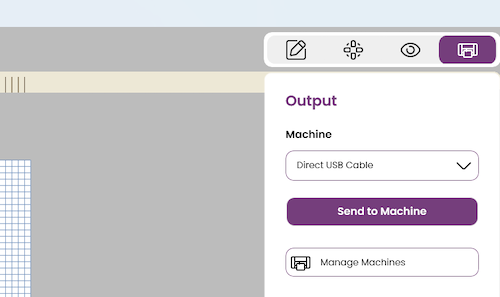
- You will now have four diamond blocks in the quilt. Click on the Output icon.
- Click on Make The Quilt.

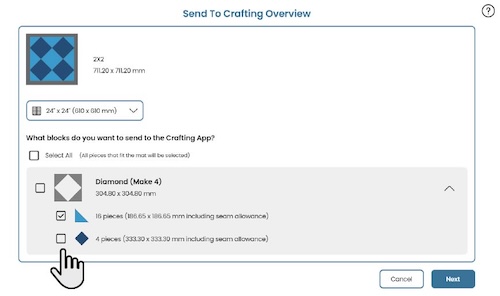
- Go to the yardage tab and note the side length of the on-point square. Click on Send to Crafting.
- Now you can proceed and cut out the rest of the pieces for the quilt. Uncheck the diamond piece in the send to Crafting Window befor you cut out the rest of the pieces for the quilt.
Making the cut files in crafting software
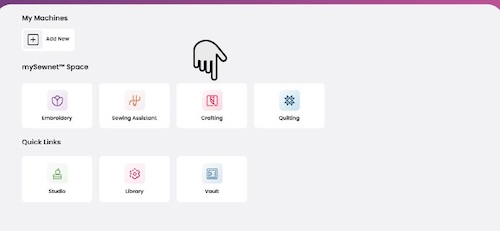
- Open mySewnet Crafting Software.
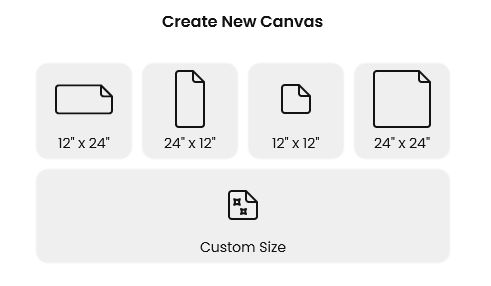
- Select a mat size depending on how many squares you need to cut out. In this case 24” x 24” mat is selected.
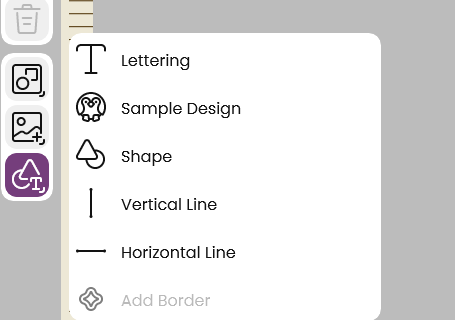
- The canvas opens on the screen. Click on Add in the left panel and then Shape.
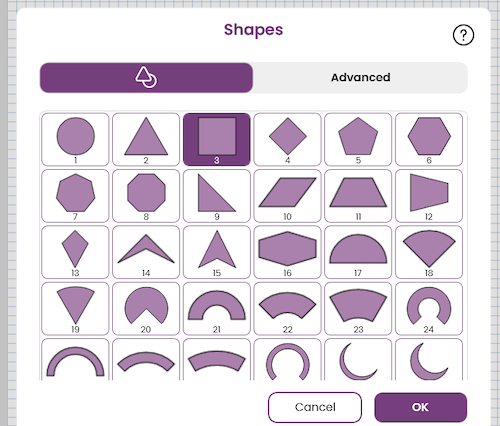
- Click on Shape number 3, the square, click OK.
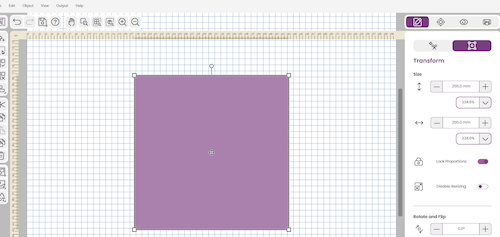
- Click on the Edit icon (Pen) and then on the Transform icon. Set the size to the desired one, in this case 25,53 cm. Closest to this is 255mm. The square changes to the right size.
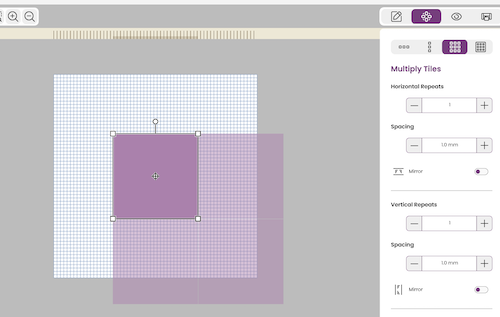
- Click on the Multiply icon and select the Tiles symbol. Set the horizontal repeats to 1, and the vertical repeats to 1. Set the spacing to 1 mm both vertical and horizontal.

- Scroll down and click on Apply.
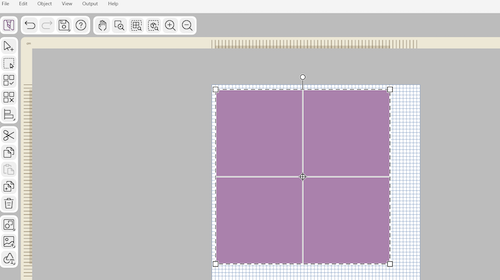
- Click on select all and then move to the desired location on the canvas. I moved it to the upper left corner to save material.
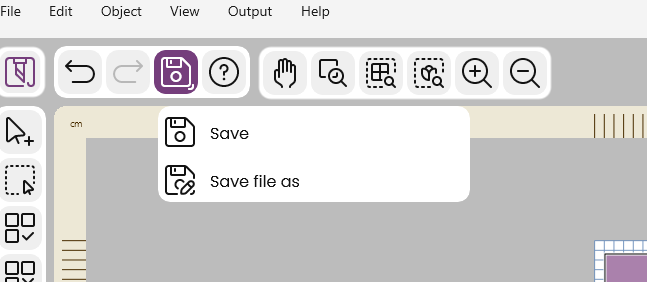
- Click on the output panel and then send to machine. If you do not want to cut it out immediately you can save the cut file for later. In that case click on the file options icon and save.