Algeria
Treasure Hunt in Your Cleaning Cabinet: Crafting Decorative Letters with Everyday Items!
Treasure Hunt in Your Cleaning Cabinet: Crafting Decorative Letters with Everyday Items!
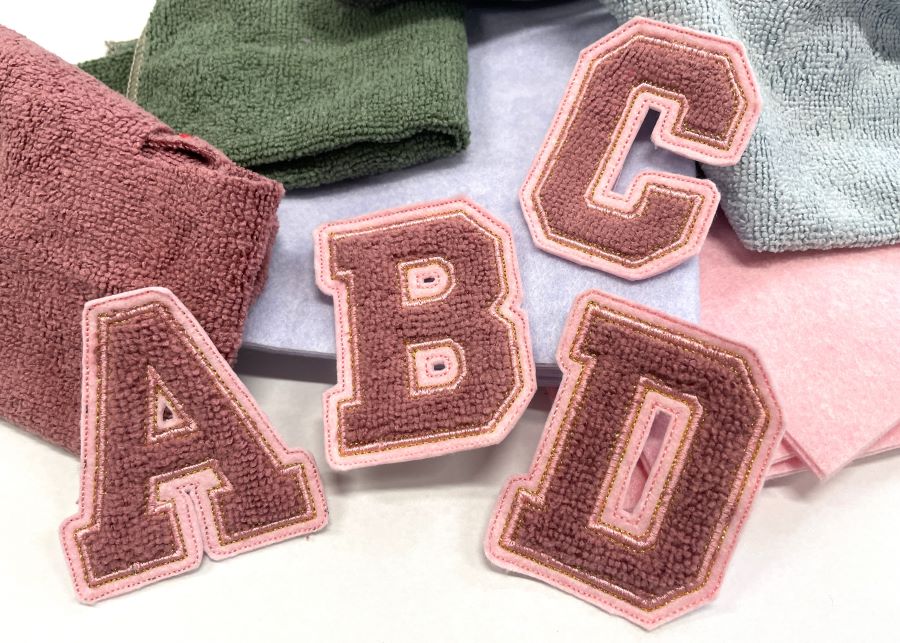
Unlock a new level of creativity with this unique project that turns ordinary cleaning supplies into decorative letters! Dive into your cleaning cabinet and discover the hidden potential of microfiber and all-purpose cleaning cloths. With just a few simple steps, you'll transform these everyday items into personalized letters perfect for any decorative need. Whether you sew them or glue them, these letters will add a creative touch to your space. Plus, by using up those cleaning supplies, you'll have more time to craft and less time to clean!
This project requires mySewnet embroidery software at the Platinum level.
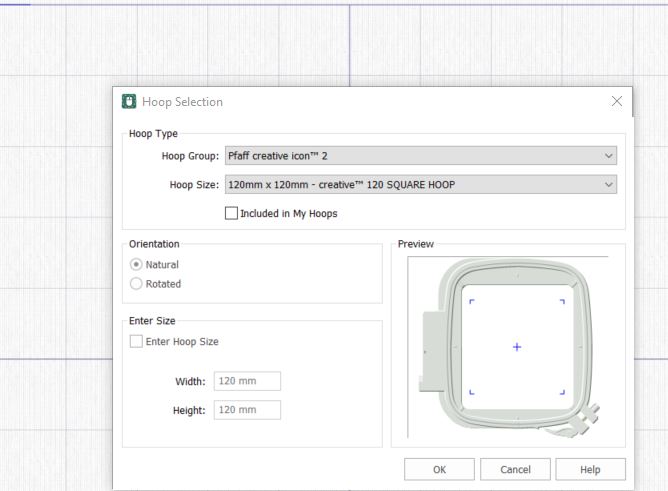
- Open software, Select Blank Canvas, set the hoop size to 120x120mm.
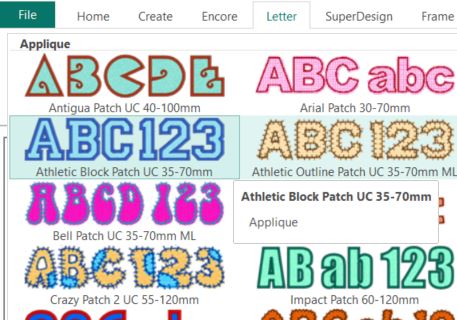
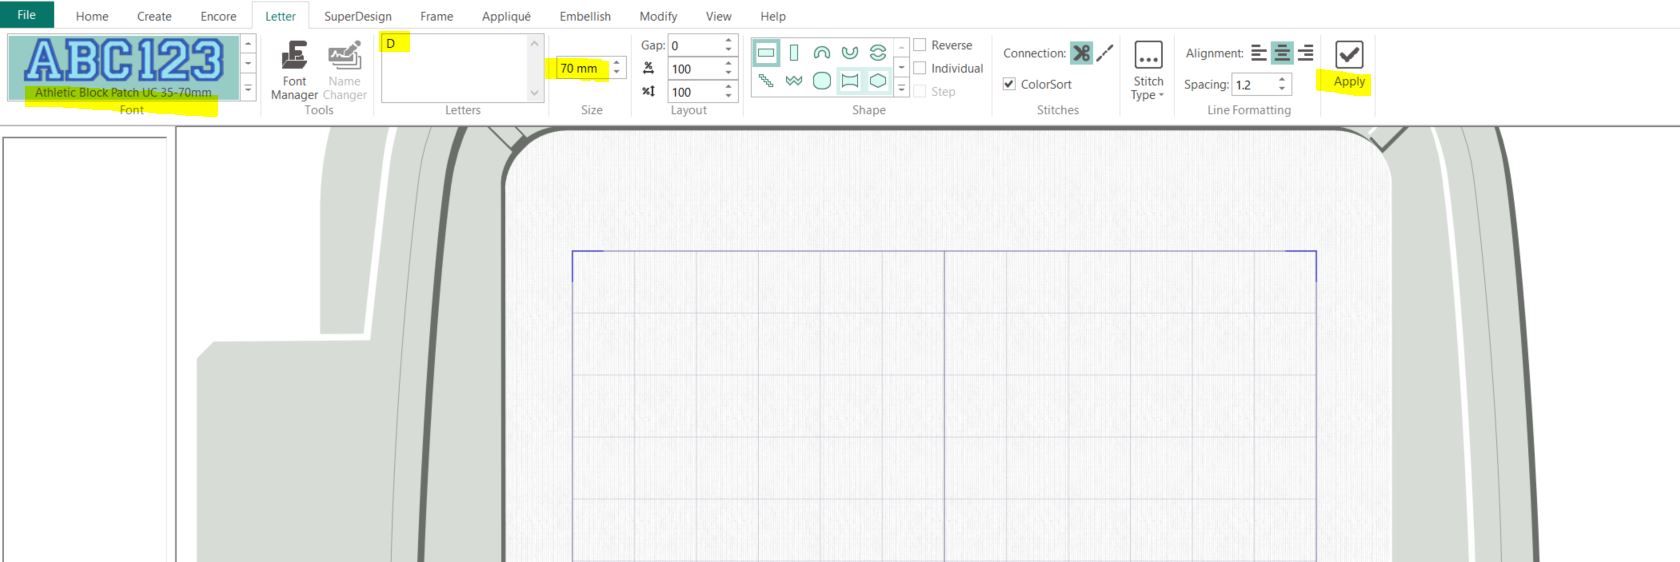
- Go to the Letter tab, under the applique tab select Athletic Block Patch UC 35-70mm.
- Select the Letter you want, in this case I selected Letter D. Set the size to 70mm and click "Apply".
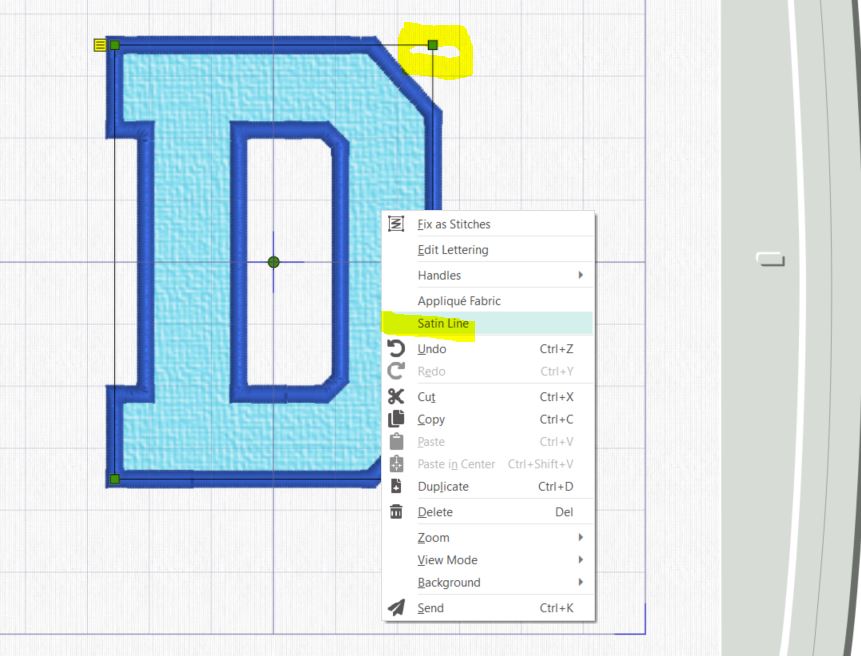
- The corners of the letter frame are Green, this means we can do some changes before turning it into stitches. Right click and select "Satin Line".
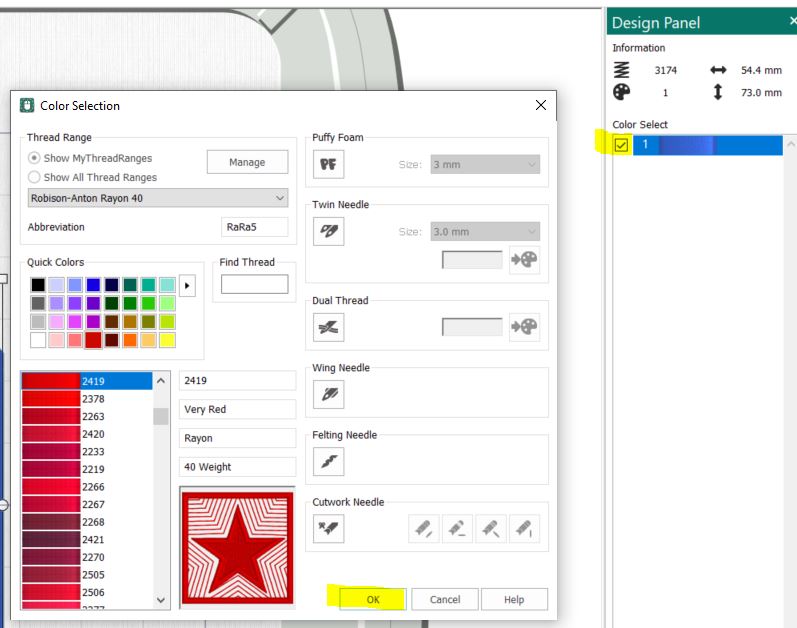
- A new dialog box opens. Change the satin stitch Width to 3mm and the Density to 3. This will make the satin cover the edges better, since we will be using a fabric with pile.

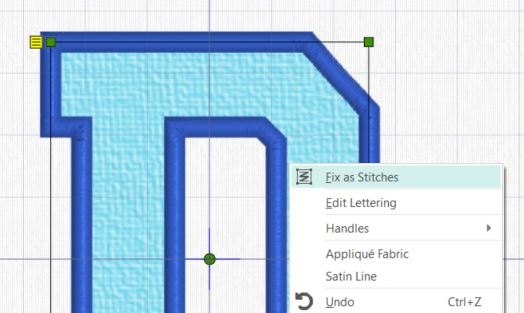
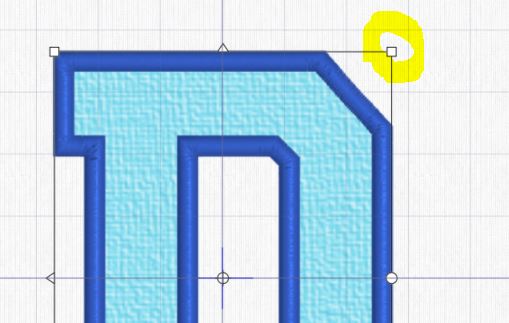
- Right click again and select Fix as Stitches. The frame corners will now turn white.
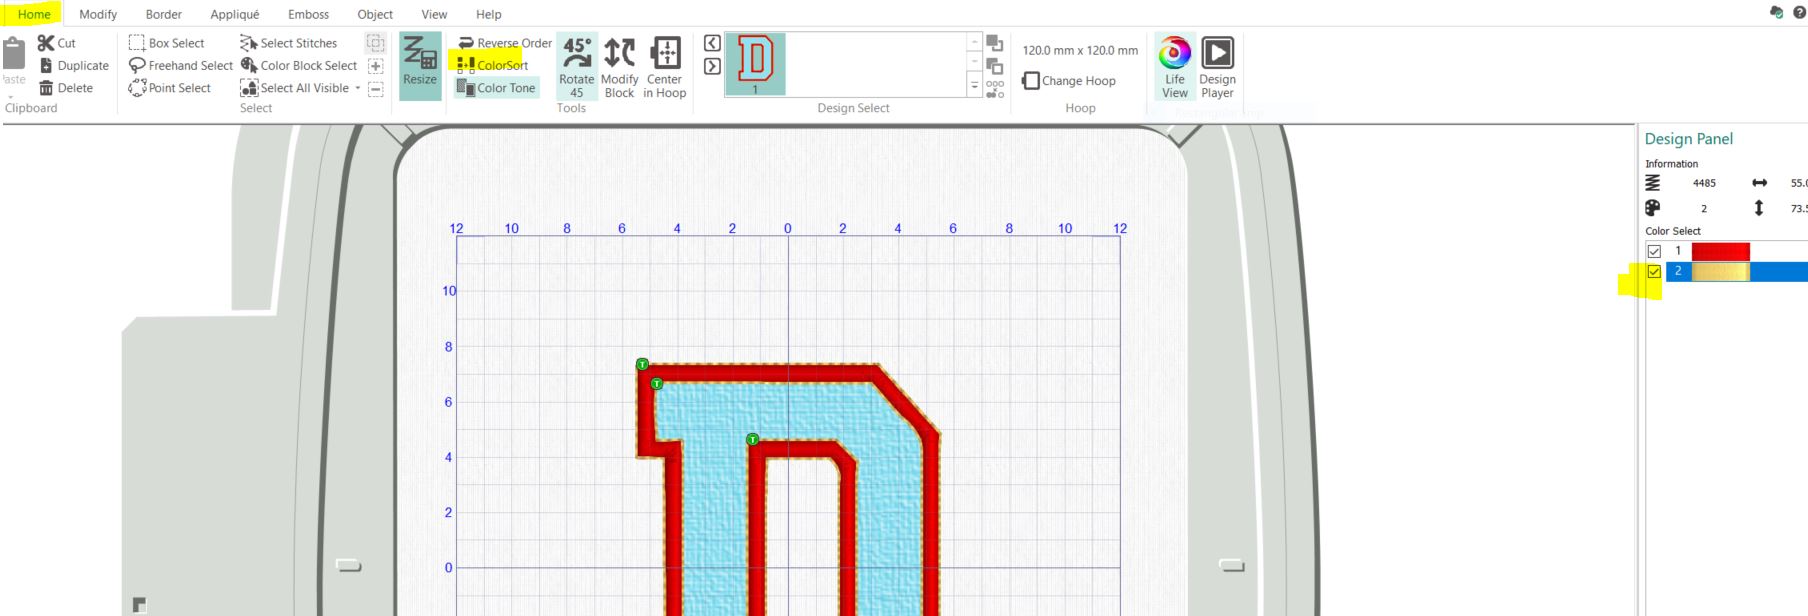
- Go to the Design Panel and double click on the blue color. Change it to red. This is to avoid confusion later.
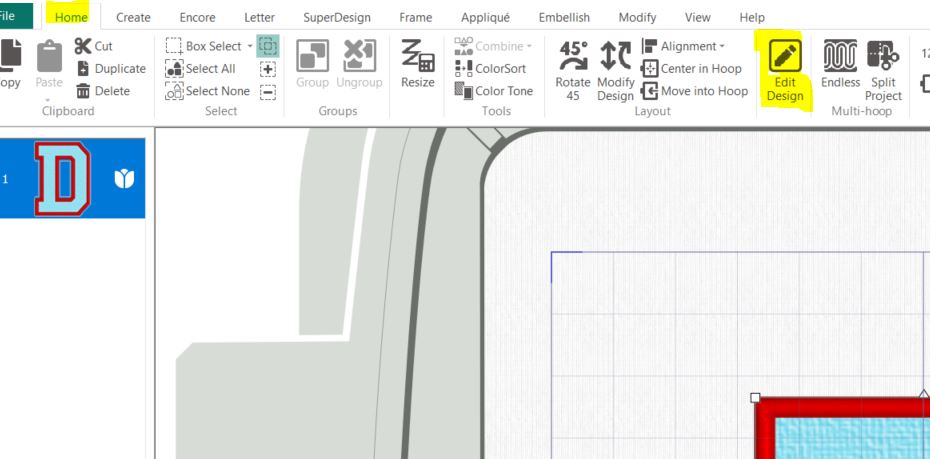
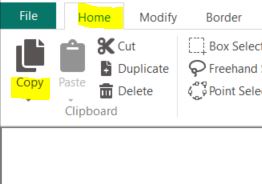
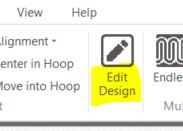
- Go to Home tab and click on "Edit Design"
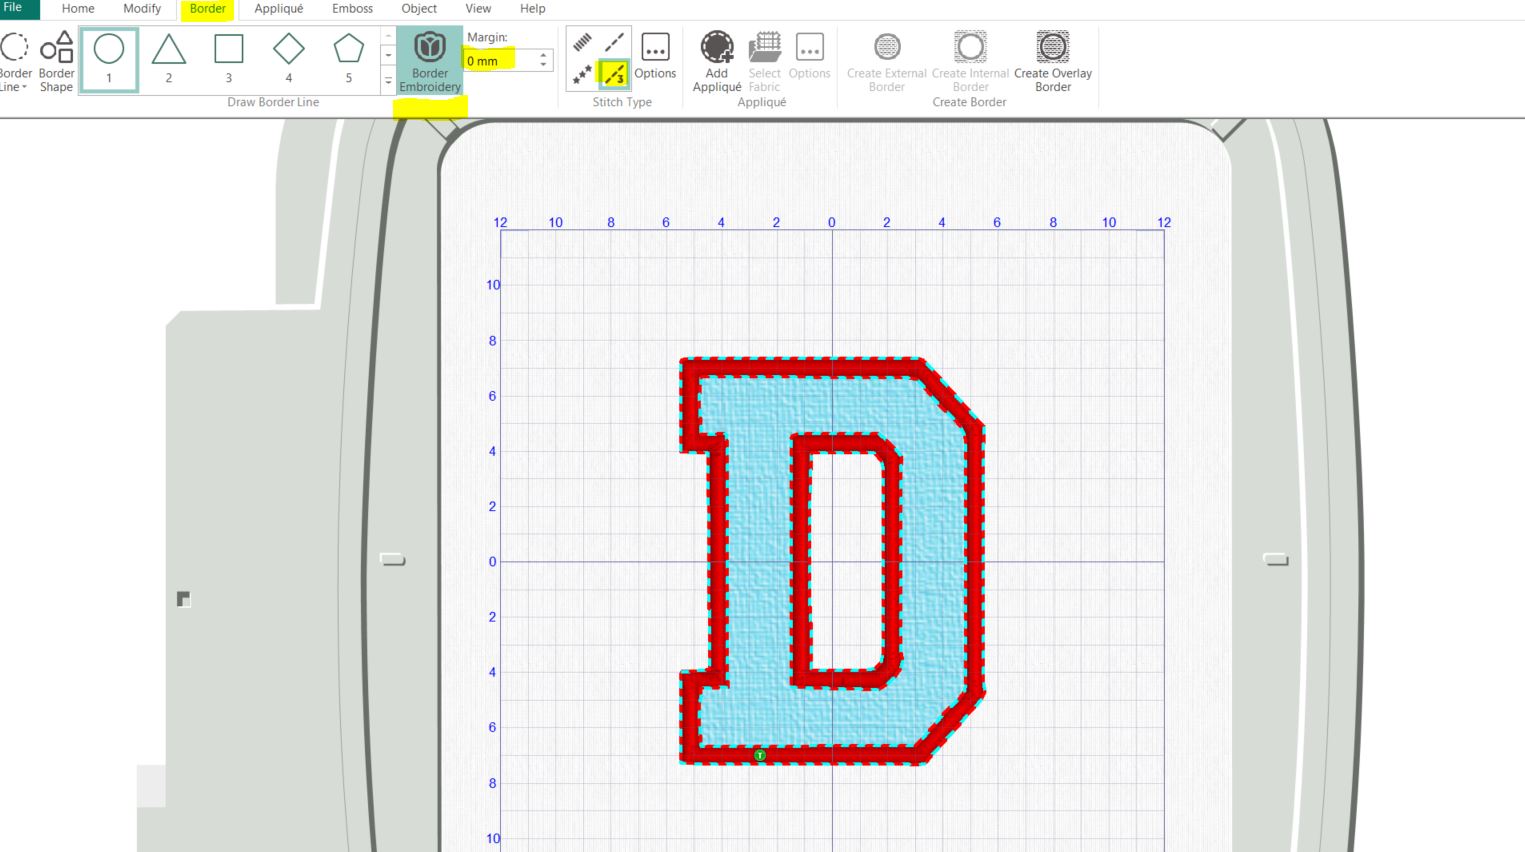
- Stitch Editor will open in a new window. Click on Border tab, select Border Embroidery and triple stitch. Set the Margin to 0. Now it will look like this:
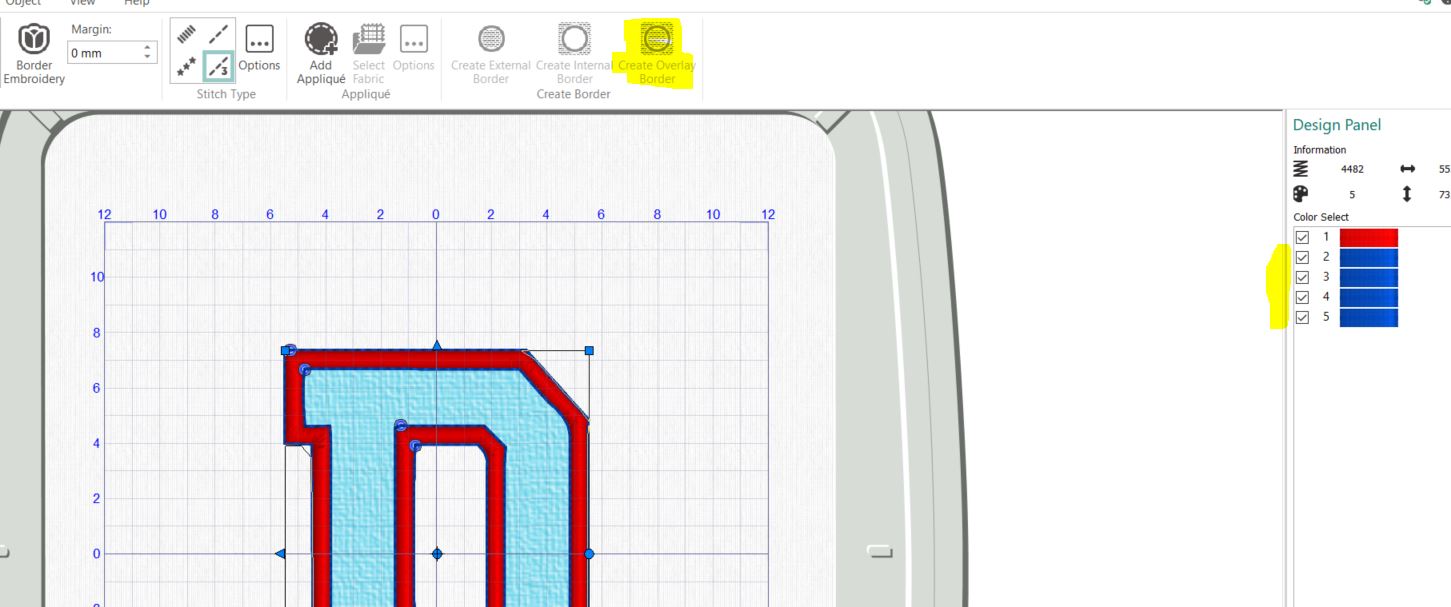
- Click on the Create Overlay Border button at the right of the top panel. This will make a stitch line on both sides of the satin. This will highlight the satin edge when stitched out. It will also make the coverage of the pile edges better. On the right side, in the Design panel you can see the stitches as four blue color changes. We will bring them together in the next step.
- Go to Home tab, click on Colorsort. The four blue color Chages will merge into one. Double click on the blue color in the Design Panel and change it to yellow. This is to avoid accidental color mix-ups later.
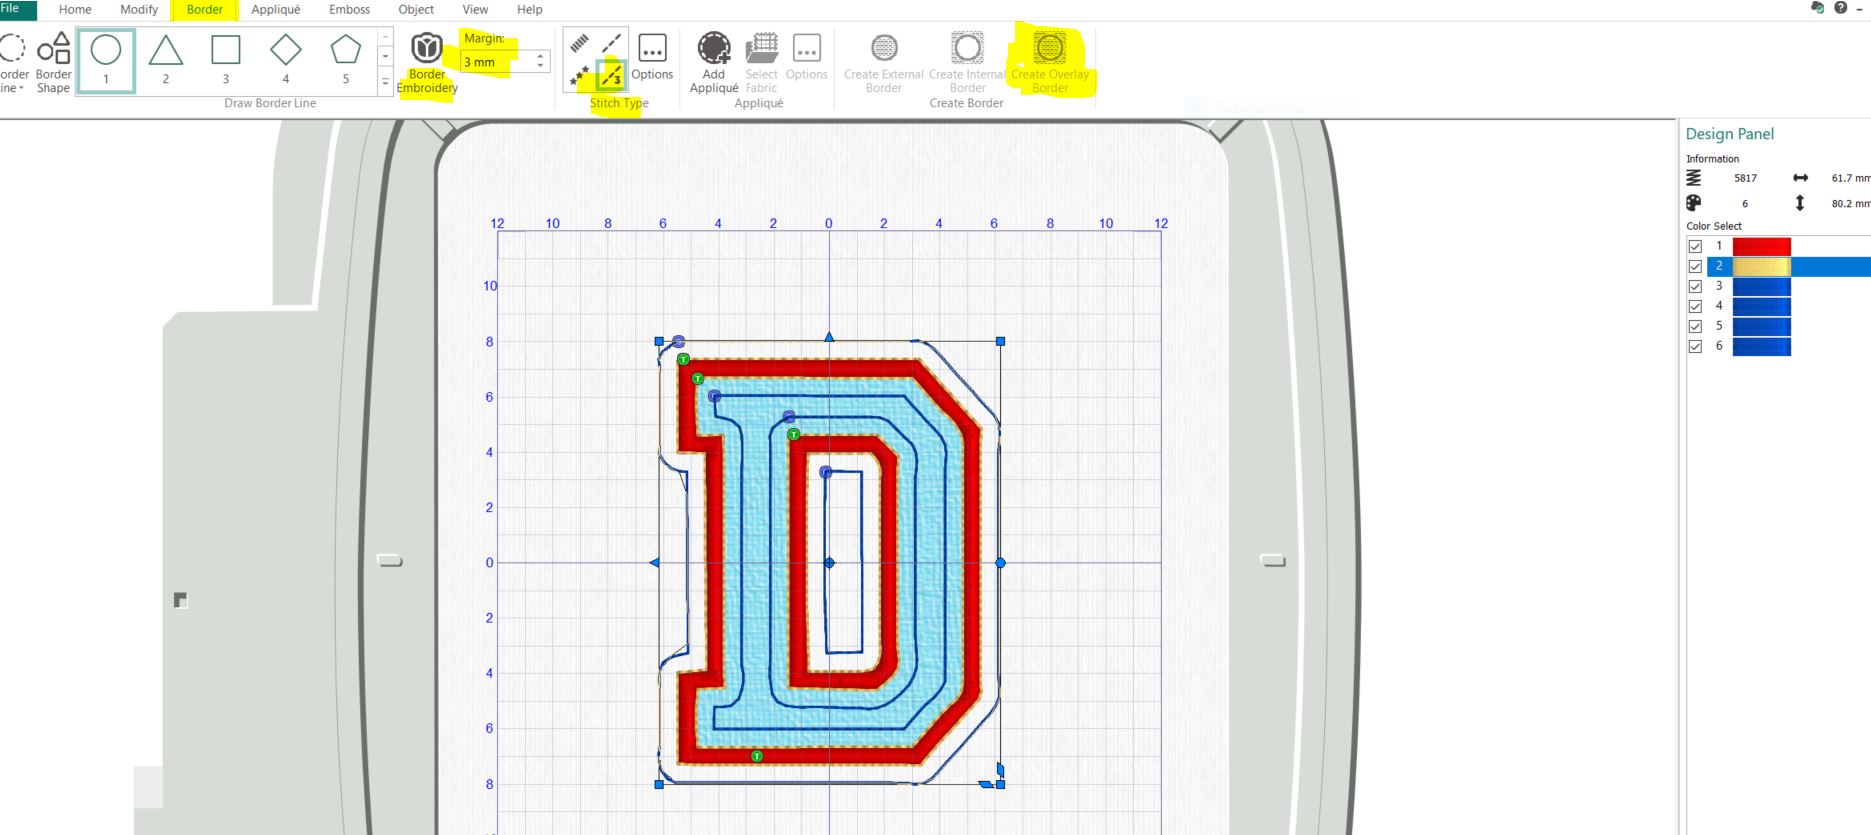
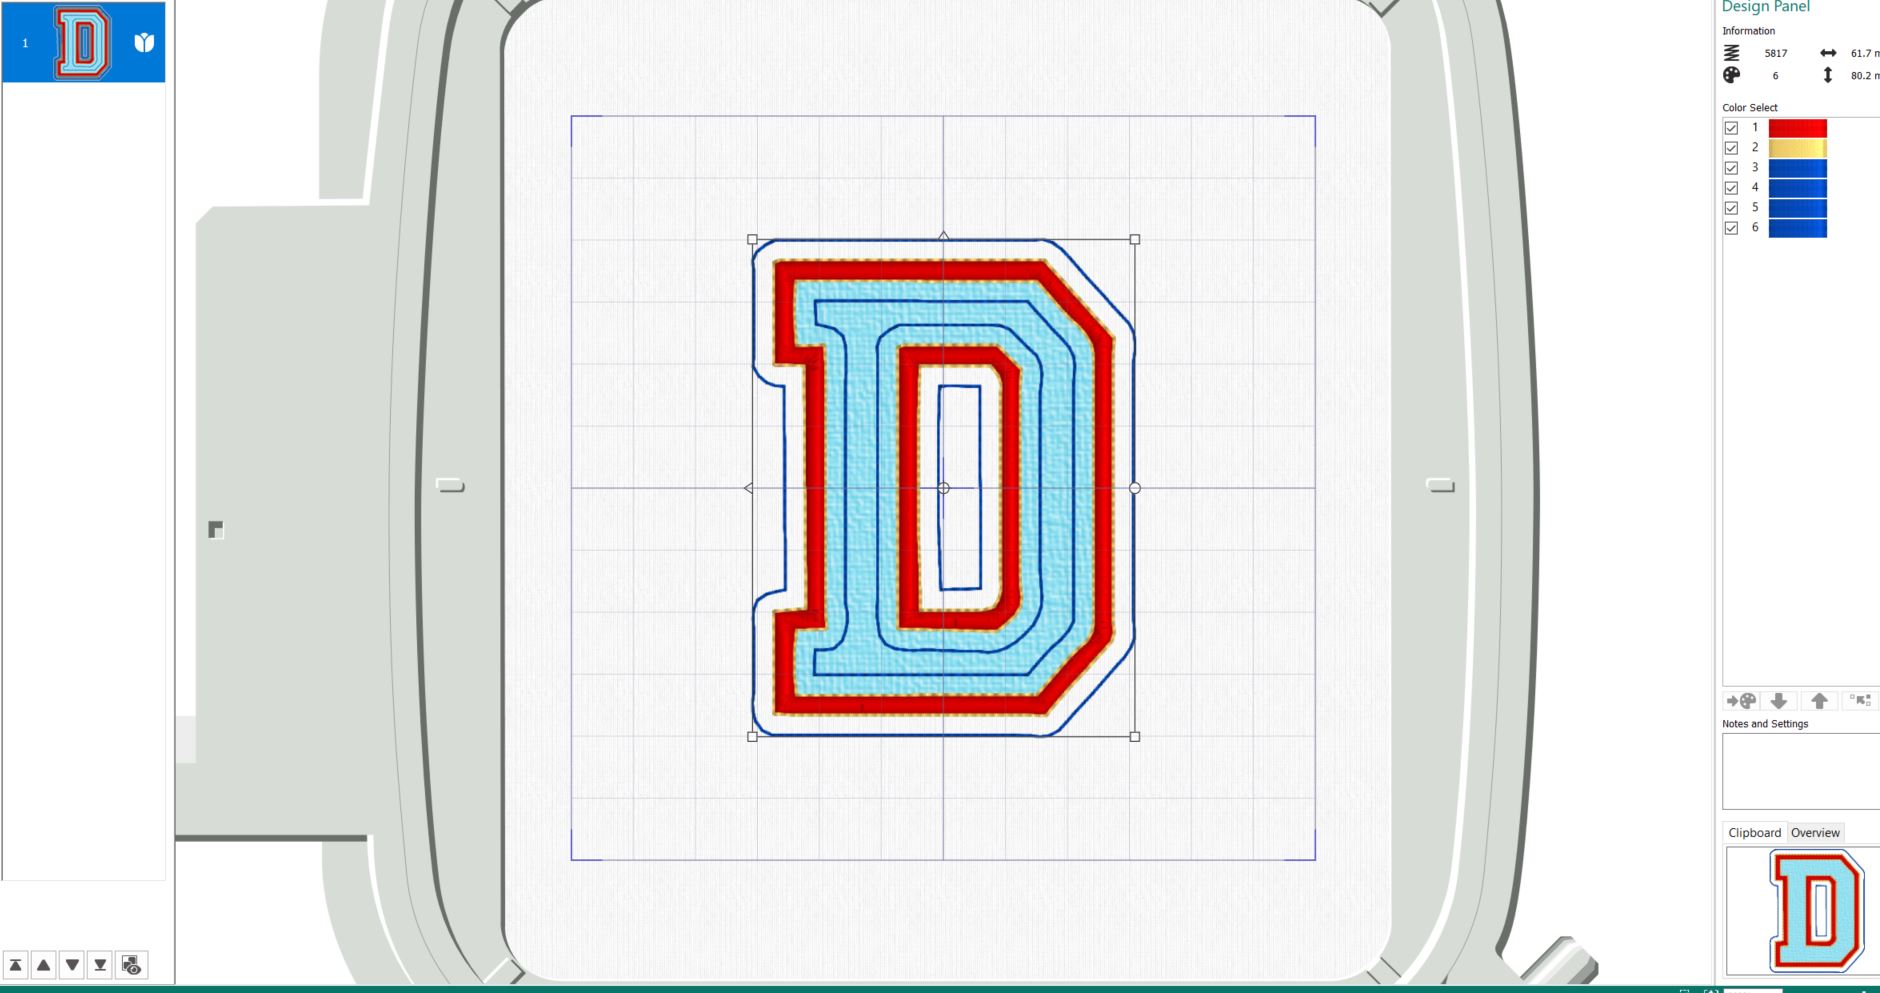
- Go to the border tab again. Click on border embroidery, set the margin to 3mm, stitch type to triple stitch. Click on Create overlay Border. Now it will look like this: As you can see there have been stitches added on outside and inside the letter. In the next steps we will fix this.
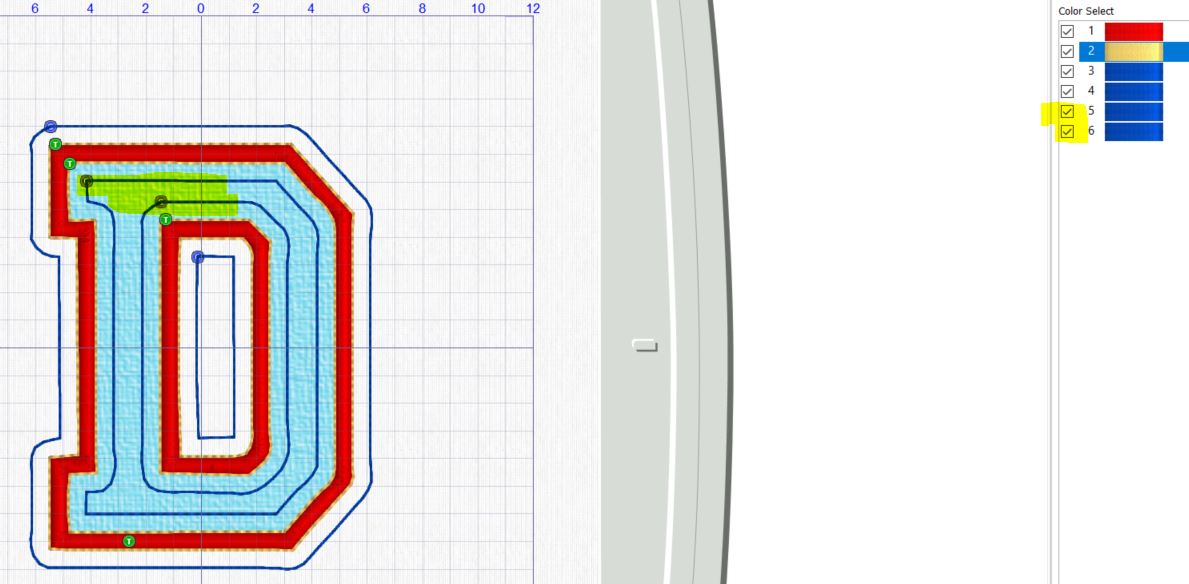
- Start by unchecking the stitch lines inside the letter. In this case it is color 4 and 5.
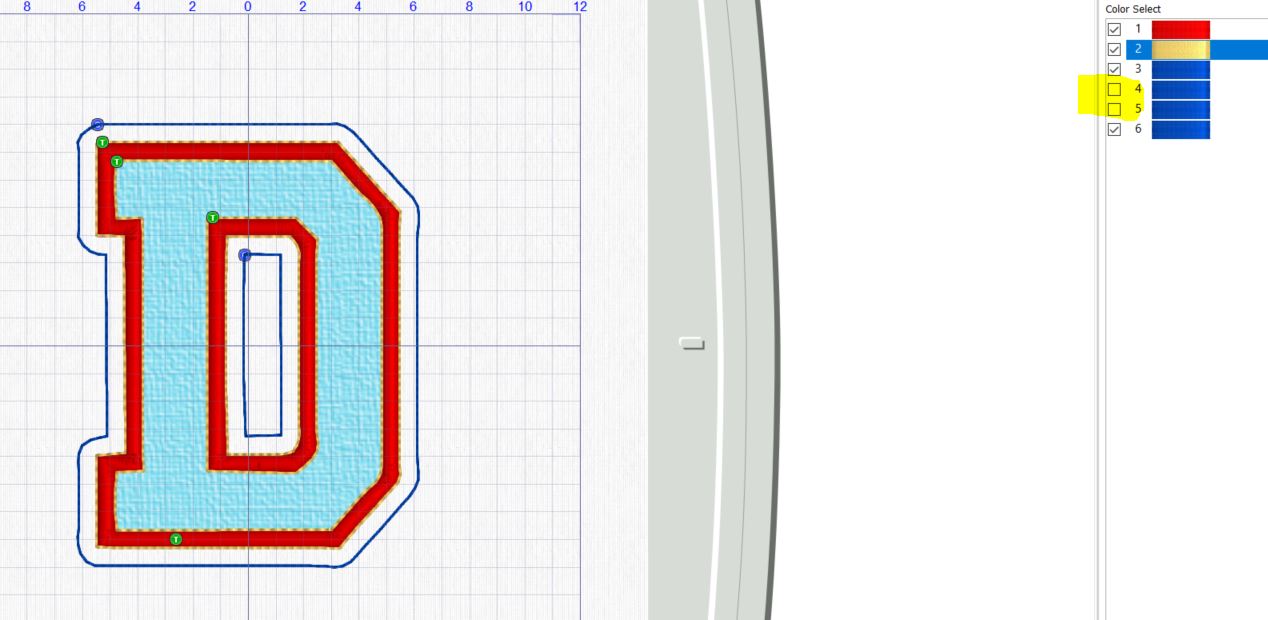
- Next step is to copy the embroidery on the screen. Go to Home tab and click on Copy. The embroidery will appear in the clipboard
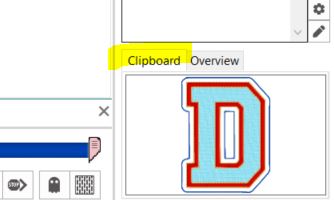
- Close the stitch editor. We will now return to the embroidery software. As you can see the original file is in the embroidery hoop on the screen. We want to replace it with the embroidery in the Clipboard.
- Start by clicking on Delete, then click on Paste. Now it will look like this:
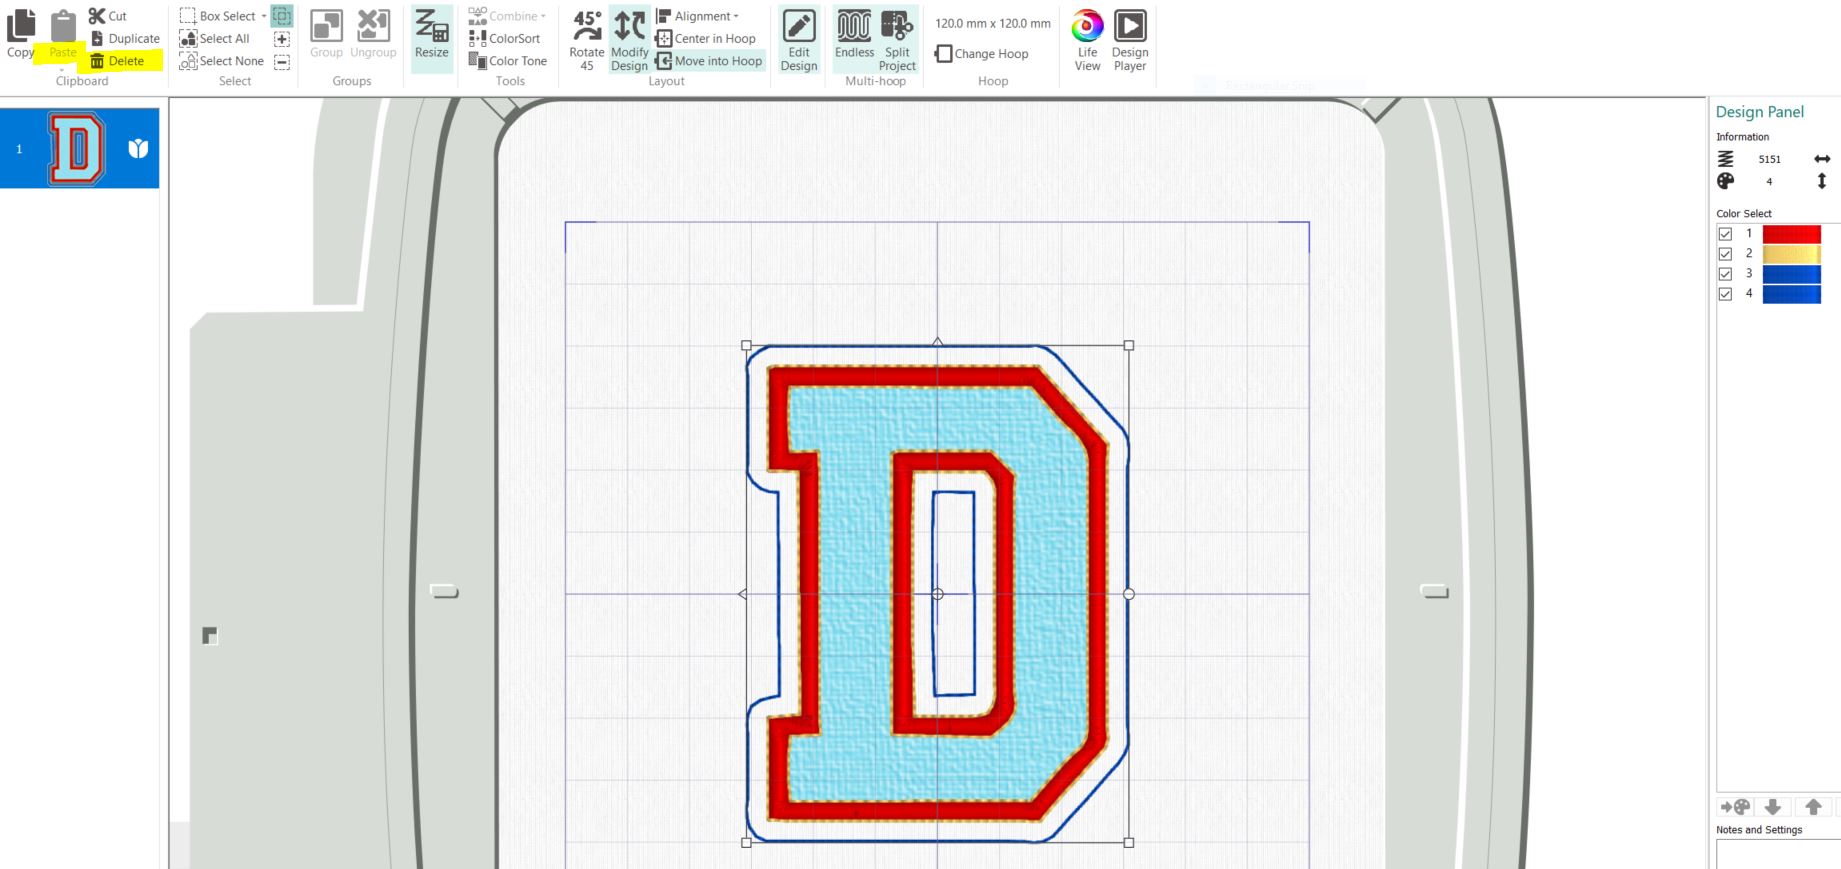
- Click on Colorsort, this will merge the two colors into one.
Changing the stitchout order
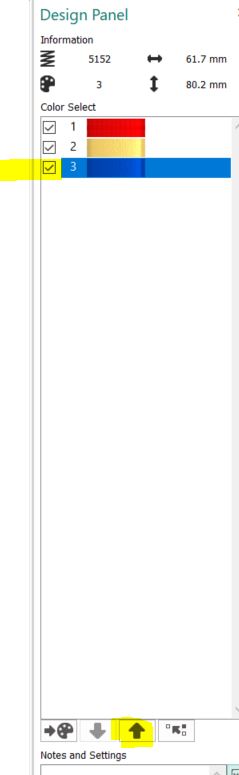
- We want to stitch out the blue color first. To do this, Click on Edit Design. Stitch editor will open in a new window.
- Click on the blue color in the Design Panel. Use the arrow key below the design panel to move the blue color up to the top position.
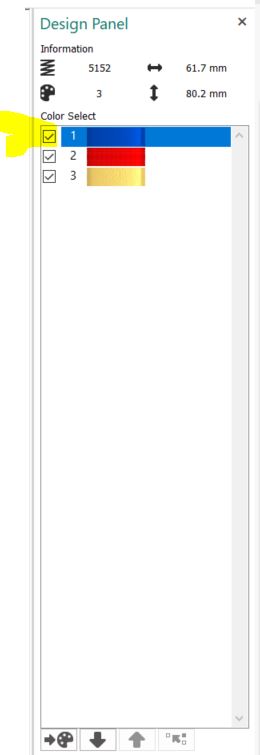
- Close the Stitch Editor window. Now the file is back in the embroidery program window, but the blue color is on top.
- Your letter is now finished and ready to stitch out! Well done!
Stitching out the letters.
You need
- Tear away stabilizer
- Felt for the background, I used double layer of multi-purpose cleaning cloth
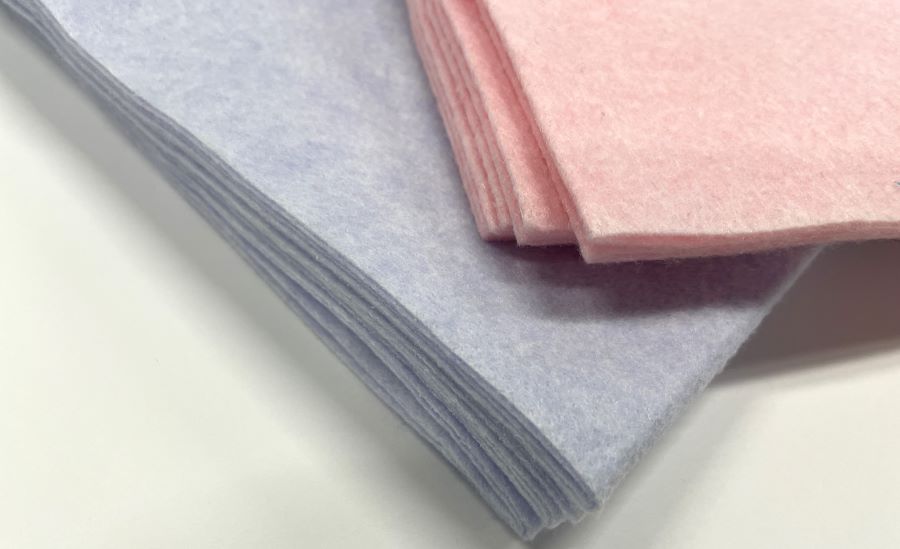
- Fabric for the letter, I used microfiber cleaning cloth.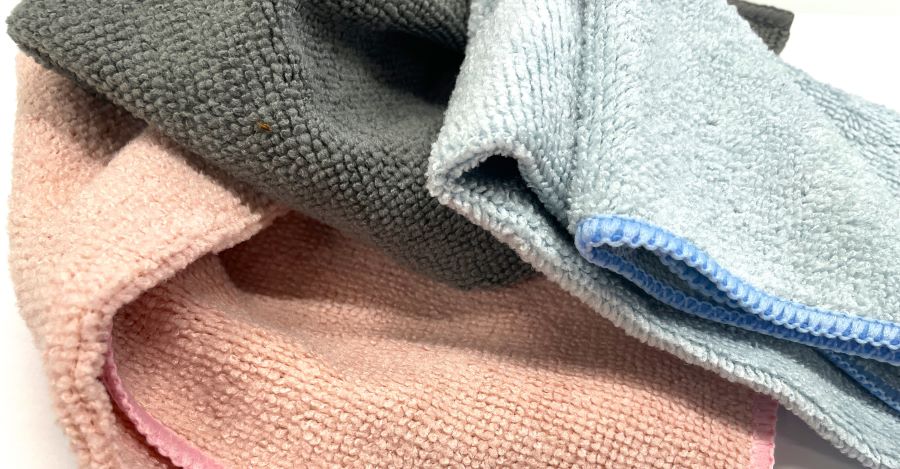
- Hoop stabilizer and the felt fabric. In this example a 100x100mm magnetic hoop was used since it makes it easier to cut away the applique fabric.
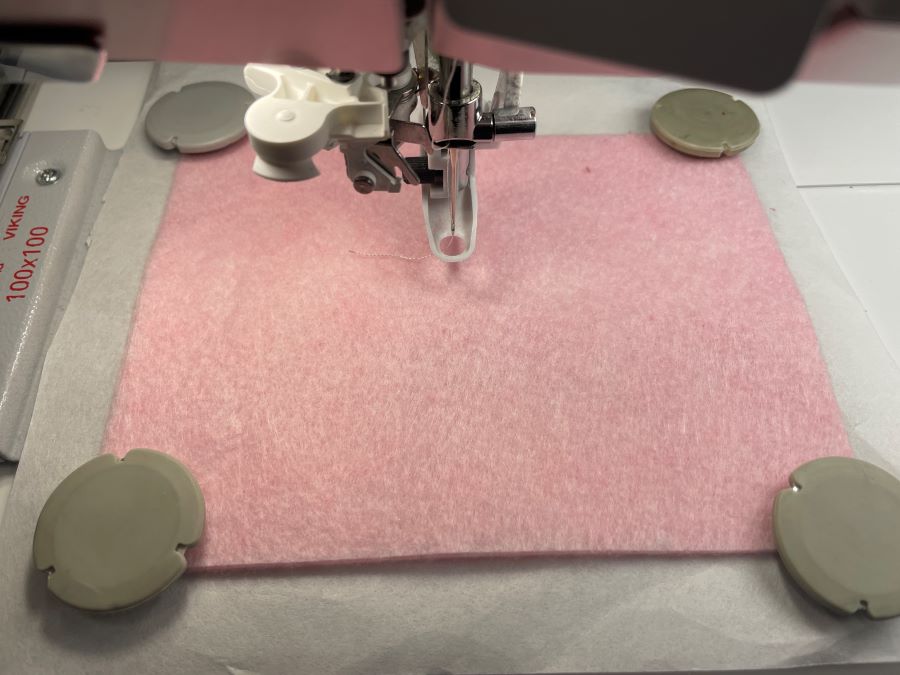
- Stitch out color 1, this will make a triple stitch on the outer edge of the letter.
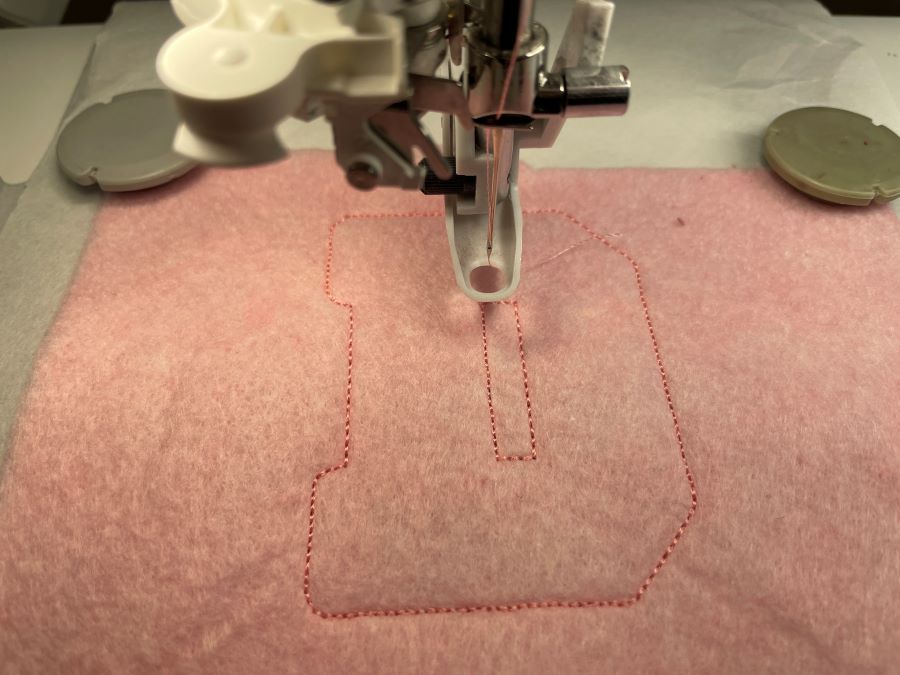
- Stitch out color 2, this will make a placement line for the fabric and then stop.
- Place fabric in the hoop on top of the embroidery. Make sure it covers the stitch line on all sides.
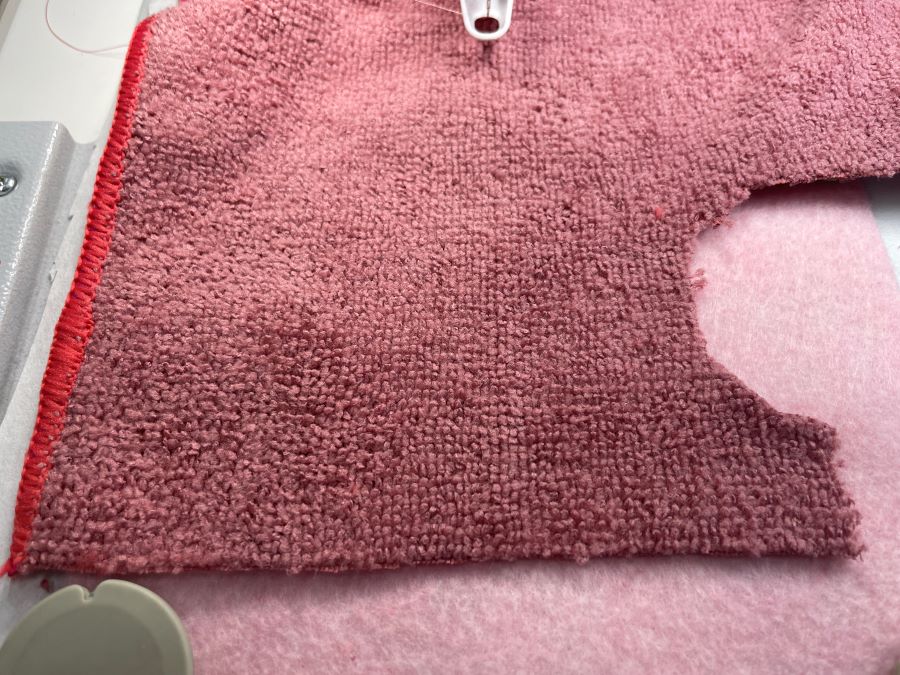
- Continue to stitch out. The fabric will be secured by a double stitch line. On the image the stitchline is barely visible because of the pile.
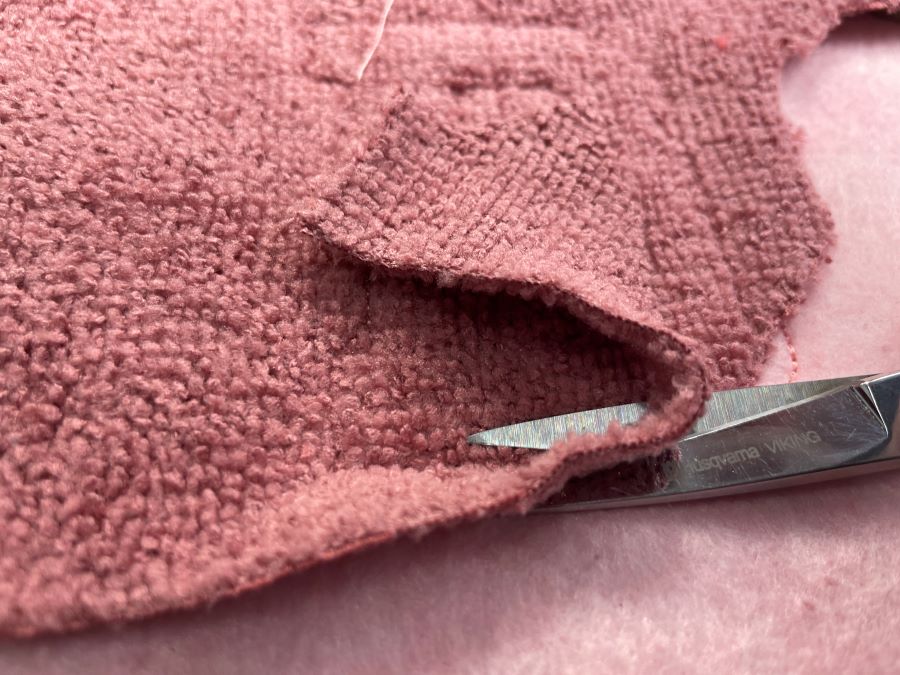
- Remove the hoop from the machine or go to trim position. Do not remove the fabric from the hoop. Cut close to the stitching to remove excess fabric. Be careful not to cut into the stitch line. Remove any excess lint from the embroidery. I use a piece of masking tape to lift off any lint residues.
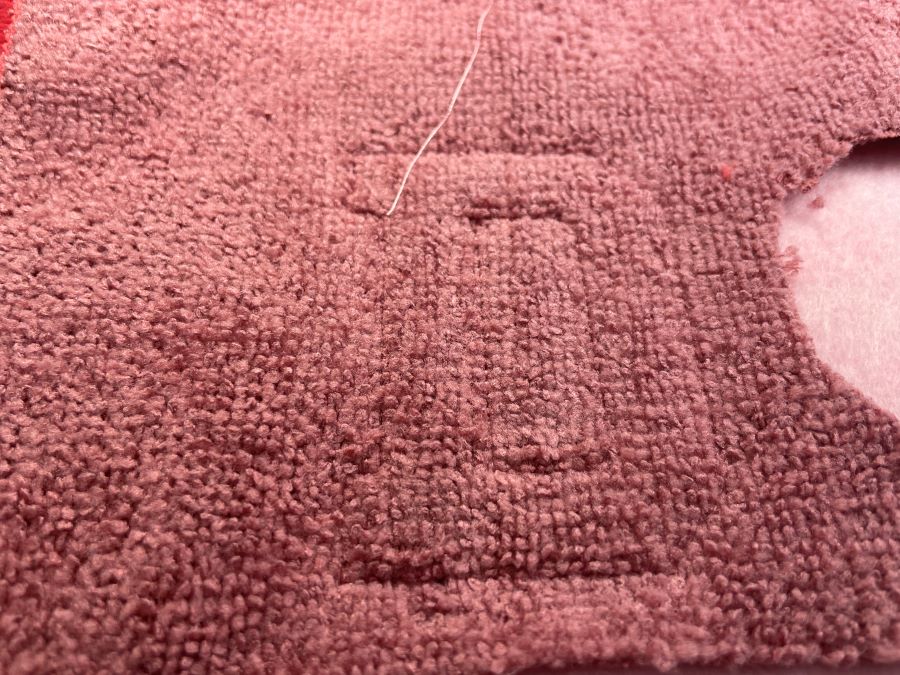
- Now it will look like this. Return the hoop to the machine and continue the stitch out.
- Now the satin edge is made. Since we made it a little wider it will cover the edges better. There may be a small line of fabric showing. This will be fixed in the next step.
- Load golden metallic thread into your machine. And stitch out the last color. If you prefer you can use regular embroidery thread instead, I suggest a darker tone for the best effect.
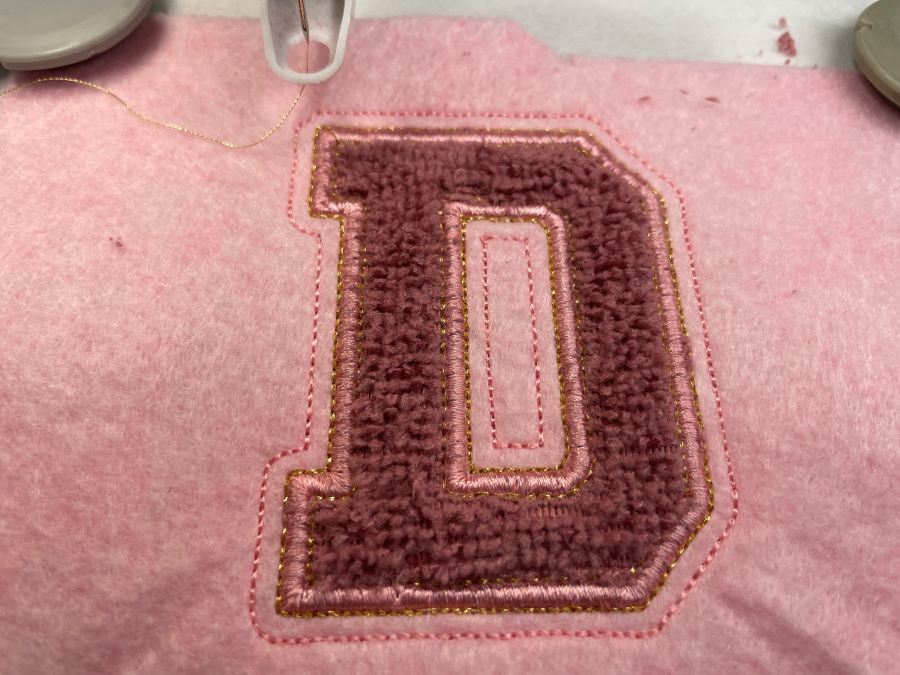
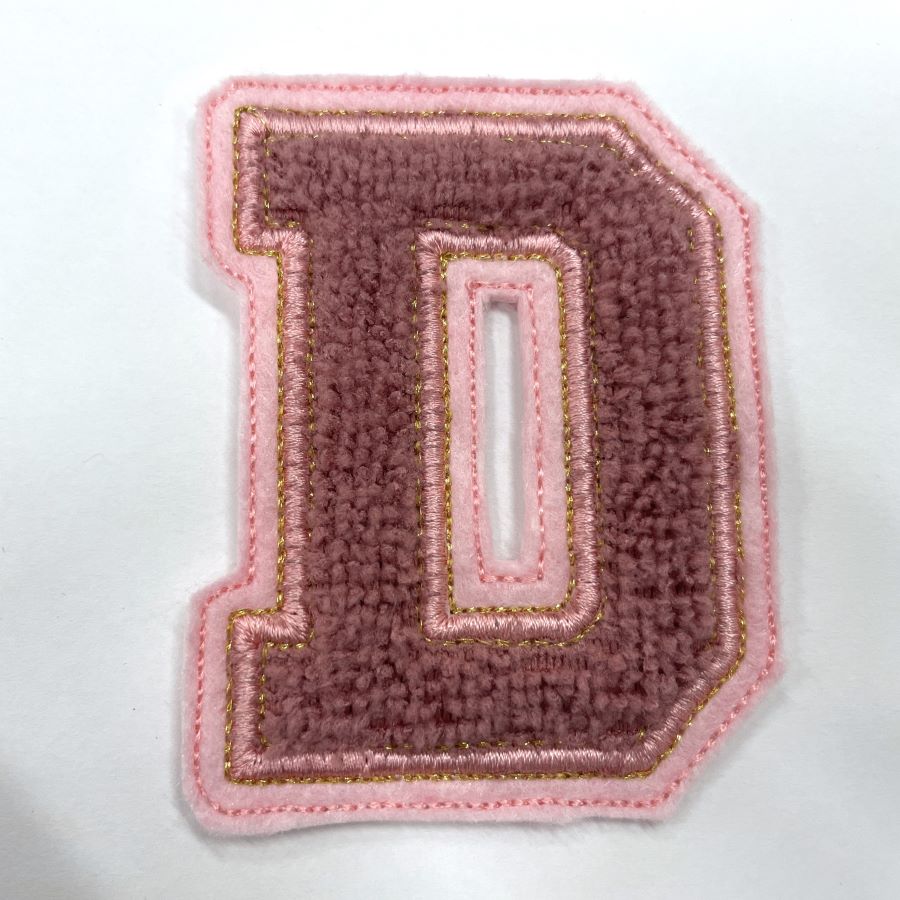
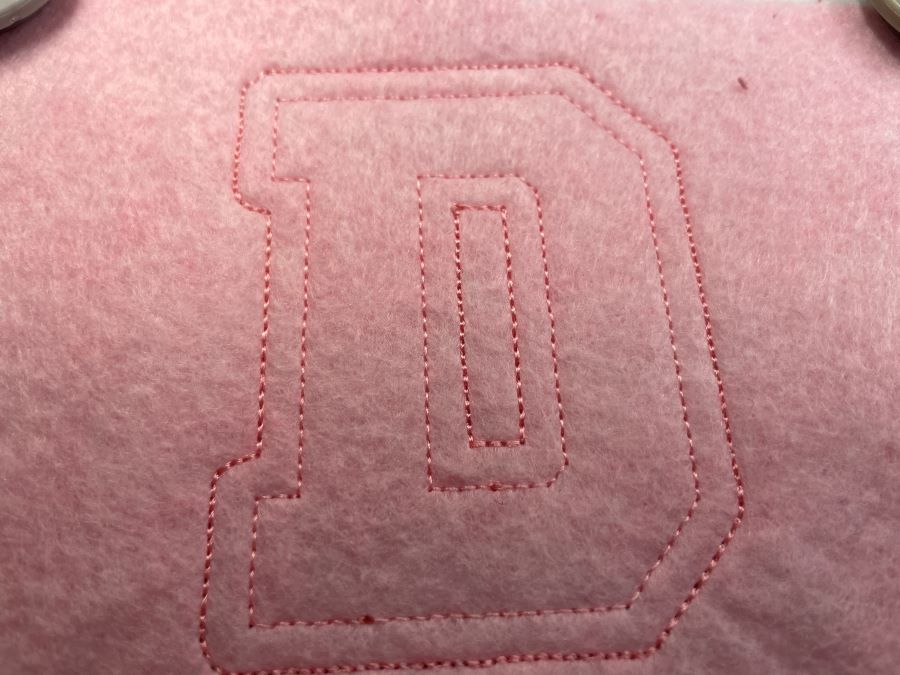
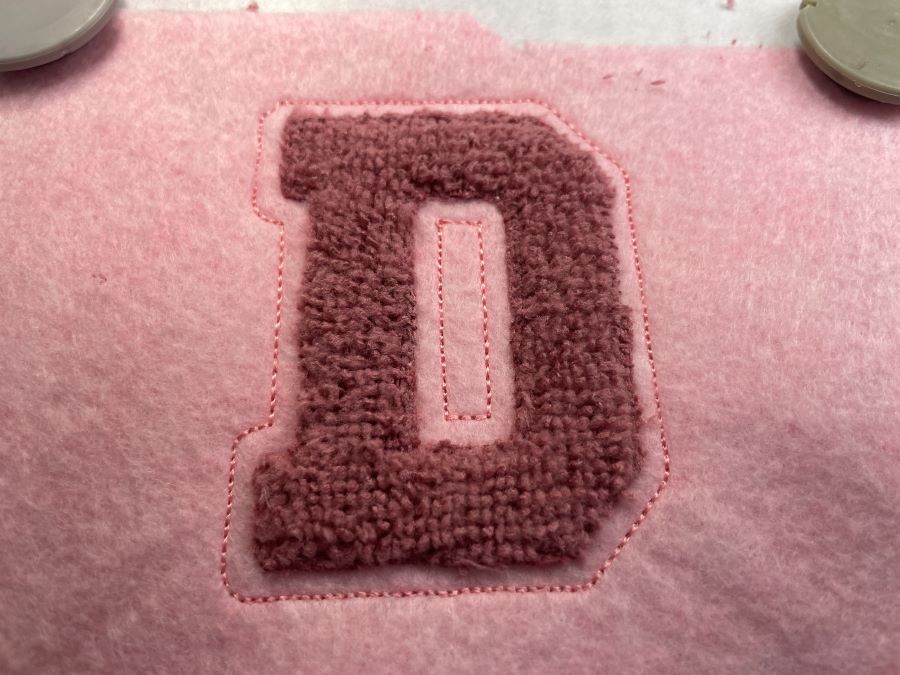
- Now your embroidery is finished. Unhoop and cut close to the stitch line on the outside of the letter, but also at the inside opening if it is a closed letter like D.
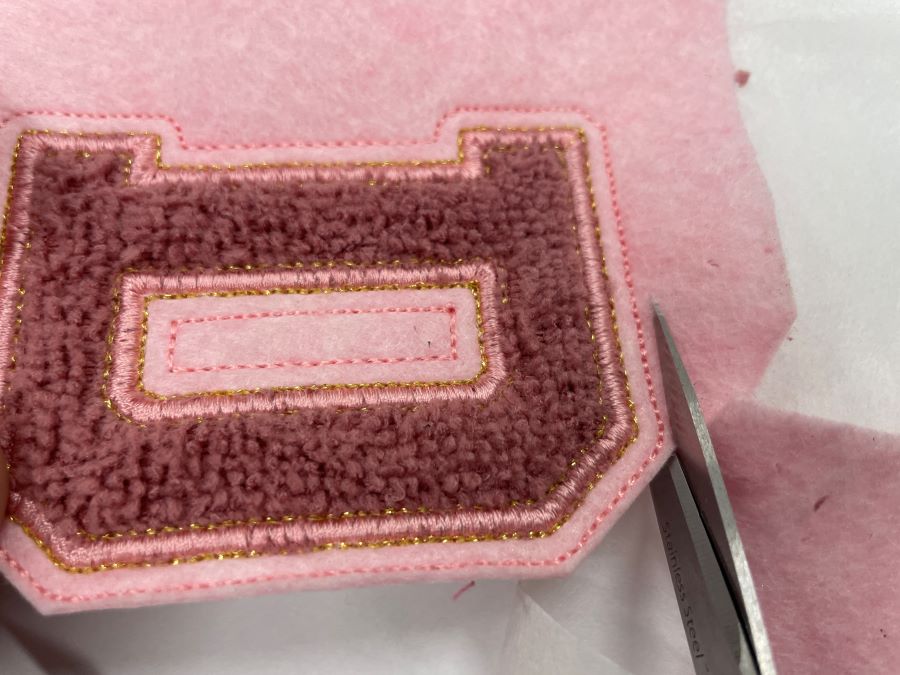
- Now it will look like this! The finished letter can be used as an applique or freestanding.