 Germany
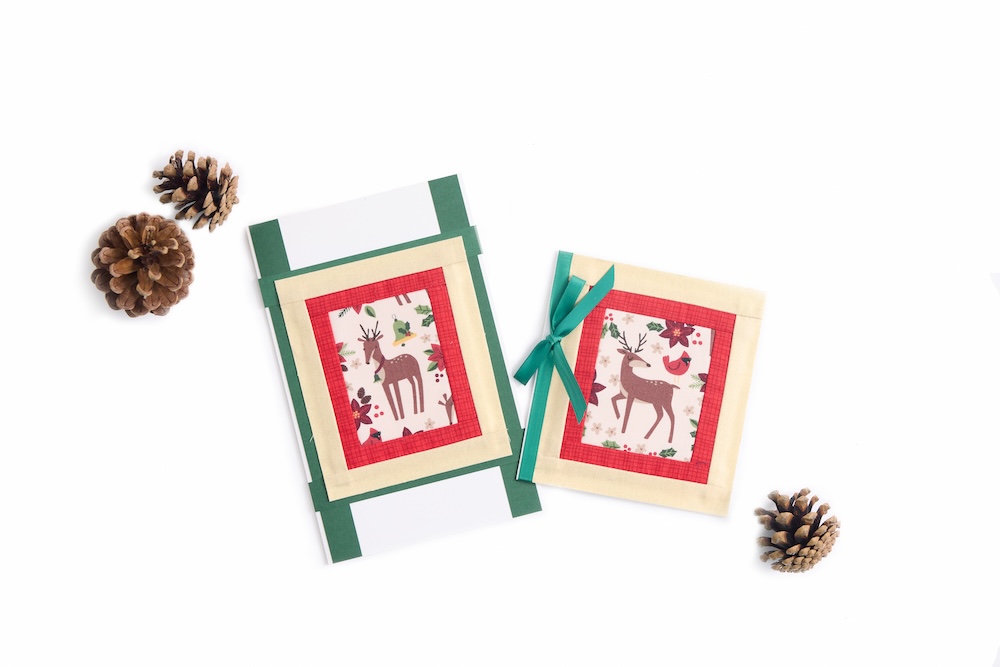
Great Creative with Festive Quilt Block Cards
- By Emily McGinley
Creativity with Festive Quilt Block Cards!
Have you ever made small quilt blocks and then decided to change projects? Or perhaps you’re searching for a quick and fun way to use your favorite holiday fabrics? Embrace the Christmas in July spirit and get creative with these festive tips for turning those quilt blocks into beautiful holiday cards:
- Choose Your Favorites: Gather your favorite quilt blocks and holiday fabrics.
- Trim and Embellish: Trim the blocks to fit card sizes and add embellishments like ribbons or buttons.
- Personalize Your Cards: Add a personal touch with festive messages or hand-stitched details.
- Share the Joy: Create unique holiday cards to share with family and friends, spreading joy and creativity.
Celebrate Christmas in July by turning your quilting projects into delightful holiday cards. It's a perfect way to use your creativity and bring some festive cheer to your crafting!
What you need:
- Small spare quilt blocks or
- Scraps of printed fabric
- One fat quarter of two coordinating fabrics
Tip: This is a great opportunity to use spare strips from a past project - Cardstock or blank cards
- Double sided tape or all-purpose adhesive
Optional supplies
- Contrasting cardstock
- Coordinating ribbon
- Any other decorative elements you wish
Instructions
- First you’ll want to fussy cut your fabric to get the scene or character you want. If you are not familiar with fussy cutting, this is when you choose a part of your fabric that features a certain detail or image, then cut it down ¼” larger on each side than what you want it to look like in the block.
- Then add some simple strip borders. I used 1” (2.5cm) strips for both colors
Tip: if you are not familiar with quilting the fastest way to do this is to sew two opposite sides of your fussy cut piece, press the seams, trim flush with your fussy cut piece, and then repeat on the other two sides. - Instead of finishing a block with sewing, after your borders are done, use a double sided adhesive around the outside edge of your block on the back and attach it to a piece of cardstock. Then you can trim down the sides to be clean and straight.
- Play around with other materials you have around your house when completing the card. I added ribbon or contrasting cardstock to make the quilt block stand out more.