 Switzerland
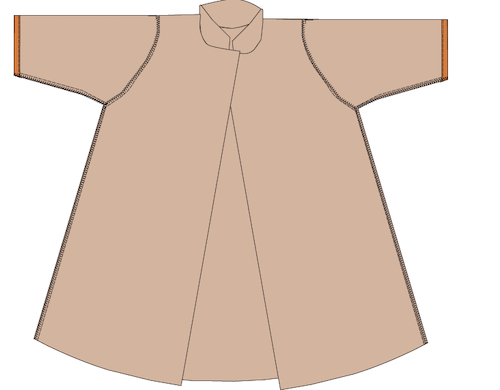
Rag Doll Coat or Jacket
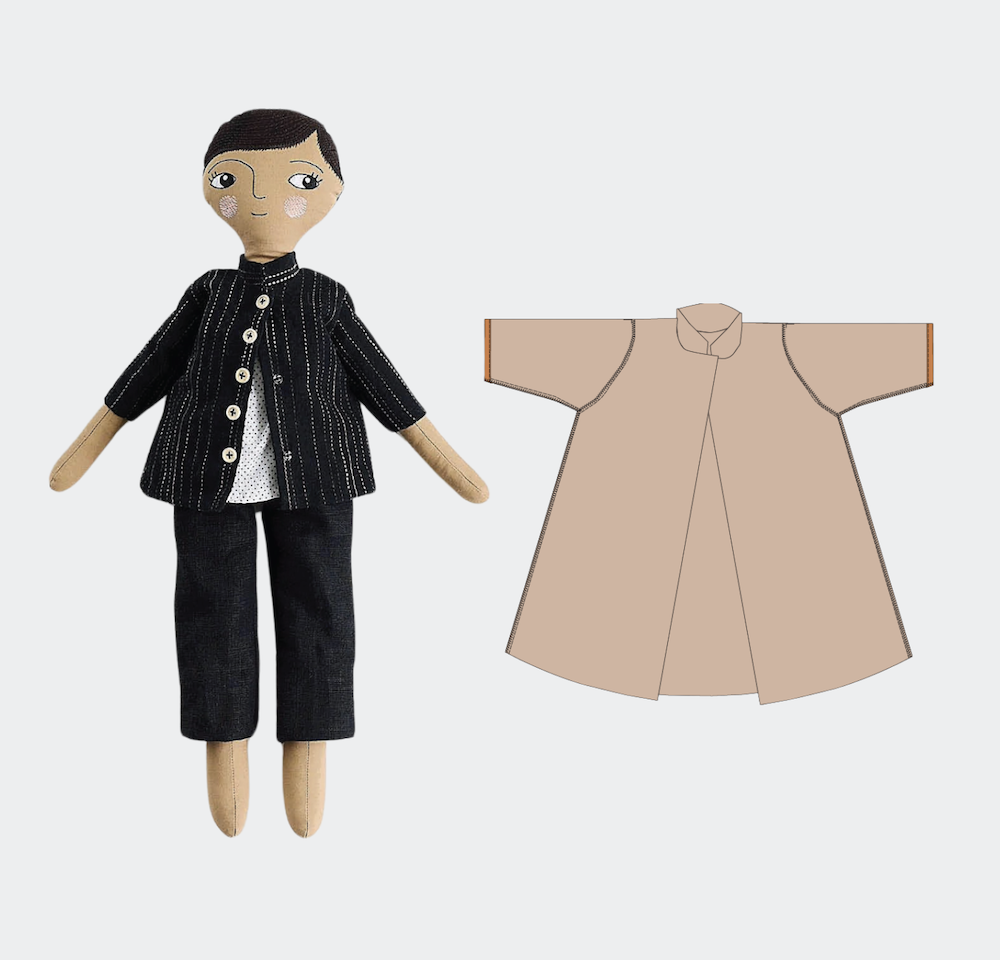
Every doll needs a cozy coat or jacket for chilly days! This beginner-level sewing project is both fun and functional. The fully lined front and back give a polished finish, and you can easily customize it by choosing fabrics for different seasons—light cotton for summer or fleece for winter. Skip the collar for a casual look or add pockets for extra charm. Simple to sew and easy to personalize, this is a great addition to your ragdoll’s wardrobe!
What you need:
- PDF pattern
- A small piece of fabric for the coat/jacket
- A small fabric piece for lining, just cut out back and front pieces.
- Sewing thread
- Optional:
- Sew on snap buttons (optional)
- Buttons for decoration (optional)
Instructions:
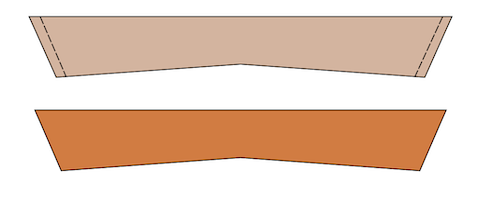
- Cut out the pattern pieces, seam allowance is included.
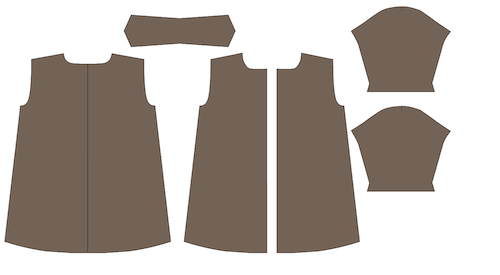
- Make the fold at the back pieces on both lining and outer fabric matching the lines on the pattern. Fold the fabric right sides together and make a topstitch about ½” (1.5cm) down to hold the fold in place. Open and distribute the fold equally on both sides of the fold.
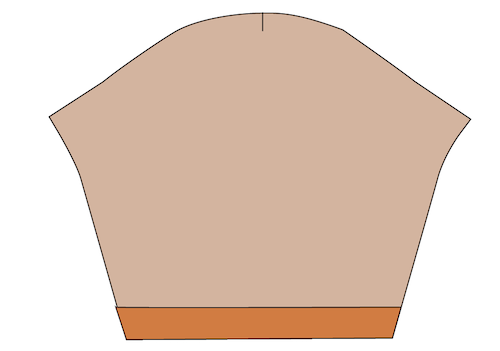
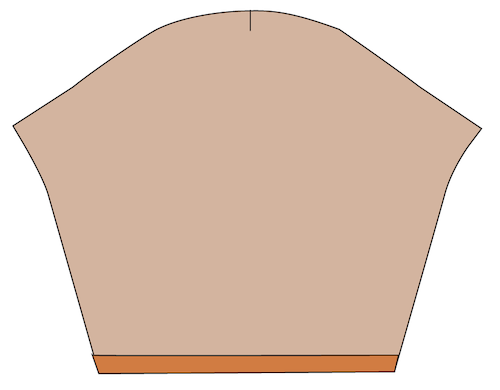
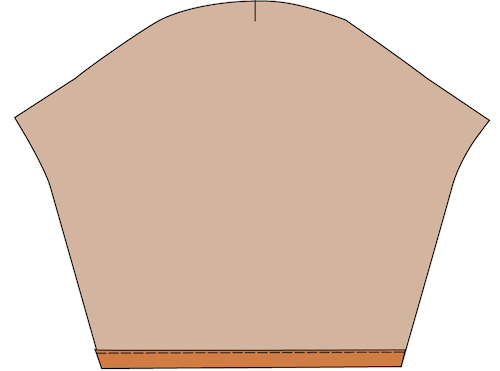
- Sew the front and back together at the shoulder seams on both lining and outer fabric.

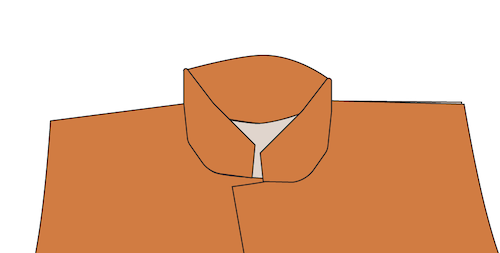
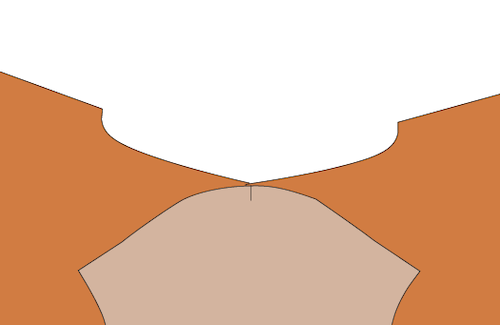
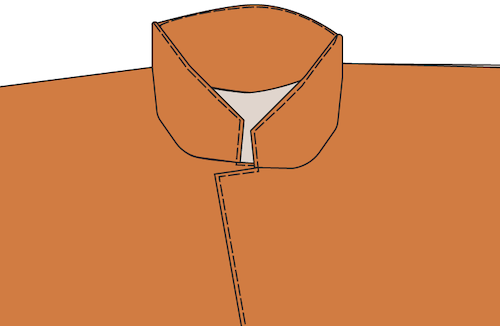
- Fold the collar lengthwise, right side together and sew the short ends together, Turn the right side out and press.
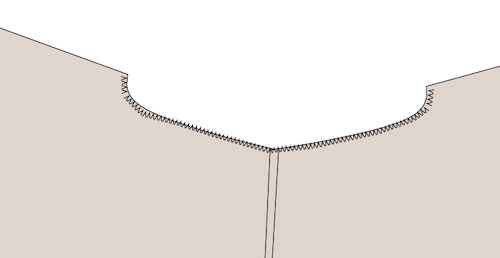
- Pin the collar at the neck opening, matching the center of the collar with the center back. Pin in place.
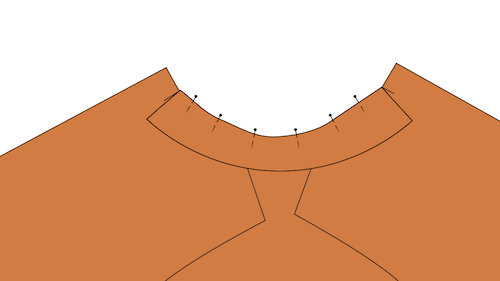
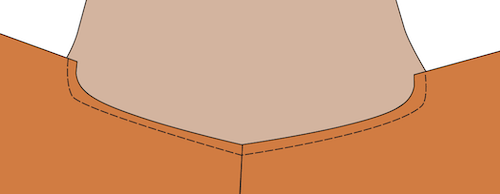
- Put the lining on top matching raw edges at the neck and front. Pin along the neckline and on front edges.
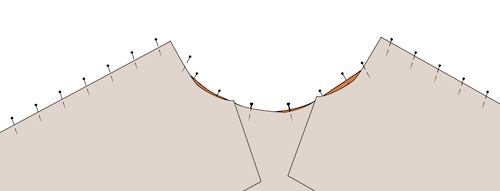
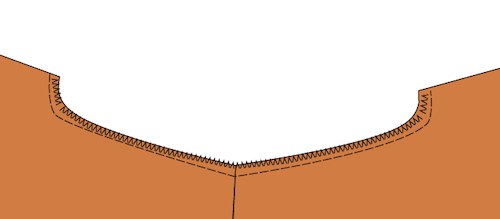
- Sew together on both front edges and the neck opening, catching the collar in the seam.
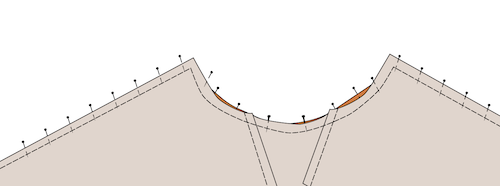
- Turn the right side out and press.
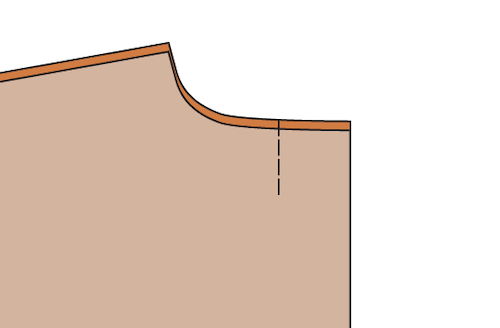
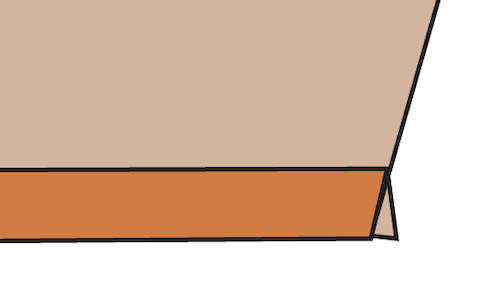
- Make the hem on the sleeves: fold the lower edge where the edge gets wider. Press.
- Open and turn the raw edges to the fold line.
- Topstitch close to the fold.
- Zigzag the edges of the arm openings on the lining piece.
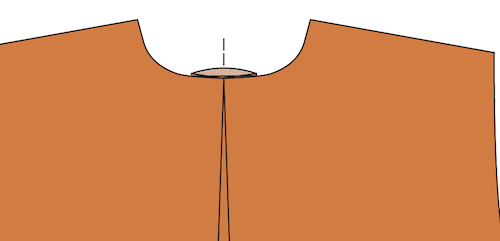
- Match the shoulder seams with the center notch on the sleeve top.
- Sew the sleeve in place.
- Zig zag the sewn edges of the sleeve seam.
- Sew the arm and side seams together on the coat. Zigzag the seam allowances together.
- Repeat with the lining side seams.
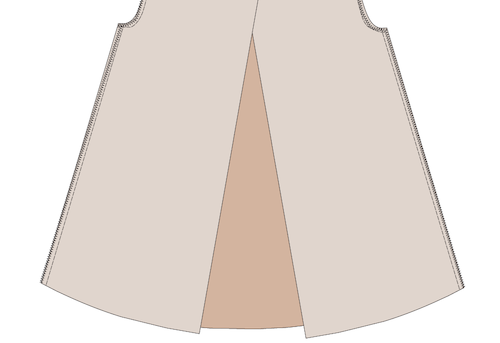
- Make the hem on the coat and lining. Fold the edge up ½”(1,5cm)
- Press, open, and fold the raw edges back to the fold.
- Topstitch close to the fold.

- Topstitch around the front and collar close to the edge.
- Add sew on snap buttons on the front edge and sew them in place by hand (optional)
Finishing touches
- Optional: Sew decorative buttons on the front edge
- If you want to you can sew the lining and coat together at the bottom edge by hand, using a Blind Stitch
- Your coat/jacket is now finished, well done!