 Austria
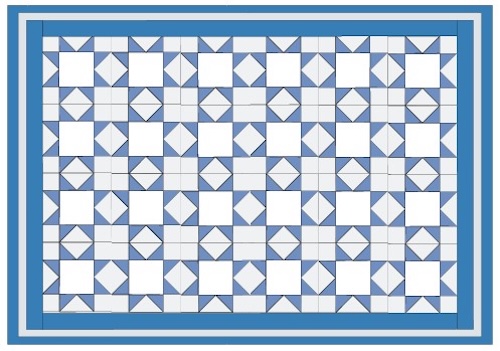
Autograph Quilt with Ohio Star Blocks: A Wedding Keepsake
.jpg?language_id=1)
Capture the love and well-wishes of family and friends with this Autograph Quilt, featuring classic Ohio Star quilt blocks. Perfect for weddings or anniversaries, this quilt turns heartfelt messages into a cherished heirloom. Have guests sign fabric squares with their autographs and kind words, then stitch them together into a beautiful quilt. Designed using our quilting software and cut with precision using the SINGER® MOMENTO™ cutting machine, this project blends tradition with modern quilting technology for a truly unforgettable keepsake. 💕✨
Materials needed for the quilt:
The yardage for the fabric is calculated in the quilting software and depends on seam allowances, cutting method etc.
- White fabric for the center squares, use plain cotton fabric or reuse an old bed sheet in good condition,
- Quilt fabric, white print on white fabric for the block background
- Quilt fabric for the stars, in the example a middle blue print was used
- Batting light or medium thickness Finished quilt size plus 4” (10cm)
- Backing fabric. Finished quilt size plus 4” (10cm)
How to make the quilt
- Open the Quilting Software:

- Click on Load a Preset Quilt Layout.

- A window with the available quilts layouts opens.
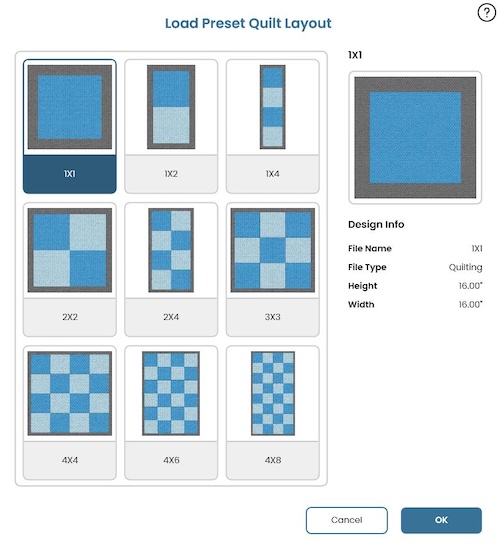
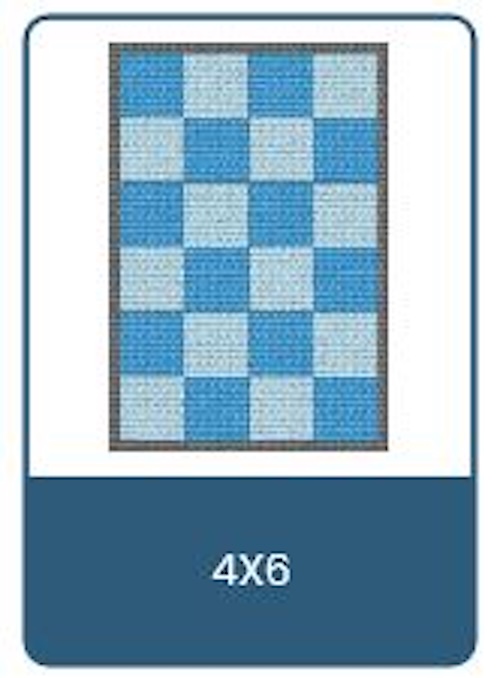
- Select the 4x6 preset quilt layout and click OK.
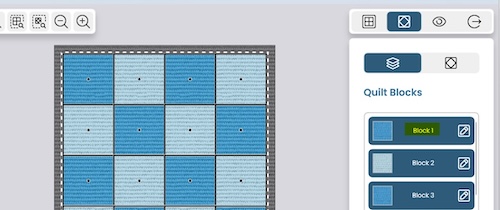
- A new window opens with your selected quilt layout.

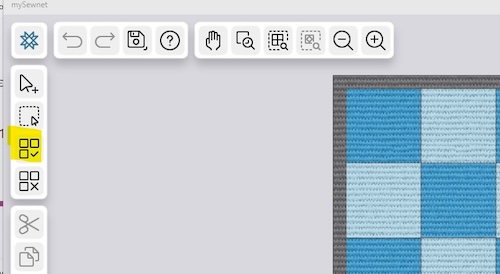
- Click on Select All. All the blocks in the quilt will be activated.
- Click on the pen icon on one of the blocks.
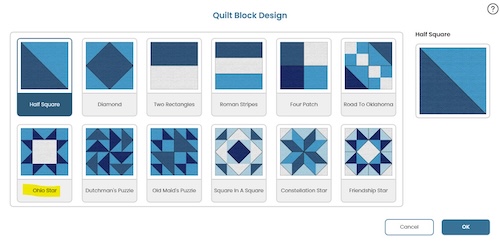
- The Quilt Block Design window opens. Click on Ohio Star and then OK.
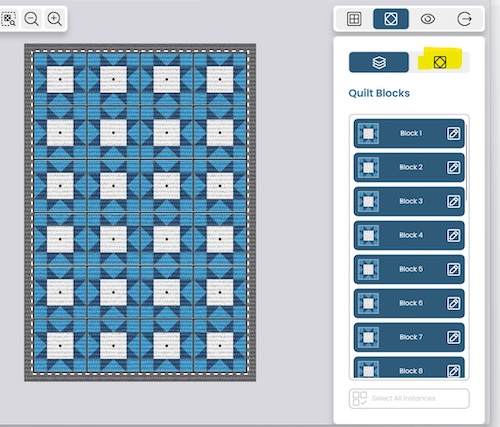
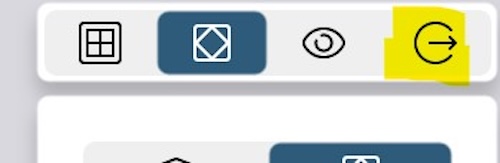
- The quilt is now filled with Ohio Star blocks. Click on the Quilt Design Icon.
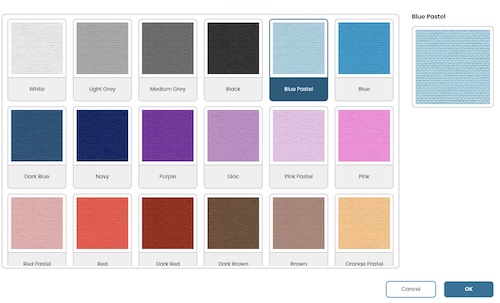
- Click on the Pen Icon in the Blue Fabric Swatch to change the color.
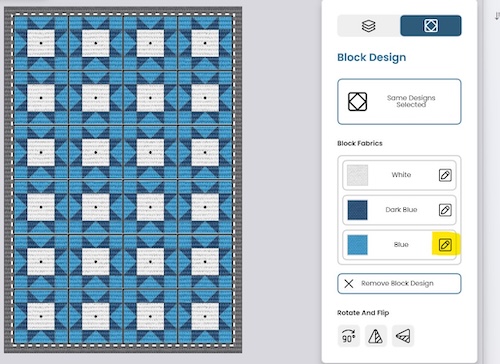
- Hange the color to Blue Pastel. (In the quilt we will be using white fabric white print for the background instead of the blue pastel and solid white for the stars center because it looks better to write on white solid.) Click OK.
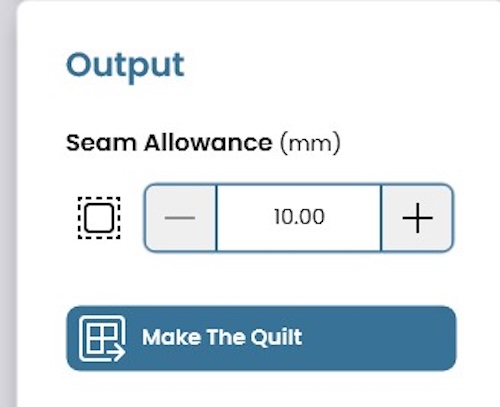
- Click on the Output Icon.
- In this case I have set the units to mm, so the seam allowance is set to 10mm, but you can change the units to Inch if you prefer that.
Making the quilt
- Click on Make the Quilt.
- The Quilt Project Overview window opens. If you are planning to cut the pieces out manually, click on Yardage to get instructions on how to cut out the different pieces.
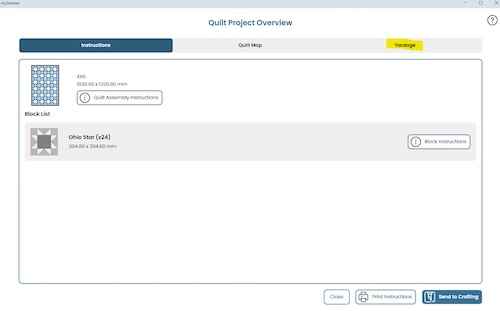
- If you have a Momento Cutting Machine you can cut out all the different pieces easy and perfectly accurate: Click on Send to Crafting.
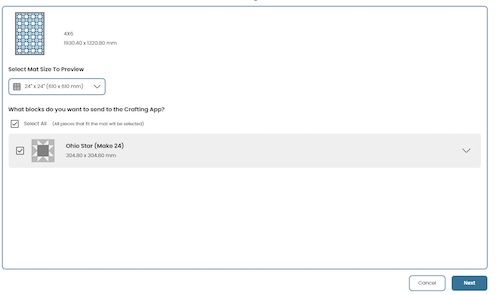
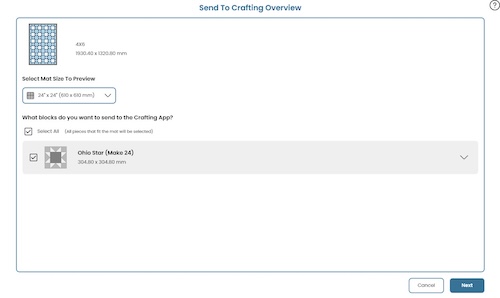
- Crafting Overview window opens. Here you can select which pieces you want to cut out, the size of your cutting mat and quilt size information. If there are pieces that Momento cannot cut because they are too large to fit on the cutting mat, you will get the information here. Since we want to cut out all pieces and no warnings are shown we click on Next.
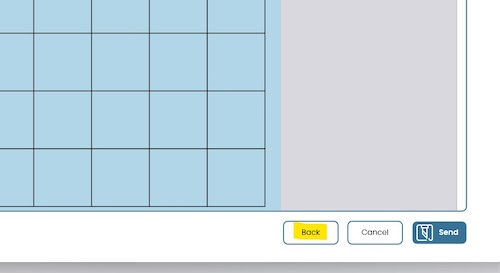
- Send to Crafting overview opens, here you can see how many cuts you need to do, and which mat is selected. You can scroll down to see how each batch will be cut out. If you need to make any changes, click on Back otherwise click on Send.
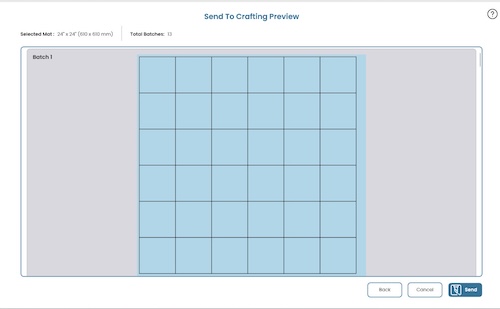
- The quilt software opens the crafting software temporarily to allow the cut. You can scroll down to see the different batches to cut, and in which order they are cut out. You can always go back if changes are needed, but if you want to proceed, click Next.
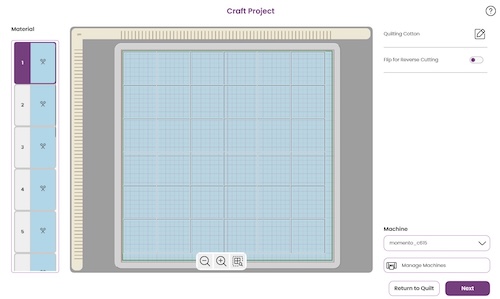
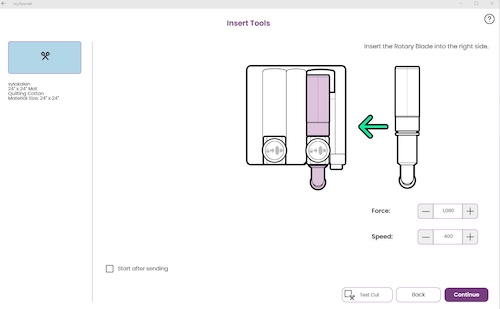
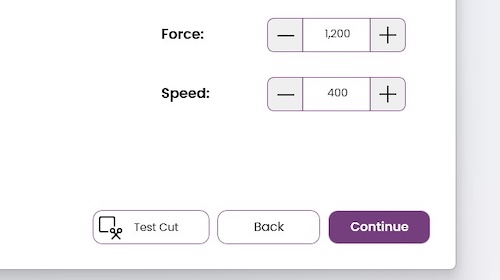
- In the next step you get instructions on which tool to use, in this case the Rotary Blade. The force and speed are preset, but it is possible to change, do a Test Cut if needed.
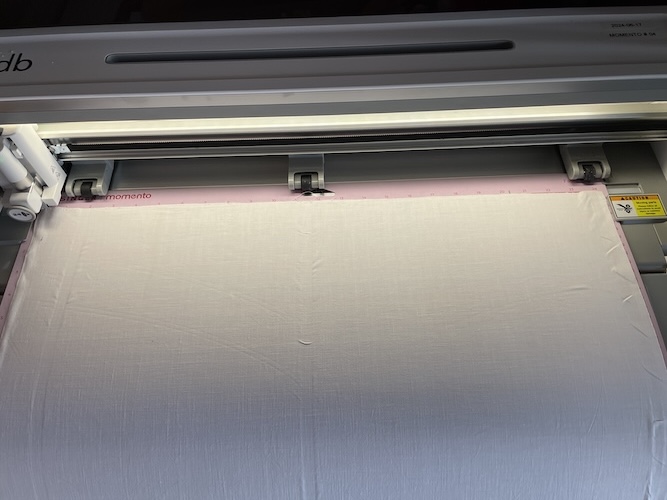
Preparing the cutting mat
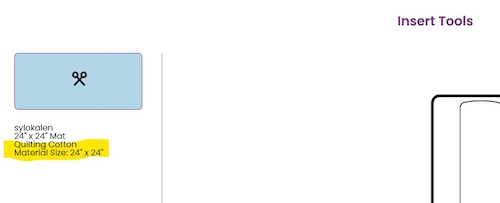
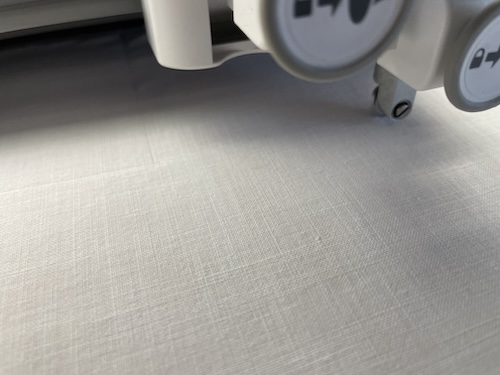
- Place the fabric on the cutting mat. Material size is shown on the top left in the insert tools window.
- Load the mat into Momento.
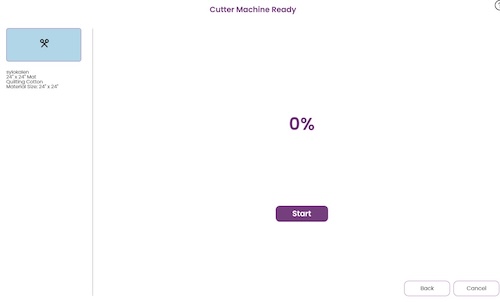
- Click on Continue.
- The first cut is loaded into Momento. Click on start on the screen or on the Machine. Cutting will begin.
- When cutting is finished unload the mat and remove the cut-out pieces. Lift the pieces carefully to avoid distortion.
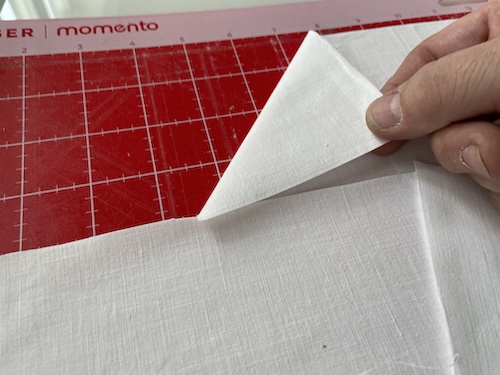
- Prepare the next mat and continue to cut out all the different pieces for the quilt.
Sewing the blocks together
- When finished cutting, click on Return to Quilt.

- In the next window click on Back.
- In this window click on Cancel.
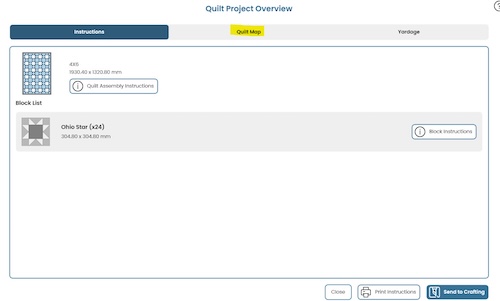
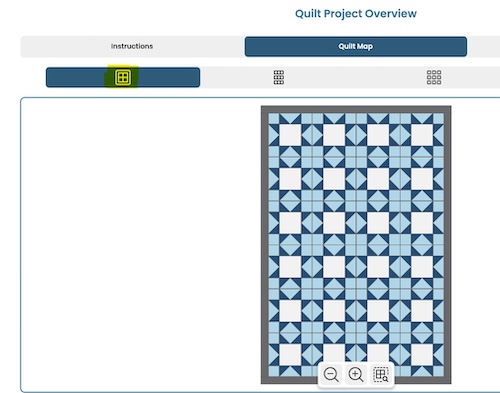
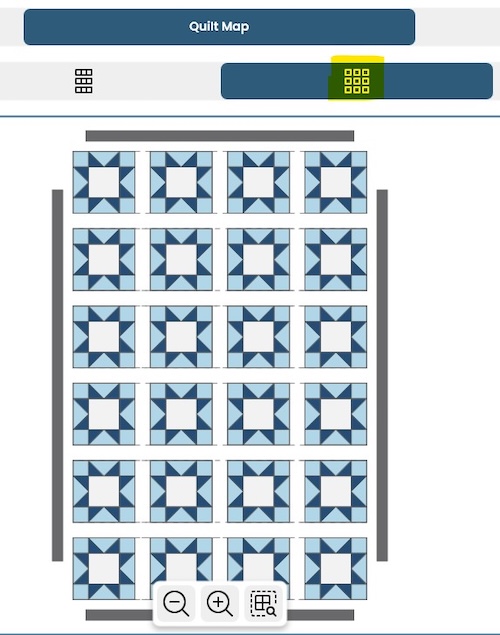
- Now we are back in the quilt Project Overview, let us investigate the quilt map tab first:
- Here you get information on the various parts of the quilt: The finished quilt:
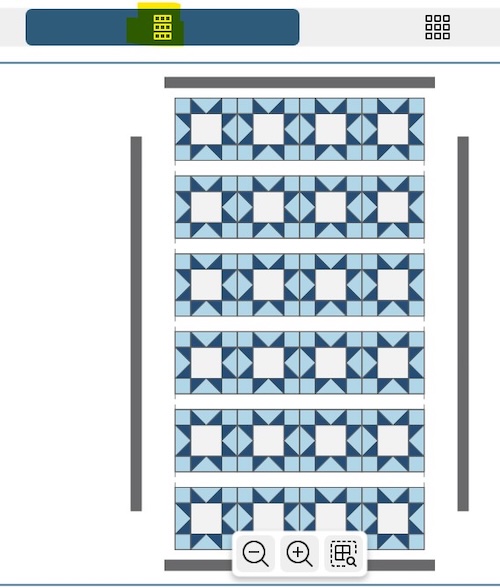
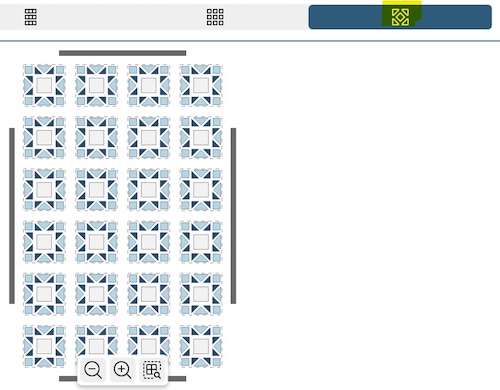
- The rows of the quilt and the borders:
- The Blocks:
- And finally, all the different pieces in the quilt.
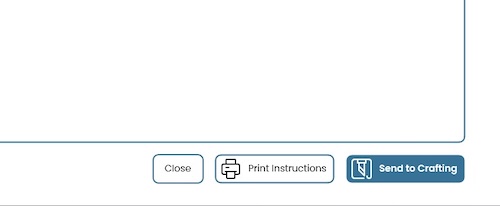
- Click on Instructions. Here you will get information on how to sew your blocks and how to assemble the quilt.
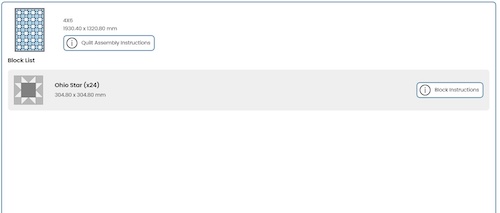
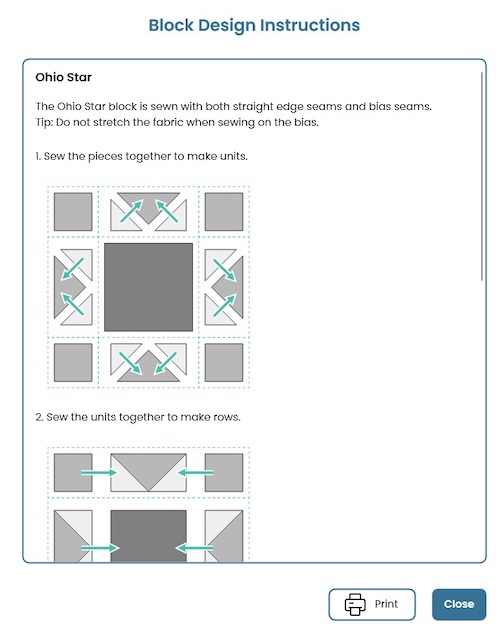
- Click on Block Instructions.

- In the block instructions you will get detailed instructions on how to sew the blocks together, step by step. If you prefer you can print out the instructions.
- Make the quilt top following the instructions for the blocks and quilt assembly.
Finishing the quilt.
- Put the backing fabric on a flat surface, wrong side up.

- Place batting on top.

- Place the finished quilt top on top of the batting, right side up. Make sure the batting and backing fabric extends outside the borders of the quilt on all sides. Pin or baste all layers together.
-
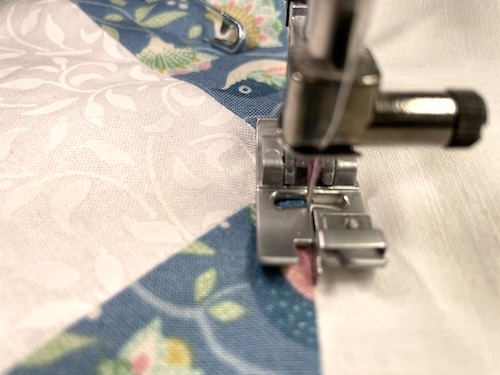
Sew straight lines between the stars, this is called “stitch in the ditch” You can use a special presser foot for this to help you getting the stitch exactly in the ditch.
Binding the edges of the quilt
-
- Find Instructions Here: The finished width of the binding is 3/8” (1cm).